Building things out of wood on the weekends is fun because it combines functional design with material science. Putting a screw into a piece of wood is easy for anyone, but making one that can stand up to changes in seasonal humidity, real-world weight, and a stain without looking like a splotchy mess takes skill.
If you are looking to improve your finishing skills or want to get a starting kit of basic power tools, these eight weekend projects will help you learn new skills and get good, useful results.
1. The Two-Tone Entryway Bench
Building a bench is a masterclass in combining different wood species and hardware. By mixing standard dimensional lumber like 1x4s and 1x3s for the base, and a 1×8 for the seat, you can create a refined piece without milling rough lumber.
Why it works:
A painted pine base paired with a naturally finished oak seat offers a classic aesthetic while teaching you how to handle different densities of wood.
Pine is a softwood, meaning you must use coarse-thread pocket hole screws; the aggressive threads bite deeply and hold fast. Oak, however, is a dense hardwood. Driving a coarse-thread screw into oak invites splitting, so you must switch to fine-thread screws for the seat slats.
Implementation Insight:
When prepping dimensional pine from a home center, you will likely notice horizontal lines across the faces of the boards. These are “mil marks” left over from the industrial planning process.
Before assembly, load a random orbital sander with 120-grit paper to remove these marks so the wood takes paint evenly. To sand narrow 3/4-inch edges without tipping your sander, stack two or three boards side-by-side and sand their edges simultaneously.
2. Heavy-Duty Floating Shelves
Floating shelves offer a clean, minimalist look, but poor installation often leads to sagging and failure. A properly installed heavy-duty floating shelf can support anywhere from 25 to over 300 pounds, depending entirely on the anchoring system.
Why it works:
A floating shelf bracket can hold 45 to 50 pounds for every wall stud it is attached to. If you mount a 3-foot shelf bracket into two 16-inch-spaced wall studs, you immediately achieve roughly 100 pounds of capacity.
Never rely on drywall anchors for heavy-duty storage; the bracket must be mounted to wall studs or solid wood blocking behind the drywall.
Trade-off:
It is tempting to make floating shelves as deep as possible, but deeper is not always better. Physics dictates that the longer the lever (the depth of your shelf), the less weight is required before the steel bracket support rods begin to sag.
Keep bookshelves to a maximum depth of 10 inches, and kitchen plate shelves to 12 inches. If you must go deeper, ensure you are using a 1/4-inch thick solid-steel bracket with 360-degree welds at the base of the support rods.
3. Heirloom End-Grain Charcuterie Board
Edge-grain and end-grain boards are beautiful, functional projects that require precision gluing and sanding. However, the true test of a cutting board is its finish.
Why it works: Kitchen projects require finishes that are entirely non-toxic and food-safe. While there is a welter of contrary opinions online, a few natural, unblended finishes stand out.
Comparison of Food-Safe Finishes
| Finish Type | Source | Key Characteristics |
|---|---|---|
| Mineral Oil | Petroleum derived | Colorless, odorless, inert. Simple to apply, but has low water resistance and requires frequent reapplication. |
| Raw Linseed Oil | Pressed flax seeds | Listed as an FDA food additive. Long curing time. Note: Never use “boiled” linseed oil, which contains toxic metallic driers. |
| Pure Tung Oil | China wood tree nut | Good water resistance, but difficult to apply, requiring many coats. |
| Walnut Oil | Walnut tree nuts | Dries completely and will not go rancid. Easy to apply. |
Practical Recipe: For the best balance of moisture protection and ease of application, mix your own paste. Warm mineral oil in a double boiler over very low heat to prevent a fire hazard, and add a chunk of pure beeswax equal to about one-fifth or one-sixth the volume of the oil. Stir until dissolved, pour into a jar to cool, and wipe the soft paste onto your board for a fragrant, water-repellent finish.
4. Weather-Resistant Cedar Planter Bed
Building outdoor architecture requires materials that can survive constant exposure to moisture, UV rays, and soil contact.
Why it works:
When balancing aesthetics and longevity, you must choose between pressure-treated pine and cedar. Cedar is tight-grained, good-looking, and contains natural oils that repel most bugs and resist weather. However, if cedar is placed in direct contact with the ground or set in concrete, it will eventually rot.
Pressure-treated lumber, infused with copper-based preservatives, is rated for “ground contact” and will shrug off decay for decades when buried.
Implementation Insight:
Build the visible panels and top railings of your planter from cedar, but use pressure-treated 4×4 posts for the structural legs that touch the earth. If you want your cedar to retain its rich natural color rather than turning silvery-gray, apply a clear sealer formulated with ultraviolet (UV) blockers every two to three years.
Safety note: Always wear a dust mask, eye protection, and gloves when cutting or handling pressure-treated lumber.
5. Solid Walnut Coffee Table
Building a solid hardwood table is a rite of passage. But if you do not understand Equilibrium Moisture Content (EMC) and wood movement, your beautiful tabletop will inevitably crack or bow.
Why it works:
Wood is hygroscopic. Below its fiber saturation point (around 26-30% moisture), bound water leaves the cell walls, causing the wood fibers to shrink. When humidity rises in the summer, the wood swells; when winter heating systems dry out indoor air, the wood contracts.
A flat-sawn board (where the growth rings look like arches on the end grain) moves tangentially, yielding the most dramatic expansion and contraction of any cut. Quarter-sawn boards (vertical growth rings) move radially, which results in 40-50% less width movement, making them highly stable and resistant to cupping.
6. Cherry Wood Wall Cabinet
Cherry is highly prized for its beautiful grain and how it deepens in color over time, but it is notorious for blotching. When you apply liquid stain to cherry, pine, or birch, the wood absorbs the pigment unevenly, creating an ugly, splotchy mess.
Why it works:
Most woodworkers attempt to stop blotch by pre-sealing the wood with a 1lb cut of dewaxed shellac or a commercial pre-stain conditioner. While effective at stopping blotch, these sealers also completely block the wood fibers from absorbing the actual stain, leaving you with a board that is far lighter than intended.
To get rich, dark colors on blotch-prone woods, use a water-based, non-toxic pre-color conditioner (essentially a highly refined PVA glue size). By flooding the surface with the conditioner, letting it dry, and lightly sanding to 180-grit, you equalize the absorption rates of the dense and porous areas of the board. You can then successfully apply a gel stain or a water-based dye to achieve deep, flawless color without the blotch.
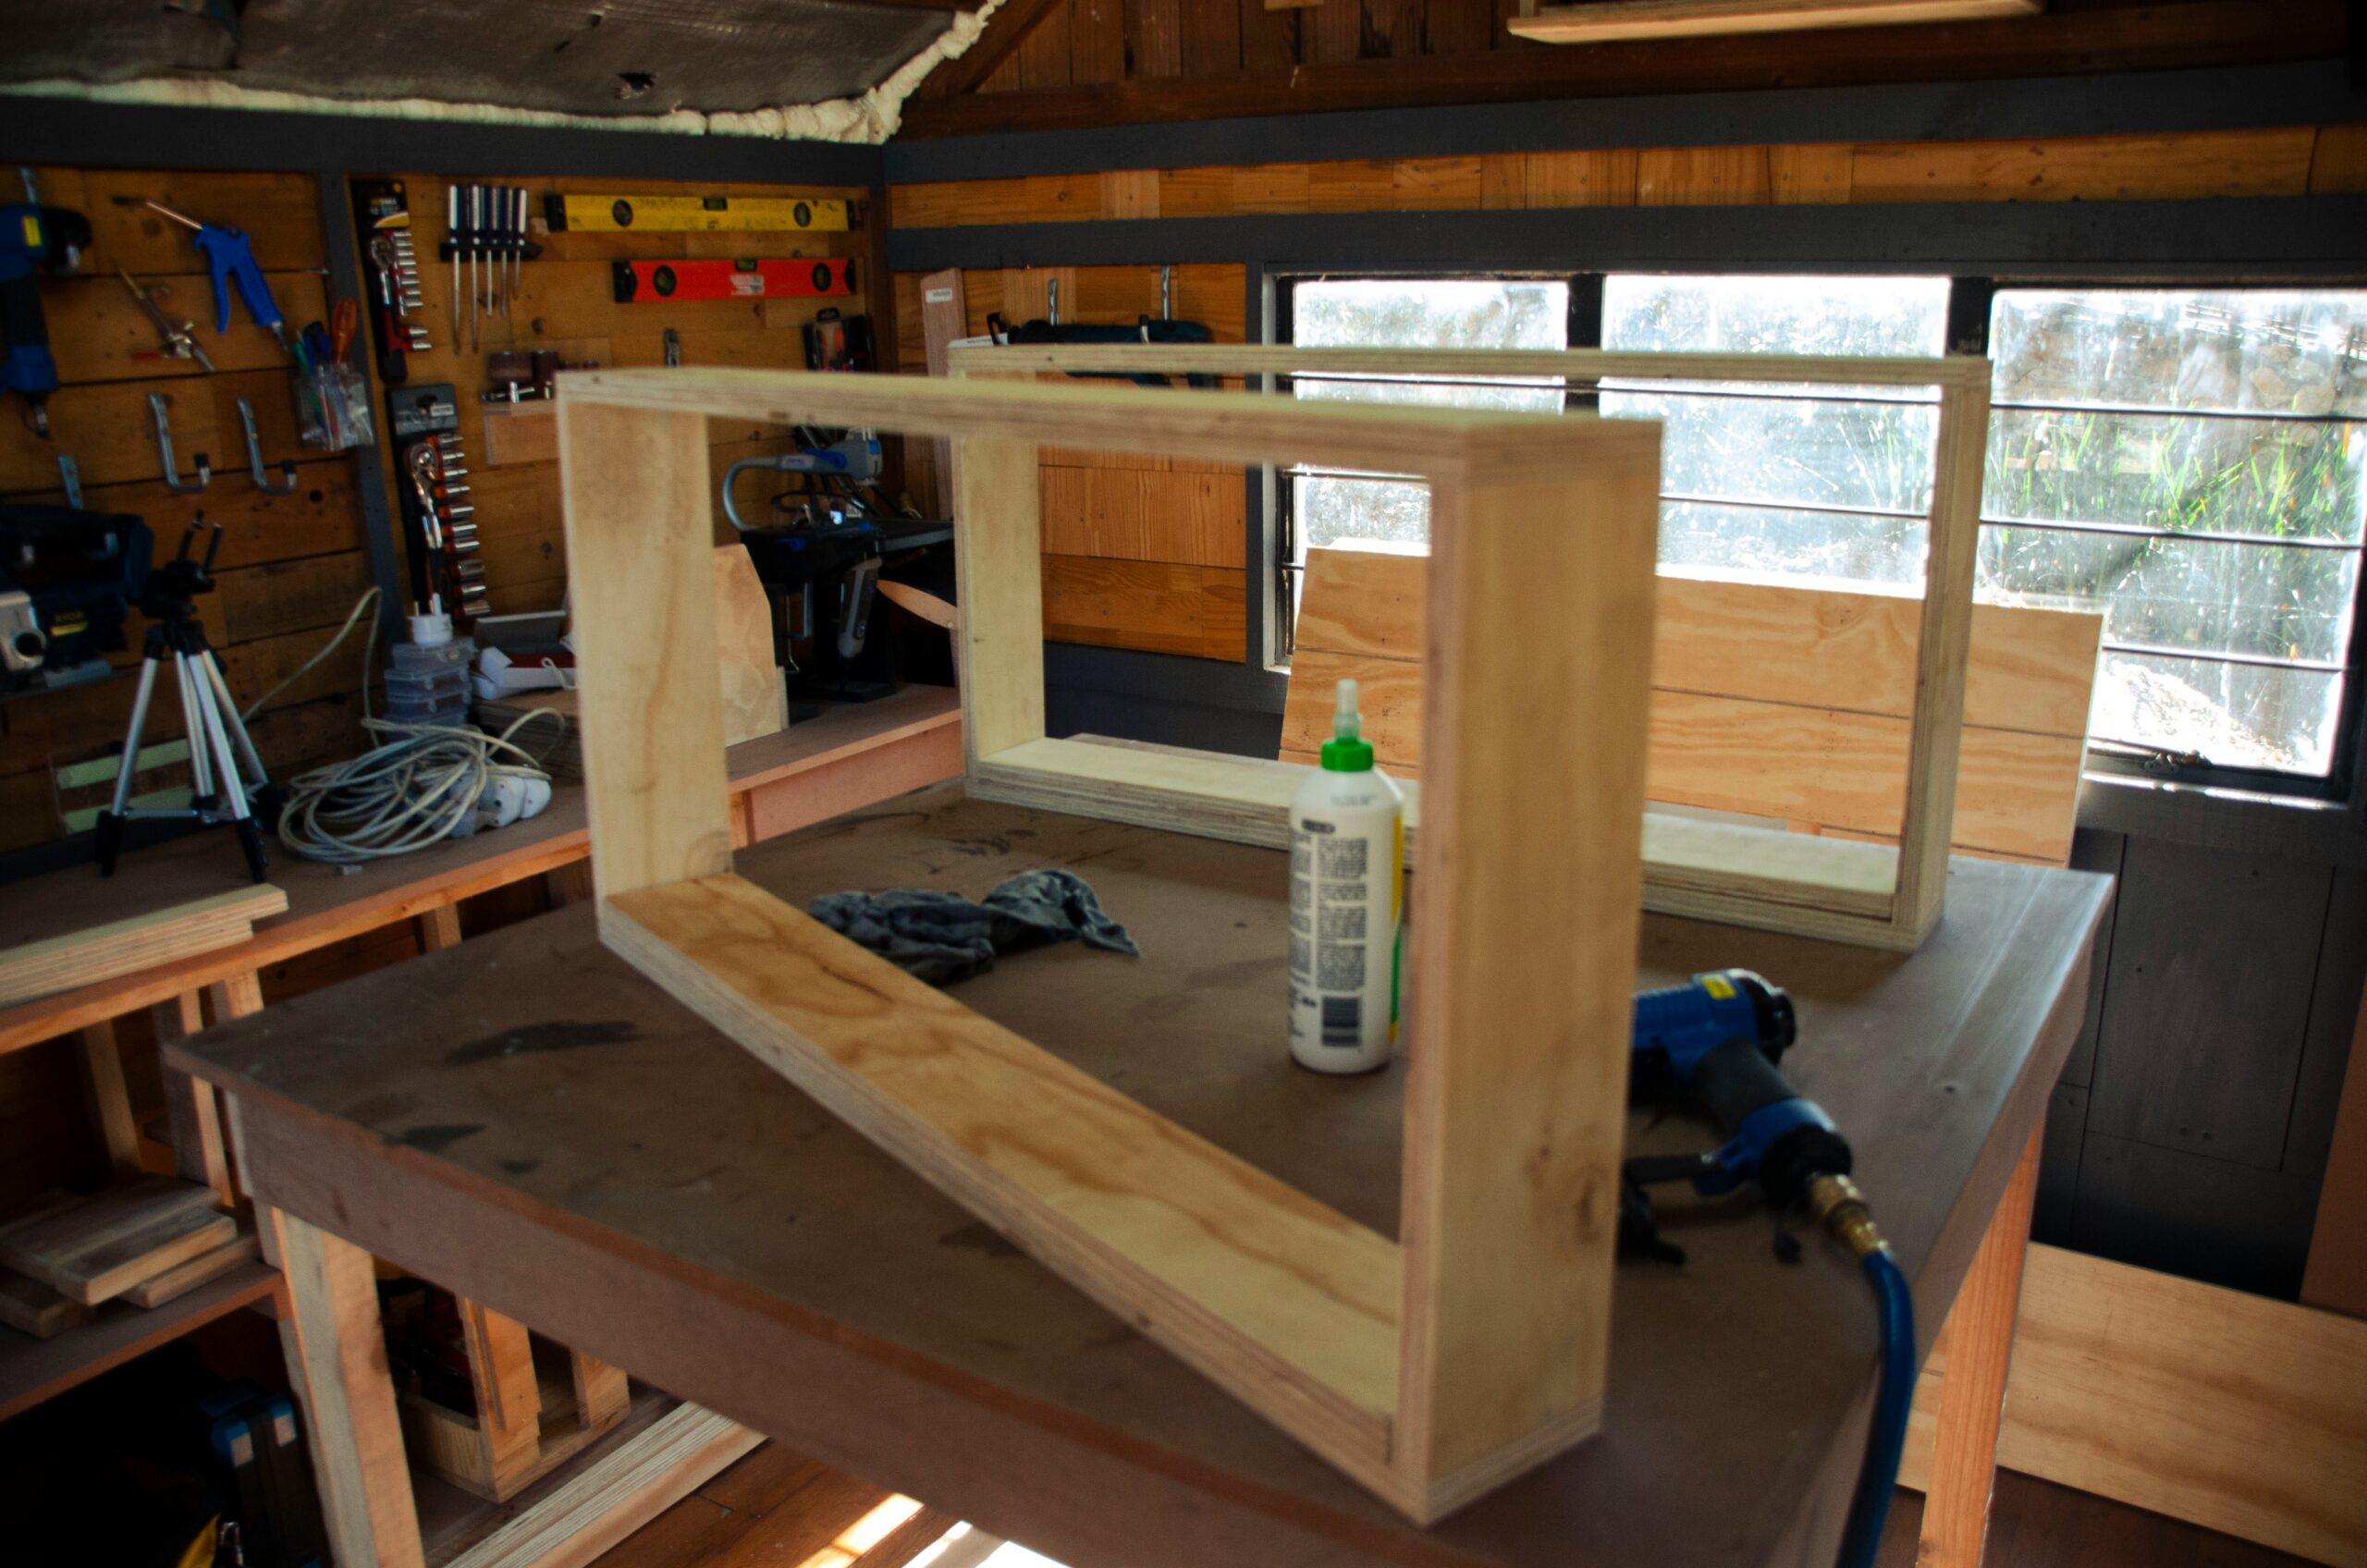
7. Custom Workshop Tool Caddy
For absolute beginners, building a customized tool organizer out of 1/2-inch plywood is the perfect way to familiarize yourself with essential starter hand and power tools.
Why it works:
This project relies heavily on accuracy and measurement. A tape measure and a speed square are mandatory for drawing crisp 90-degree layout lines before you ever pick up a saw. You will utilize a circular saw for making long, straight panel cuts, and a cordless drill/driver for assembly.
Implementation Insight:
If you are breaking down smaller parts on a powered miter saw, strict safety protocols are non-negotiable.
- Always keep your fingers and hands at least four inches from a rotating saw blade.
- Firmly brace your workpiece against the fence to prevent kickback.
- Never attempt a freehand cut on a miter saw; if the piece is too small to hold or clamp against the fence easily, do not cut it.
- Never reach behind, over, or under the blade until it has come to a complete and total stop.
8. Butcher Block Kitchen Island Top
A thick butcher block island top warms up a kitchen beautifully, but it combines the challenges of Project 3 (food safety) and Project 5 (wood movement).
Why it works:
An island’s top is subjected to heavy moisture variations from sinks and hot pans. Because it is a massive panel of glued-up wood, it will undergo severe tangential wood movement. You must route oversized counterbores or use slotted steel brackets when attaching it to the island cabinetry.
Once installed, skip the polyurethane and deeply saturate the wood with the mineral oil and beeswax blend mentioned earlier. This creates an easily repairable, food-safe surface that you can safely prep vegetables on for years.
Real-World Case Study: The Ruined Tabletop
A novice builder recently constructed a 40-inch-wide flat-sawn walnut coffee table in August. He drove standard wood screws rigidly through the steel base and directly into the tabletop.
By December, the dry winter air caused the tabletop to shrink. Flat-sawn walnut has a tangential coefficient of 0.00274.
With an 8% seasonal moisture drop, the 40-inch top tried to shrink by nearly 7/8 of an inch. Because the rigid screws prevented the wood from moving, the tension built up until the tabletop violently split directly down the center.
The Fix: Never constrain cross-grain expansion. Always attach tabletops using slotted mounting plates featuring elongated, racetrack-shaped holes. As the wood expands and contracts, the bolts slide smoothly within the slots, keeping the top flat and securely attached without restricting its natural expansion and contraction.
For tables wider than 24 inches, route steel C-channel support brackets into the underside of the top to prevent the wood from cupping.
Final Thoughts
Woodworking is not about forcing a natural material to bend to your will; it is about understanding how the material naturally behaves and designing your joinery, finishes, and hardware to accommodate it.
By respecting the physics of wood movement, prioritizing safety at the saw, and taking the time to properly prep your surfaces before applying a finish, you can elevate simple weekend projects into lasting heirloom craftsmanship.
Frequently Asked Questions
Does wood expand more in the summer heat or the winter cold?
Temperature itself has almost no direct effect on wood expansion. Wood movement is driven entirely by Relative Humidity (RH). Summer air typically holds more moisture, causing wood to expand. Winter heating systems drastically dry out indoor air, lowering the RH and causing wood to contract to its smallest size of the year.
Can I use standard screws to hold a tabletop flat?
No. A standard screw driven through a base into a solid wood top creates a rigid connection. Because you cannot stop wood from expanding and contracting with humidity, the wood will eventually overpower the rigid screws, resulting in severe cracking or split joints. Always use slotted fasteners.
How do I decide between quarter-sawn and flat-sawn lumber?
Flat-sawn lumber is less expensive and features recognizable “arched” grain patterns, but it expands and contracts up to 50% more across its width. Quarter-sawn lumber features straight, vertical grain and is highly stable, making it the superior (albeit more expensive) choice for wide tabletops and fine furniture.