Every home cook has been there, awkwardly sawing through an onion, watching professional chefs on TV effortlessly dice vegetables in seconds, and wondering why your prep work takes forever. The truth is, proper knife skills aren’t just about looking cool in the kitchen. They’re about safety, efficiency, and actually enjoying the cooking process.
Let me show you how to transform your cutting technique and finally prep ingredients like you know what you’re doing.
Why Your Current Technique Is Slowing You Down?
Most people hold their knives wrong, use dull blades, and position their ingredients awkwardly. This creates three major problems: you’re more likely to cut yourself, your prep takes twice as long, and your food cooks unevenly because of inconsistent cuts.
The good news? Once you fix these foundational issues, everything else falls into place naturally.
The Proper Knife Grip That Changes Everything
Stop holding your knife like a tennis racket. This grip gives you zero control and tires out your hand quickly.
Here’s the grip professional chefs use: pinch the blade right where it meets the handle between your thumb and the side of your index finger. Your other three fingers wrap around the handle for support.
This pinch grip gives you precise control over the blade tip and reduces hand fatigue. It feels weird at first, but after a few days, you’ll never go back.
The Claw Grip: Your Secret to Never Cutting Yourself Again
Your knife hand gets all the attention, but your guide hand is equally important. This is where most home cooks make their biggest safety mistake.
Curl your fingertips inward and rest your knuckles against the blade as you cut. Your knuckles act as a guide while your fingertips stay safely tucked away. The blade should never rise higher than your knuckles.
This position feels unnatural initially, but it’s virtually impossible to cut yourself when you maintain it properly. Your knuckles can handle bumping the flat side of the blade—your fingertips cannot.
Choosing the Right Knife for Each Task
You don’t need a knife block with 15 different blades. Three knives handle 95% of kitchen tasks: an 8-inch chef’s knife for most cutting, a paring knife for small, precise work, and a serrated bread knife.
Your chef’s knife should feel balanced in your hand—not too heavy in the blade or handle. The weight should be centered right where you pinch the blade. If it feels awkward, try a different brand or size.
Avoid those ultra-lightweight knives marketed to beginners. A knife with some weight actually requires less effort because the blade’s momentum does the work.
The One Maintenance Task You Can’t Skip
A dull knife is exponentially more dangerous than a sharp one. Dull blades require more pressure, slip more easily, and give you less control.
Get your knives professionally sharpened every six months if you cook regularly. Between sharpenings, use a honing steel before each cooking session. This realigns the blade edge and maintains sharpness.
Honing takes 30 seconds: hold the steel vertically, angle the blade at 15-20 degrees, and draw the knife down the steel in a sweeping motion—five strokes on each side of the blade.
Mastering the Basic Cutting Motions
The rock chop is your foundation technique. Keep the knife tip on the cutting board and rock the blade up and down through the ingredient. Your guide hand moves the ingredient toward the blade while your knife hand maintains a steady rhythm.
This rocking motion is faster and safer than lifting the entire blade off the board with each cut. The knife tip acts as a pivot point, requiring less arm movement and creating more consistent pieces.
For slicing softer items like tomatoes or cooked meat, use a smooth forward motion with light downward pressure. Let the blade do the work—sawing back and forth bruises the food and ruins the presentation.
Setting Up Your Cutting Board for Success
A wobbly cutting board is dangerous and frustrating. Place a damp towel underneath your board to keep it stable. This simple trick prevents the board from sliding around as you work.
Position your board at a comfortable height—typically just below your waist. If you’re hunching over or reaching up, you’ll tire quickly and lose precision.
Give yourself space. Clear the counter on both sides of your cutting board, so you have room to move ingredients and aren’t cramped.
The Onion: Your Practice Ground for Speed
Onions teach you every fundamental knife skill. Here’s the efficient method that actually works:
Cut the onion in half through the root end. Peel off the papery skin, but leave the root intact—it holds the onion together. Place the flat side down for stability.
Make horizontal cuts toward the root (but not through it), then vertical cuts following the onion’s natural lines. Finally, slice across perpendicular to your vertical cuts. The onion falls apart into perfect dice.
This technique applies to most round vegetables and builds muscle memory for controlled, repetitive cuts.
Speed Comes from Consistency, Not Rushing
Stop trying to cut as fast as those cooking show chefs. They’re fast because their cuts are consistent and controlled, not because they’re racing.
Focus on making each cut the same size as the last one. Maintain a steady rhythm rather than speeding up. As your muscle memory develops, your natural speed increases without conscious effort.
Inconsistently cut vegetables cook unevenly—some pieces are mushy while others are still hard. Taking an extra minute during prep saves you from a disappointing final dish.
Common Vegetables and How to Cut Them Efficiently
Carrots and similar cylindrical vegetables: Cut a thin slice lengthwise to create a flat side. Place that side down for stability, then slice or dice without the vegetable rolling around.
Bell peppers: Cut off the top and bottom, stand the pepper upright, and slice down the sides in panels. You’re left with flat sheets that are easy to julienne or dice, with minimal waste.
Garlic: Smash the clove with the flat side of your knife, peel off the skin, then mince using a rocking motion while your guiding hand keeps the pieces contained.
Herbs: Stack leaves, roll them into a tight cylinder, and slice across to create ribbons. This chiffonade technique prevents bruising and gives you fluffy, well-distributed herbs.
Creating Different Cut Sizes for Different Cooking Methods
Understanding cut sizes improves your cooking as much as your knife skills. Here’s what you need to know:
- Rough chop: Large, irregular pieces for stocks or long-cooked dishes where size doesn’t matter
- Dice (large, medium, small): Uniform cubes ranging from 3/4-inch to 1/4-inch for even cooking
- Mince: Very fine cuts for garlic, ginger, or herbs that should distribute throughout the dish
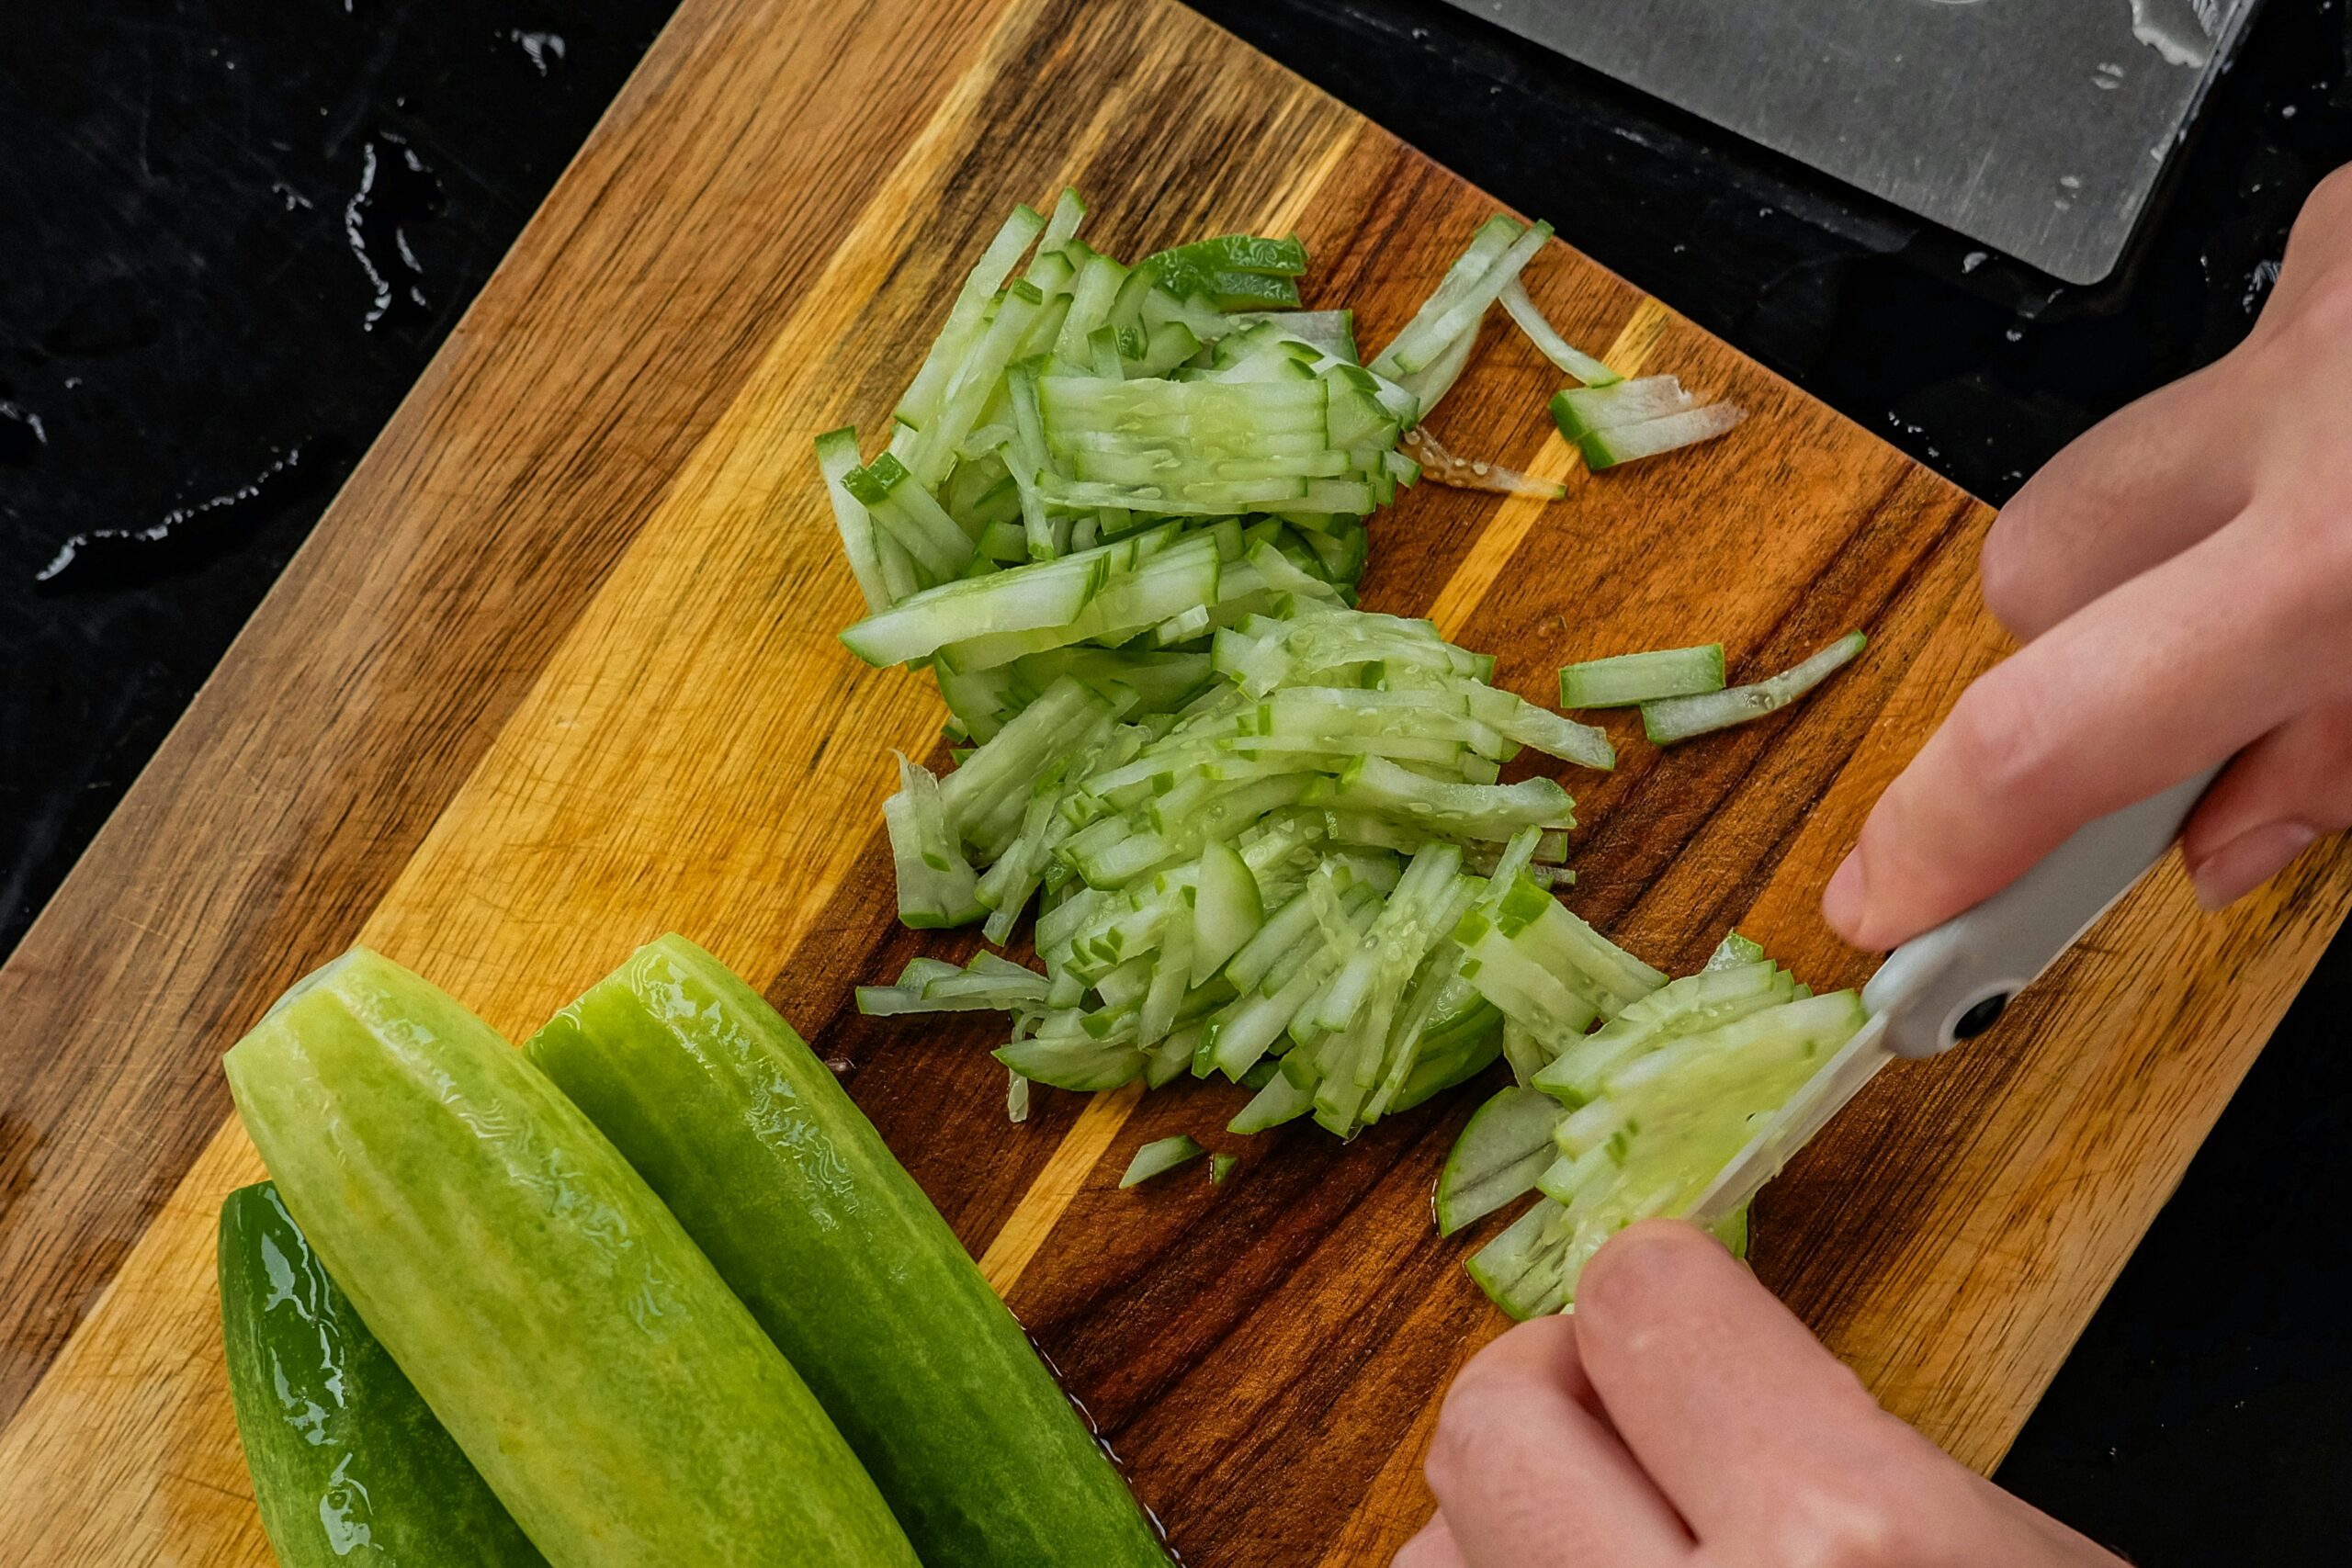
- Julienne: Thin matchstick cuts for quick-cooking stir-fries or raw salads
Match your cut size to your cooking method. Smaller pieces cook faster, larger pieces hold their shape longer.
The Staging System That Halves Your Prep Time
Professional kitchens use mise en place—everything in its place. Set up small bowls or containers before you start cutting.
Cut one ingredient completely before moving to the next. This focused approach is faster than bouncing between tasks. You also catch problems early—like running out of an ingredient—before you’re halfway through cooking.
Group ingredients by when they go into the dish. Put everything for the first step in one area, the second step in another. This organization eliminates frantic searching while food is burning on the stove.
Addressing the Awkward Ingredients
- Cherry tomatoes: Line them up between two plates or lids and slice horizontally through all of them at once.
- Butternut squash: Microwave the whole squash for 3-4 minutes to soften the skin, making it dramatically easier to peel and cut.
- Chicken breasts: Partially freeze them (about 30 minutes in the freezer) for cleaner, more uniform slices.
- Leafy greens: Remove the tough stems first, then stack, roll, and slice. Stems require a different cutting technique than leaves.
Building Speed Through Deliberate Practice
Set a timer and prep a specific ingredient, like onions or carrots. Note your time. Practice the same ingredient daily for a week, focusing on consistent cuts and proper form.
You’ll naturally get faster without trying. More importantly, your hands learn the motions until they become automatic.
Don’t practice multiple ingredients in one session. Master one cutting technique completely before moving to the next.
When to Stop Cutting and Start Cooking?
Perfect cuts aren’t worth cold food. Once you’ve achieved reasonably consistent pieces, move on. A few irregular chunks won’t ruin your meal.
The goal isn’t perfection, it’s competence and safety. You want cuts that are close enough in size to cook evenly and a technique that won’t send you to urgent care.
Your Next Steps
Start with one new technique per week. This week, focus on your knife grip and the claw position. Next week, practice the rock chop motion. The week after, tackle onions.
Pick your dullest knife right now and schedule a sharpening. A sharp knife makes everything else easier.
Set up your cutting board properly before your next meal prep: a damp towel underneath, a clear space around you, and a comfortable height.