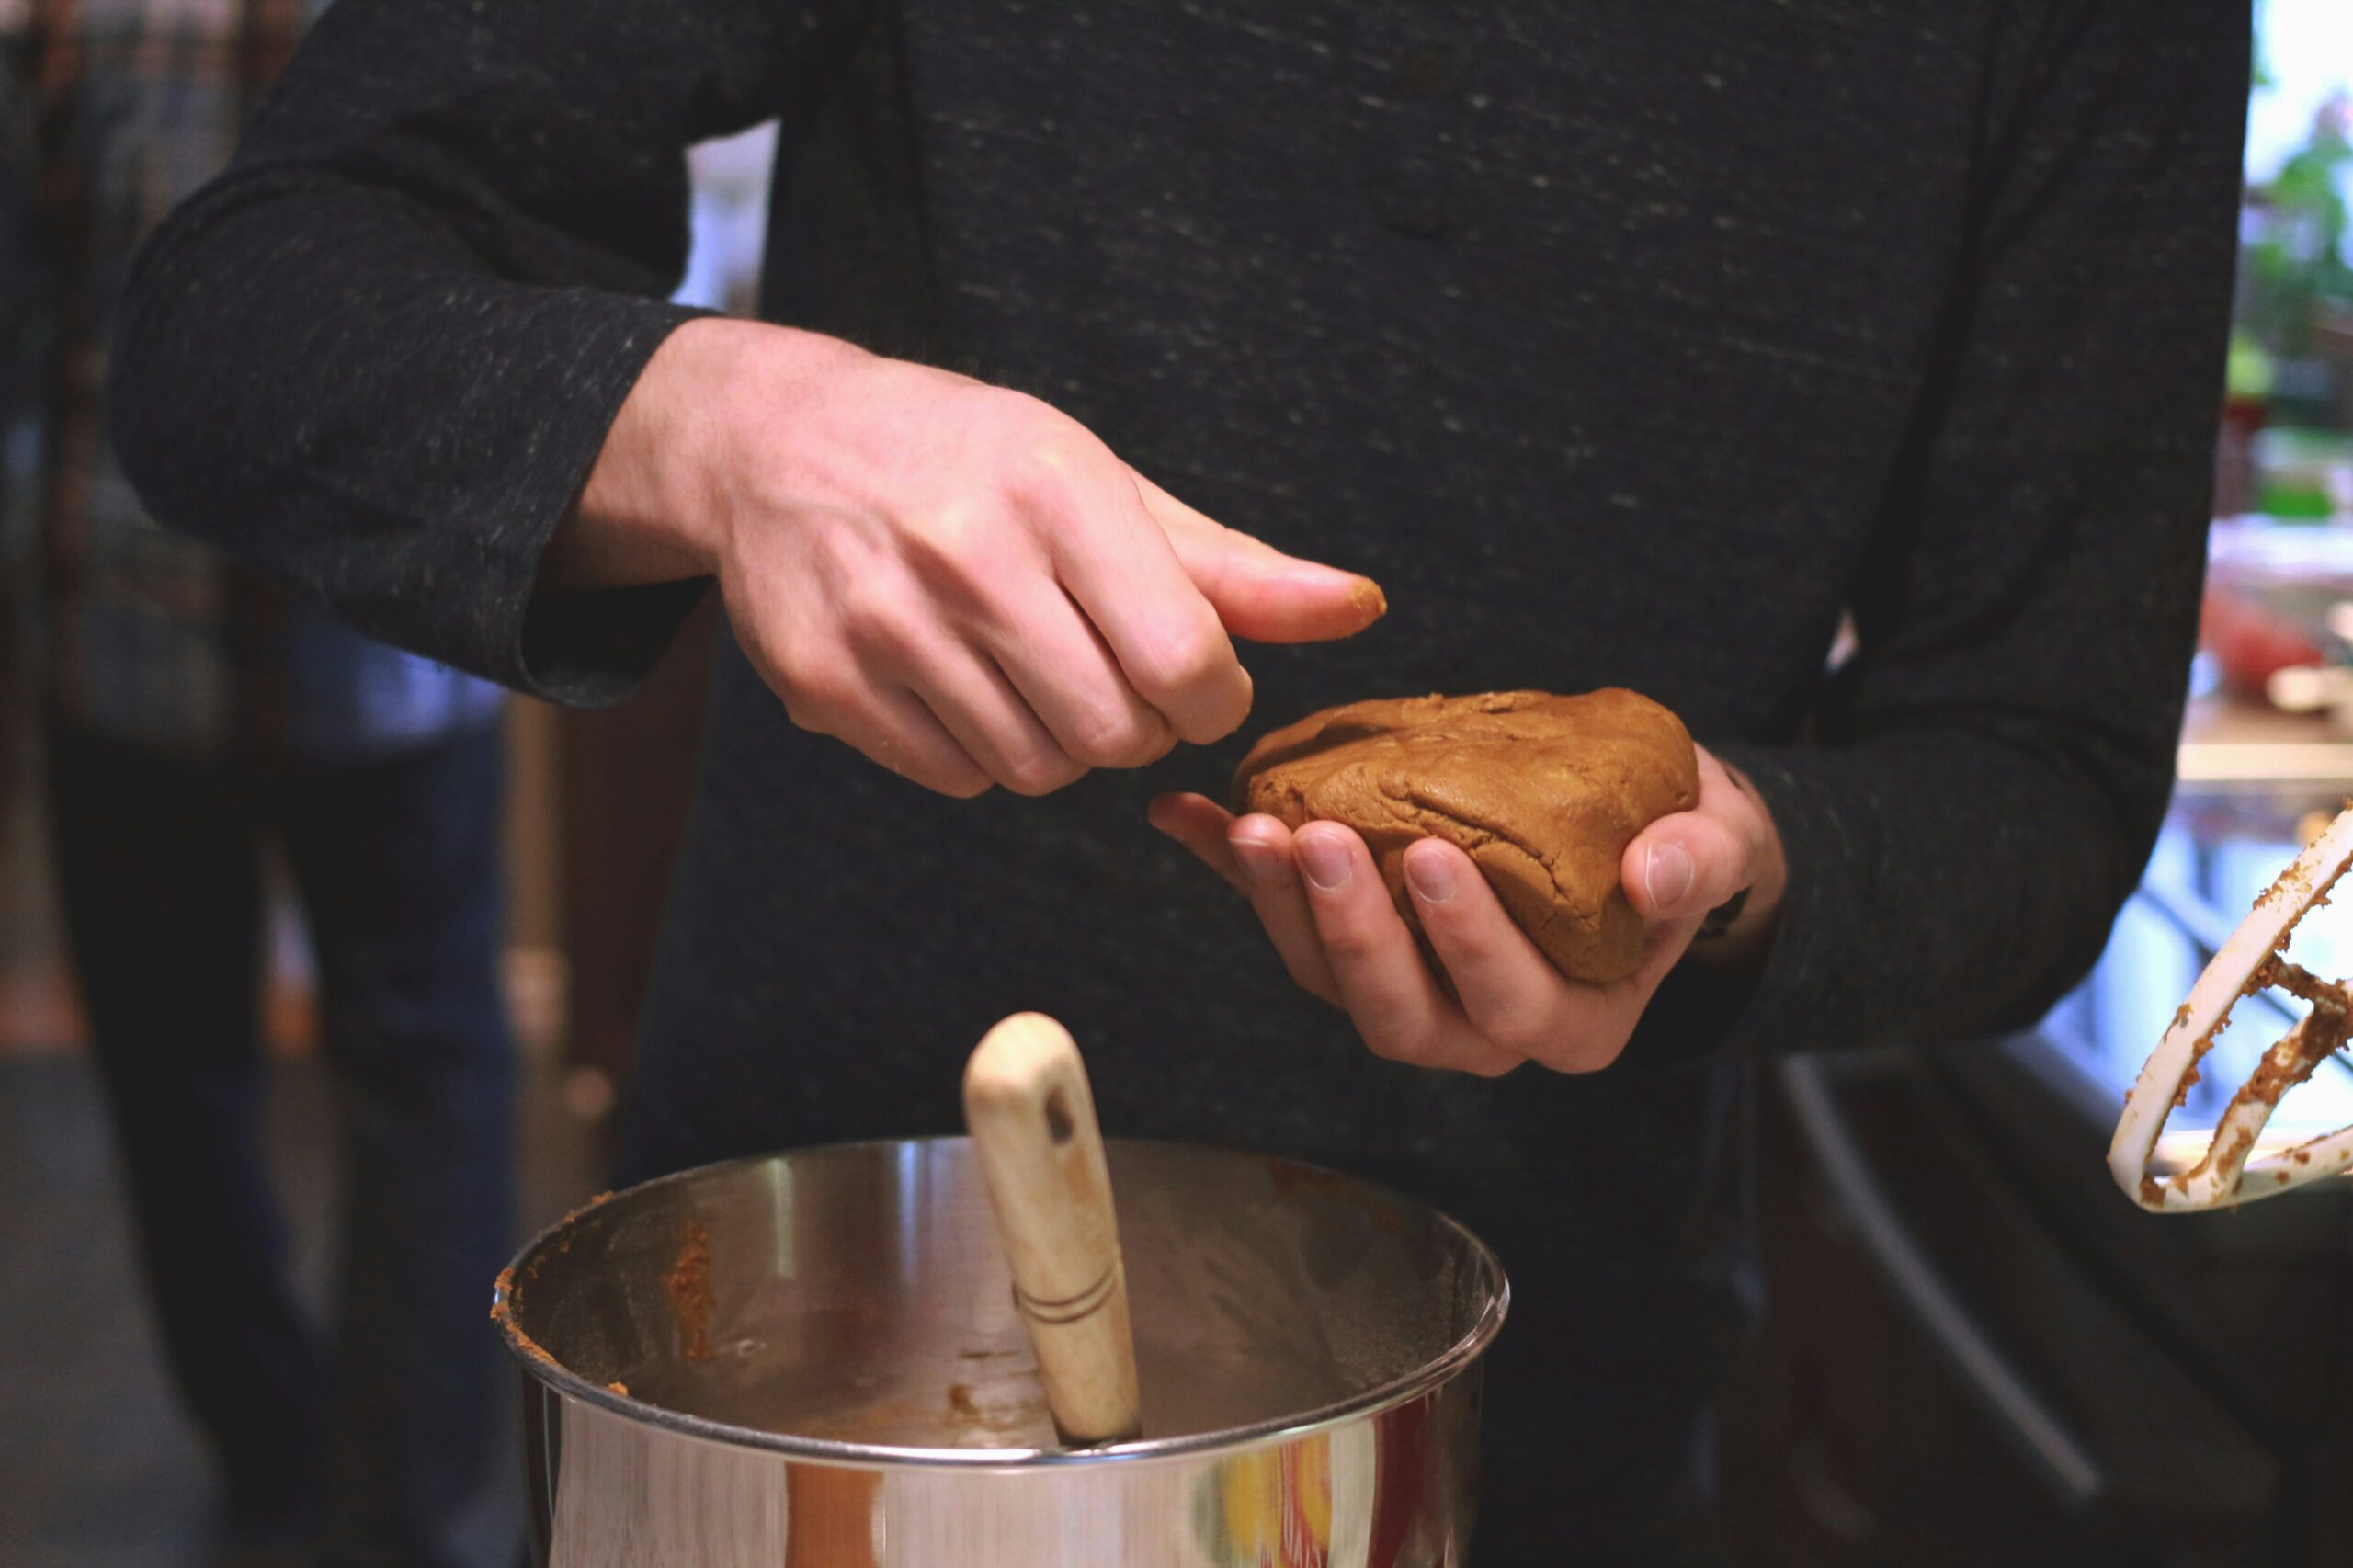
Cooking like a professional chef isn’t about fancy equipment or expensive ingredients. It’s about mastering fundamental techniques that transform ordinary ingredients into extraordinary meals. These six culinary methods form the backbone of professional cooking, and once you understand them, your confidence in the kitchen will soar.
1. Knife Skills
Every professional chef will tell you the same thing: proper knife skills are non-negotiable. This isn’t just about speed or looking impressive. It’s about safety, consistency, and respect for your ingredients.
When you cut ingredients uniformly, they cook evenly. A properly diced onion means every piece caramelizes at the same rate. Unevenly chopped vegetables lead to some pieces burning while others remain raw.
The basic cuts you need to master:
- Julienne: Thin matchstick cuts, typically 1/8 inch thick.
- Brunoise: Fine dice, about 1/8 inch cubes.
- Chiffonade: Thin ribbon cuts for leafy herbs and greens.
- Medium dice: 1/2 inch cubes for most vegetables.
- Rough chop: Irregular pieces for stocks and rustic dishes.
Hold your knife properly with your thumb and forefinger gripping the blade’s base, not the handle. Use your other hand as a guide, tucking your fingertips back and using your knuckles as a guard. This technique protects your fingers and gives you complete control.
Sharp knives are safer than dull ones. A sharp blade cuts cleanly through food with minimal pressure. A dull knife requires force, increasing the chance it will slip and cut you instead.
Practice these cuts daily. Start slowly and focus on consistency over speed. Speed develops naturally with repetition.
2. Sautéing
Sautéing means cooking food quickly in a small amount of fat over relatively high heat. The French word literally means “to jump,” referring to how you toss the food in the pan.
This technique works perfectly for tender cuts of meat, fish, and most vegetables. The high heat creates the Maillard reaction, developing complex flavors and attractive browning.
Keys to successful sautéing:
Get your pan hot before adding oil. Heat the oil until it shimmers but doesn’t smoke. If the oil smokes, it’s breaking down and will taste bitter.
Don’t overcrowd the pan. When you add too much food at once, the temperature drops dramatically. Instead of searing, your ingredients will steam and turn soggy. Cook in batches if necessary.
Keep food moving, but not constantly. Toss or stir frequently enough to prevent burning, but give ingredients time to develop color between movements.
Pat proteins dry before sautéing. Excess moisture prevents proper browning—season just before cooking to avoid drawing out moisture prematurely.
Use the right fat for the job. Butter adds rich flavor but burns easily. Clarified butter or ghee handles higher temperatures. Neutral oils like canola work well for high-heat cooking, while olive oil adds flavor at medium-high heat.
3. Roasting
Roasting uses the dry heat of an oven to cook food, typically at temperatures between 375°F and 450°F. This method concentrates flavors through caramelization and creates appealing textures.
Vegetables become sweet and tender with crispy edges. Meats develop a flavorful crust while staying juicy inside. Fish and poultry emerge golden and aromatic.
Professional chefs roast almost everything: root vegetables, Brussels sprouts, whole chickens, beef tenderloins, fish fillets, and even fruits for desserts.
Essential roasting principles:
Room temperature ingredients roast more evenly. Remove meat and poultry from the refrigerator 30-60 minutes before roasting. Cold food will brown on the outside before cooking through.
Space matters. Arrange food in a single layer with space between pieces. Crowding creates steam, which prevents browning.
Choose the right pan. Heavy-duty sheet pans distribute heat evenly. Dark pans promote browning. Avoid pans with high sides that trap steam.
Flip or rotate midway through cooking for even browning. The back of most ovens runs hotter than the front.
Let roasted meats rest before cutting. This allows juices to redistribute throughout the meat. Cut too soon, and those flavorful juices run onto your cutting board instead of staying in the meat.
Use a reliable meat thermometer. Visual cues help, but internal temperature tells you exactly when food is perfectly cooked.
4. Braising
Braising combines two cooking methods: searing at high heat, followed by slow cooking in liquid. This technique turns tough, inexpensive cuts of meat into tender, flavorful dishes.
The process breaks down tough connective tissue and collagen, transforming them into gelatin that makes the sauce rich and silky.
Start by thoroughly browning your meat on all sides. This step isn’t optional. The fond (browned bits) stuck to the pan becomes the flavor foundation for your entire dish.
Deglaze the pan with wine, stock, or even water, scraping up all those flavorful bits. Add aromatics like onions, carrots, and celery. Return the meat to the pot and add enough liquid to come about halfway up the sides of the meat.
Cover tightly and move to a low oven (around 300-325°F) or maintain a gentle simmer on the stovetop. The low, even heat of an oven works better for most braises.
Time varies based on what you’re cooking, but most braises need at least 2-3 hours. You’ll know it’s done when a fork slides into the meat with almost no resistance.
Perfect candidates for braising:
- Beef: Chuck roast, short ribs, brisket.
- Pork: Shoulder, shanks, country-style ribs.
- Lamb: Shanks, shoulder, neck.
- Chicken: Thighs, legs, whole birds.
- Vegetables: Cabbage, endive, and celery root.
The beauty of braising is that it tastes even better the next day, the day after, and flavors meld together overnight.
5. Blanching and Shocking: Color and Texture Control
Blanching means briefly cooking food in boiling salted water, then immediately plunging it into ice water to stop the cooking. Professionals use this technique daily for multiple purposes.
It sets the vibrant color of green vegetables. It loosens the skins of tomatoes and peaches for easy peeling. It partially cooks vegetables for finishing later. It removes bitterness from certain vegetables.
The proper blanching technique:
Bring a large pot of water to a rolling boil. Add enough salt so the water tastes like seawater. This season, the vegetables help maintain color.
Prepare an ice bath while the water heats. Fill a large bowl with ice and cold water.
Drop vegetables into boiling water. Don’t add too much at once, or the water temperature will drop significantly.
Cook briefly. Green beans need 2-3 minutes. Asparagus takes 1-2 minutes. Spinach needs just 30 seconds. You want vegetables tender-crisp, not fully cooked.
Immediately transfer to the ice bath using a slotted spoon or spider. This stops the cooking process instantly. Leave in the ice bath until completely cold.
Drain thoroughly and pat dry. Blanched vegetables can be refrigerated for several days and quickly reheated when needed.
This technique gives you complete control over vegetable doneness and makes meal prep efficient. Blanch vegetables in the morning, then quickly sauté them in butter just before serving.
6. Making Pan Sauces: Never Waste Flavor
After searing meat or poultry, your pan contains concentrated flavor from browned bits (fond) and rendered fat. Professional chefs never discard this liquid gold. They transform it into quick pan sauces that elevate simple proteins.
Remove your cooked protein from the pan and set it aside to rest. Pour out excess fat, leaving about a tablespoon in the pan.
Return the pan to medium-high heat. Add aromatics like minced shallots or garlic. Cook for 30-60 seconds until fragrant.
Deglaze with wine, stock, or another flavorful liquid. Use about 1/2 to 1 cup of liquid per serving. Scrape the bottom of the pan vigorously with a wooden spoon to release all the fond.
Let the liquid reduce by half. This concentrates flavors and slightly thickens the sauce.
Finish with cold butter, swirling the pan as you add small pieces. The butter emulsifies into the sauce, creating body and shine. Or stir in cream for a richer sauce.
Season with salt, pepper, fresh herbs, or a squeeze of lemon juice.
The entire process takes less than five minutes but dramatically improves your dish. A perfectly cooked steak is good. The same steak with a red wine pan sauce is restaurant-quality.
Classic pan sauce combinations:
- Red wine, shallots, thyme, and butter for beef.
- White wine, lemon, and capers for chicken or fish.
- Brandy, cream, and green peppercorns for steak.
- Balsamic vinegar, honey, and rosemary for pork.
Putting It All Together
These six techniques aren’t isolated skills. Professional chefs combine them constantly. A restaurant-quality meal might involve knife skills for prep, sautéing protein, roasting vegetables, making a pan sauce, and using properly blanched garnishes.
Start by focusing on one technique at a time. Master your knife skills over a few weeks. Spend time understanding how different proteins respond to sautéing, experiment with roasting various vegetables at different temperatures.
The difference between home cooks and professionals isn’t access to secret techniques. It’s the consistent application of fundamental methods. These basics, performed correctly and repeatedly, produce exceptional food every single time.