We’ve all been there. You open the fridge, and there’s a mystery container shoved in the back. You can’t remember what’s inside or when you put it there. Before you know it, you’re throwing away perfectly good food that went bad simply because you forgot it existed.
Clear fridge containers solve this problem completely. When you can see exactly what’s inside every container at a glance, food waste drops dramatically. But organizing your fridge with clear containers isn’t just about buying a few bins and calling it done. There’s a strategy that makes the difference between a system that works and one that fails after two weeks.
Why Clear Containers Actually Work?
The psychology behind clear containers is simple. When you see food, you remember it exists. When it’s hidden in opaque containers or original packaging, it disappears from your mind.
Studies show that people forget about 30% of the food they buy. Most of that forgotten food sits in fridges, slowly spoiling behind closed doors or in containers you can’t see through. Clear containers eliminate the “out of sight, out of mind” problem.
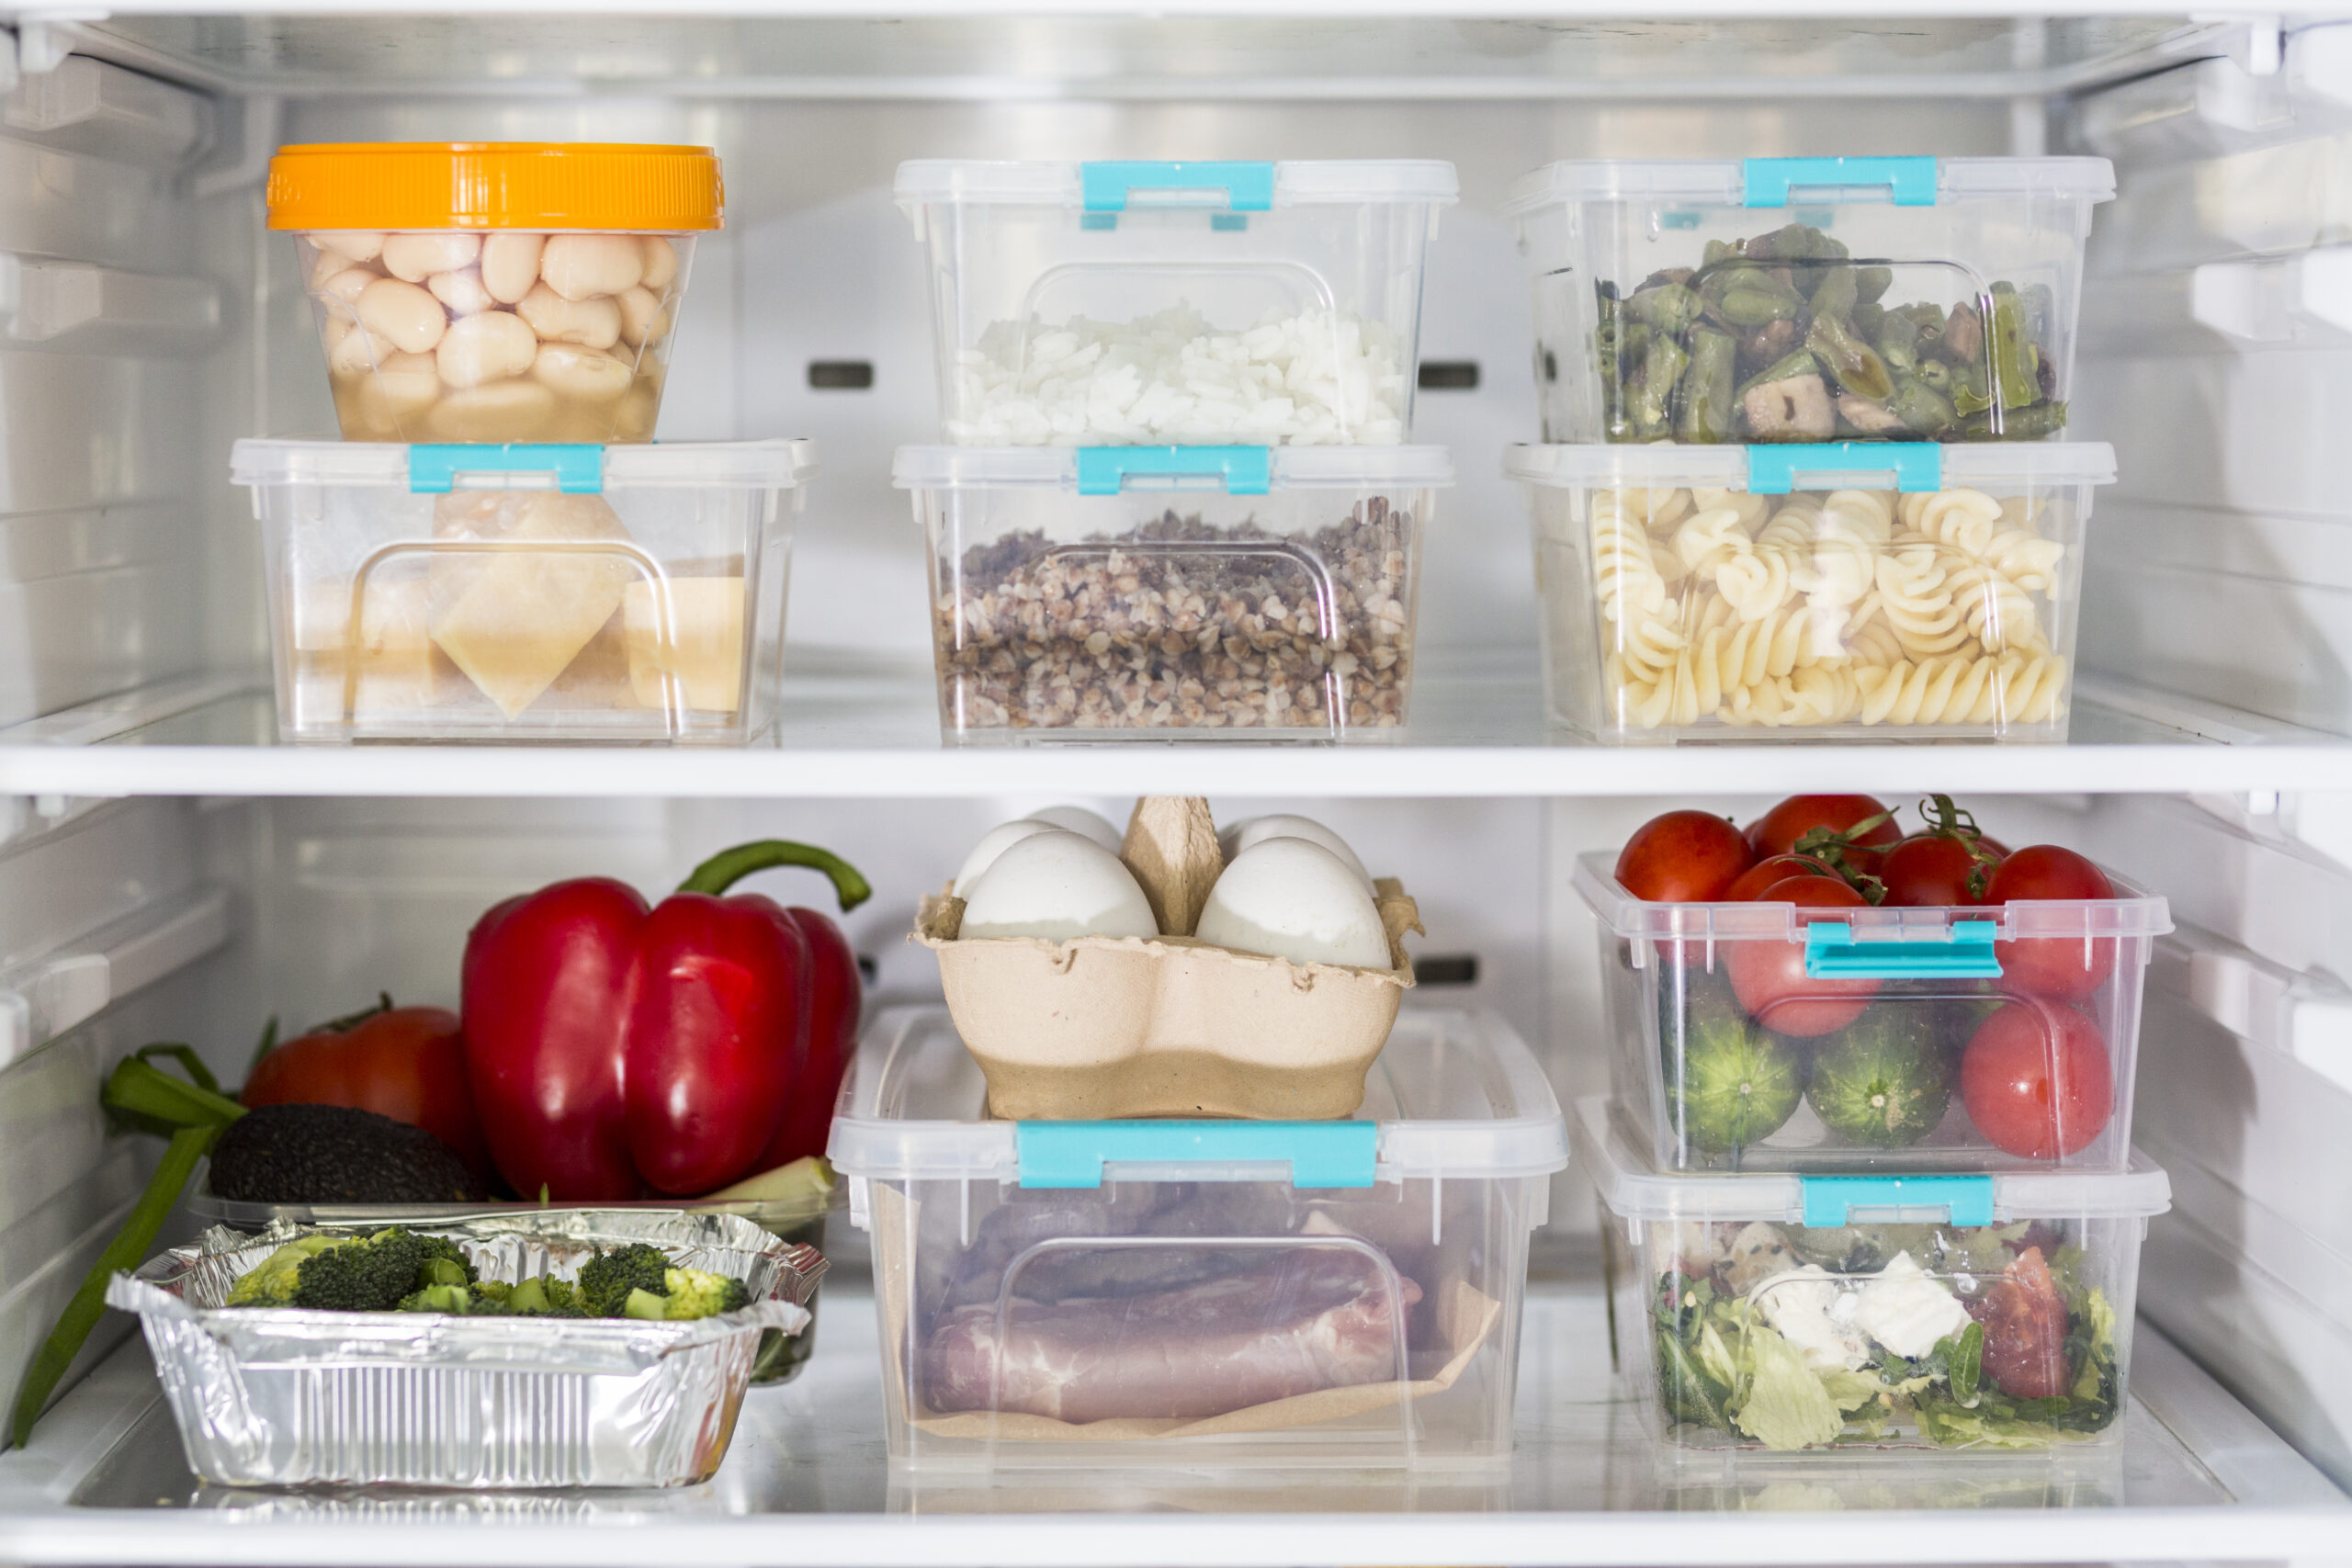
Beyond visibility, clear containers create accountability. When you can see your strawberries starting to soften or your lettuce beginning to wilt, you’re more likely to use them before they’re ruined. Opaque containers let produce deteriorate in secret until it’s too late.
Choosing the Right Clear Containers
Not all clear containers work equally well for fridge organization. The material matters significantly.
- Glass containers are ideal for leftovers and prepared meals. They don’t stain, don’t hold odors, and you can reheat food directly in them. The weight keeps them stable on shelves, and quality glass containers last for years. Look for tempered glass that can handle temperature changes.
- BPA-free plastic containers work best for fresh produce and items you access frequently. They’re lighter, making them easier to move around, and they won’t shatter if dropped. Choose thick, durable plastic that won’t crack or become cloudy over time.
- Acrylic bins and organizers excel at grouping items. Use these for condiments, snack packs, or drink bottles. They’re sturdy enough to hold weight but clear enough to see everything inside.
The Container Sizes You Actually Need
Most people buy random container sizes and end up with a disorganized mess. Here’s what actually works:
- Large rectangular containers (8-12 cups) store batch-cooked meals, whole fruits like grapes or berries, and large portions of leftovers. You need 4-6 of these.
- Medium square containers (4-6 cups) hold individual meal prep portions, cut vegetables, and everyday leftovers. Stock 8-10 of these as they’re your workhorses.
- Small containers (1-2 cups) store sauces, dips, small portions of ingredients, and single servings. Keep 6-8 on hand.
- Shallow containers work specifically for deli meats, cheese slices, and anything that doesn’t stack well. Three to four of these cover most needs.
Buy containers that nest inside each other when empty. Storage space for empty containers kills most organizational systems before they start.
Setting Up Your Clear Container System
Start by completely emptying your fridge. Yes, everything. This seems extreme, but you need to see what you actually have.
Throw away anything expired, questionable, or that you realistically won’t eat. Be honest. That jar of fancy mustard from two years ago isn’t getting used.
Clean every shelf thoroughly. Once you start your new system, you want to maintain it, and starting with a clean slate makes that easier.
Now here’s the key: designate specific zones in your fridge before you put anything back.
The top shelf gets ready-to-eat items and leftovers in clear containers. This is your “eat first” zone. Nothing goes here unless it’s prepared and ready to consume.
Middle shelves hold dairy, eggs, and open products. Use clear bins to group similar items—one bin for yogurt, another for cheese, another for sandwich ingredients.
Bottom shelf is for raw meat and seafood in sealed, clear containers. This placement prevents cross-contamination if anything leaks.
Drawers store produce in clear containers or bags. Separate fruits from vegetables since many fruits release ethylene gas that makes vegetables spoil faster.
Door shelves get condiments, beverages, and items that aren’t temperature-sensitive. Use narrow, clear containers to maximize this space.
The Labeling Strategy That Actually Works
Even with clear containers, labels prevent confusion and track freshness.
Use removable labels or a label maker for anything that isn’t immediately obvious. Write both the contents and the date you stored it.
For prepared meals, note what it is and when it expires. “Chicken stir-fry – eat by Jan 30” tells you everything you need to know at a glance.
Dry-erase markers work brilliantly on glass and acrylic containers. Write directly on the container with the date, then wipe it clean when you wash it—no stickers to replace or sticky residue to deal with.
Skip the label on items where the contents are genuinely obvious. You don’t need to label a container of whole strawberries. Save labeling for things that might be ambiguous.
Maintaining the System Long-Term
The best organizational system in the world fails without maintenance. Schedule two specific times each week for fridge maintenance.
Before grocery shopping, do a complete fridge inventory. Move everything to the front of the shelves so you can see what you have. This prevents buying duplicates and reminds you what needs to be used up.
Transfer any store packaging to clear containers as soon as you unpack groceries. Don’t tell yourself you’ll do it later. You won’t. Those berries need to come out of the plastic clamshell immediately and go into a clear container where air can circulate.
Mid-week, do a quick check. Move older items to the front and toward eye level. Push newer items to the back. This rotation system ensures you use food before it expires.
Clean containers as soon as they’re empty. Letting them pile up in the sink creates resistance to using them again. Wash, dry, and put them away immediately so they’re ready when you need them.
Specific Foods That Need Special Container Treatment
Leafy greens last longest in clear containers lined with paper towels. The towels absorb excess moisture that causes wilting. Change the towels every few days.
Berries should never be washed before storage. Put them in clear containers with a paper towel at the bottom. Wash them only right before eating.
Cut vegetables need airtight, clear containers with just slightly damp paper towels. Too much moisture causes slime, too little causes drying out.
Cheese stays freshest wrapped in parchment paper inside a clear container. This allows it to breathe while maintaining moisture.
Fresh herbs stand upright in clear containers with an inch of water at the bottom, like flowers in a vase. Cover loosely with a plastic bag.
The Weekly Meal Prep Advantage
Clear containers transform meal prep from a chore into a visual system that keeps you on track.
Prep meals on Sunday and store them in identical clear containers stacked in order. Monday’s lunch sits on top, Tuesday’s behind it, and so on. You grab the front container each day without thinking.
Portion snacks into small, clear containers at the beginning of the week. Baby carrots, hummus, cut fruit, and nuts all stay fresh and are grab-and-go ready. This single habit dramatically reduces impulse snacking on junk food.
Pre-wash and cut vegetables for the week. Store each type in its own clear container. When you’re cooking, everything is ready to use. The visibility reminds you actually to use them.
Common Mistakes to Avoid
Buying containers before measuring your fridge space wastes money and creates frustration. Measure your shelves first, then buy containers that fit.
Filling containers to the absolute brim leaves no room for air circulation and makes them difficult to stack. Leave a half-inch of space at the top.
Using containers with complicated lids guarantees you’ll stop using them. Lids should snap on and off easily with one hand. If you need two hands and perfect alignment, you’ll get frustrated and quit.
Storing empty containers with lids attached wastes massive amounts of space—store lids separately in one larger container or bin.
The Cost-Benefit Reality
Quality clear containers cost money upfront. A complete system might run $100-200, depending on your fridge size and needs.
Compare that to the average family throwing away $1,500 worth of food per year. If clear containers help you reduce food waste by even 50%, they pay for themselves in about two months.
Cheap containers crack, stain, and need replacing frequently. Buying quality once actually costs less over time than replacing cheap containers repeatedly.
Making It Work for Your Family
Get everyone involved in the system. Kids can help move items to the front during inventory checks. Partners can take turns with mid-week rotations.
Create an “eat this first” bin on the top shelf. Anything approaching its expiration date goes here, where everyone can see it. Make it a game to empty this bin before grocery shopping.
Take photos of your organized fridge and put them on the fridge door. When things get messy, the photo reminds everyone what the system should look like.
The Real Impact
Clear fridge containers do more than organize food. They change your entire relationship with your kitchen.
You save money by wasting less and buying only what you need. You eat healthier because fresh produce is visible and ready to use. You reduce stress because you always know what’s for dinner.
Most importantly, you stop throwing away food that costs you money and time to buy. Every item you can see is an item you’ll actually use.
Start with just the basics. Get enough containers to store your leftovers and most-used produce. As you see the system working, expand it gradually until your entire fridge operates this way.