Installing an IKEA kitchen can save you thousands of dollars compared to hiring professionals, but only if you get it right the first time. After helping dozens of homeowners through their IKEA kitchen projects, I’ve seen the same mistakes pop up again and again. These errors can cost you time, money, and a lot of frustration.
Skipping the Planning Phase
The biggest mistake happens before you even open a box. Many people rush into assembly without proper planning, and that’s where things go sideways.
Take actual measurements of your space at least three times. Walls aren’t always straight, floors aren’t always level, and that half-inch difference you ignored during planning becomes a massive headache during installation.
Create a detailed layout using IKEA’s planning tools, but don’t trust them unquestioningly. Double-check every dimension against your real kitchen.
Mark the positions of electrical outlets, plumbing lines, and gas connections on your plan. You’d be surprised how many people realize their sink placement blocks an outlet only after the cabinets are up.
Not Reading the Instructions Completely
I know those instruction manuals look intimidating, but reading them from start to finish before touching a single screw saves hours of backtracking.
IKEA instructions use a visual system that works well once you understand it. Spend 20 minutes studying the symbols and assembly sequence for your first cabinet. That small time investment prevents you from assembling things backward or missing critical steps.
Pay special attention to the small detail boxes in the instructions. Those tiny diagrams show essential information about rail positions, adjustment mechanisms, and connection points that people commonly miss.
Mixing Up Similar Parts
IKEA cabinets come with dozens of similar-looking parts. Mixing up a 12mm screw with a 15mm screw seems minor until your cabinet door won’t close properly.
Before starting assembly, sort all hardware into labeled containers or a tackle box. Group screws by length, separate dowels from cam locks, and keep different types of brackets apart. This organization takes 15 minutes but saves you from constantly hunting for the right piece.
Take photos of the hardware layout from the instruction manual when you’re three cabinets deep into assembly and second-guessing which screw goes where; those photos become invaluable.
Improper Wall Attachment
Your cabinets are only as secure as their wall connection. This is where I see the most dangerous mistakes.
Always locate studs properly using a quality stud finder. Those suspension rails must attach to studs, not just drywall. If your studs don’t line up with the rail holes, you need to add blocking or use alternative mounting methods.
The standard suspension rail system works great when installed correctly. The rail should be perfectly level across its entire length. Even a slight tilt multiplies across multiple cabinets, leaving you with a visibly crooked kitchen.
For upper cabinets, never rely solely on the suspension rail. Add additional screws through the cabinet backs into studs for redundancy. Your cabinets will hold heavy dishes, and you don’t want any surprises down the line.
Ignoring the Importance of Leveling
Level cabinets are non-negotiable. An unlevel base creates problems that cascade through your entire installation.
Start with your base cabinets and get them absolutely level in both directions. Use the adjustable legs to compensate for uneven floors. Check the level after every adjustment and before moving to the next cabinet.
Most floors aren’t level, so you’ll likely need different leg heights across your run of cabinets. Mark the final leg positions once you achieve the level, so if a leg gets bumped during installation, you can return it to the correct height.
Upper cabinets need the same attention to detail. A level that’s accurate to 1/16 of an inch is worth the investment. Digital levels make this process easier and more accurate.
Rushing the Cabinet Assembly
Speed kills quality in IKEA cabinet assembly. Taking shortcuts during the build process creates weak joints that fail over time.
Tighten cam locks properly, but don’t overtighten them. The cam should be snug enough that the joint doesn’t move, but forcing it too tight can strip the particleboard or crack the connector. Listen for the cam to click into place, then give it about a quarter turn more.
Apply even pressure when joining cabinet sections. Forcing misaligned pieces together, bow panels, and creating stress points. If something doesn’t fit easily, step back and figure out why rather than muscling it together.
Let cabinets settle after initial assembly. Tighten all connections, wait 10 minutes, then go back and snug them up again. The initial tightening compresses the materials slightly, and this second pass ensures everything stays tight.
Poor Spacing Between Cabinets
Gaps between cabinets look unprofessional and create cleaning nightmares. Proper spacing requires attention during installation.
Use the IKEA connector screws to join adjacent cabinets, but check alignment before drilling. The cabinets should be flush at the front, with faces forming a continuous plane. Even a 1/8-inch difference becomes obvious once doors are installed.
Shim cabinets as needed to maintain consistent spacing and alignment. Small adjustments now prevent big problems when you install countertops or try to hang doors.
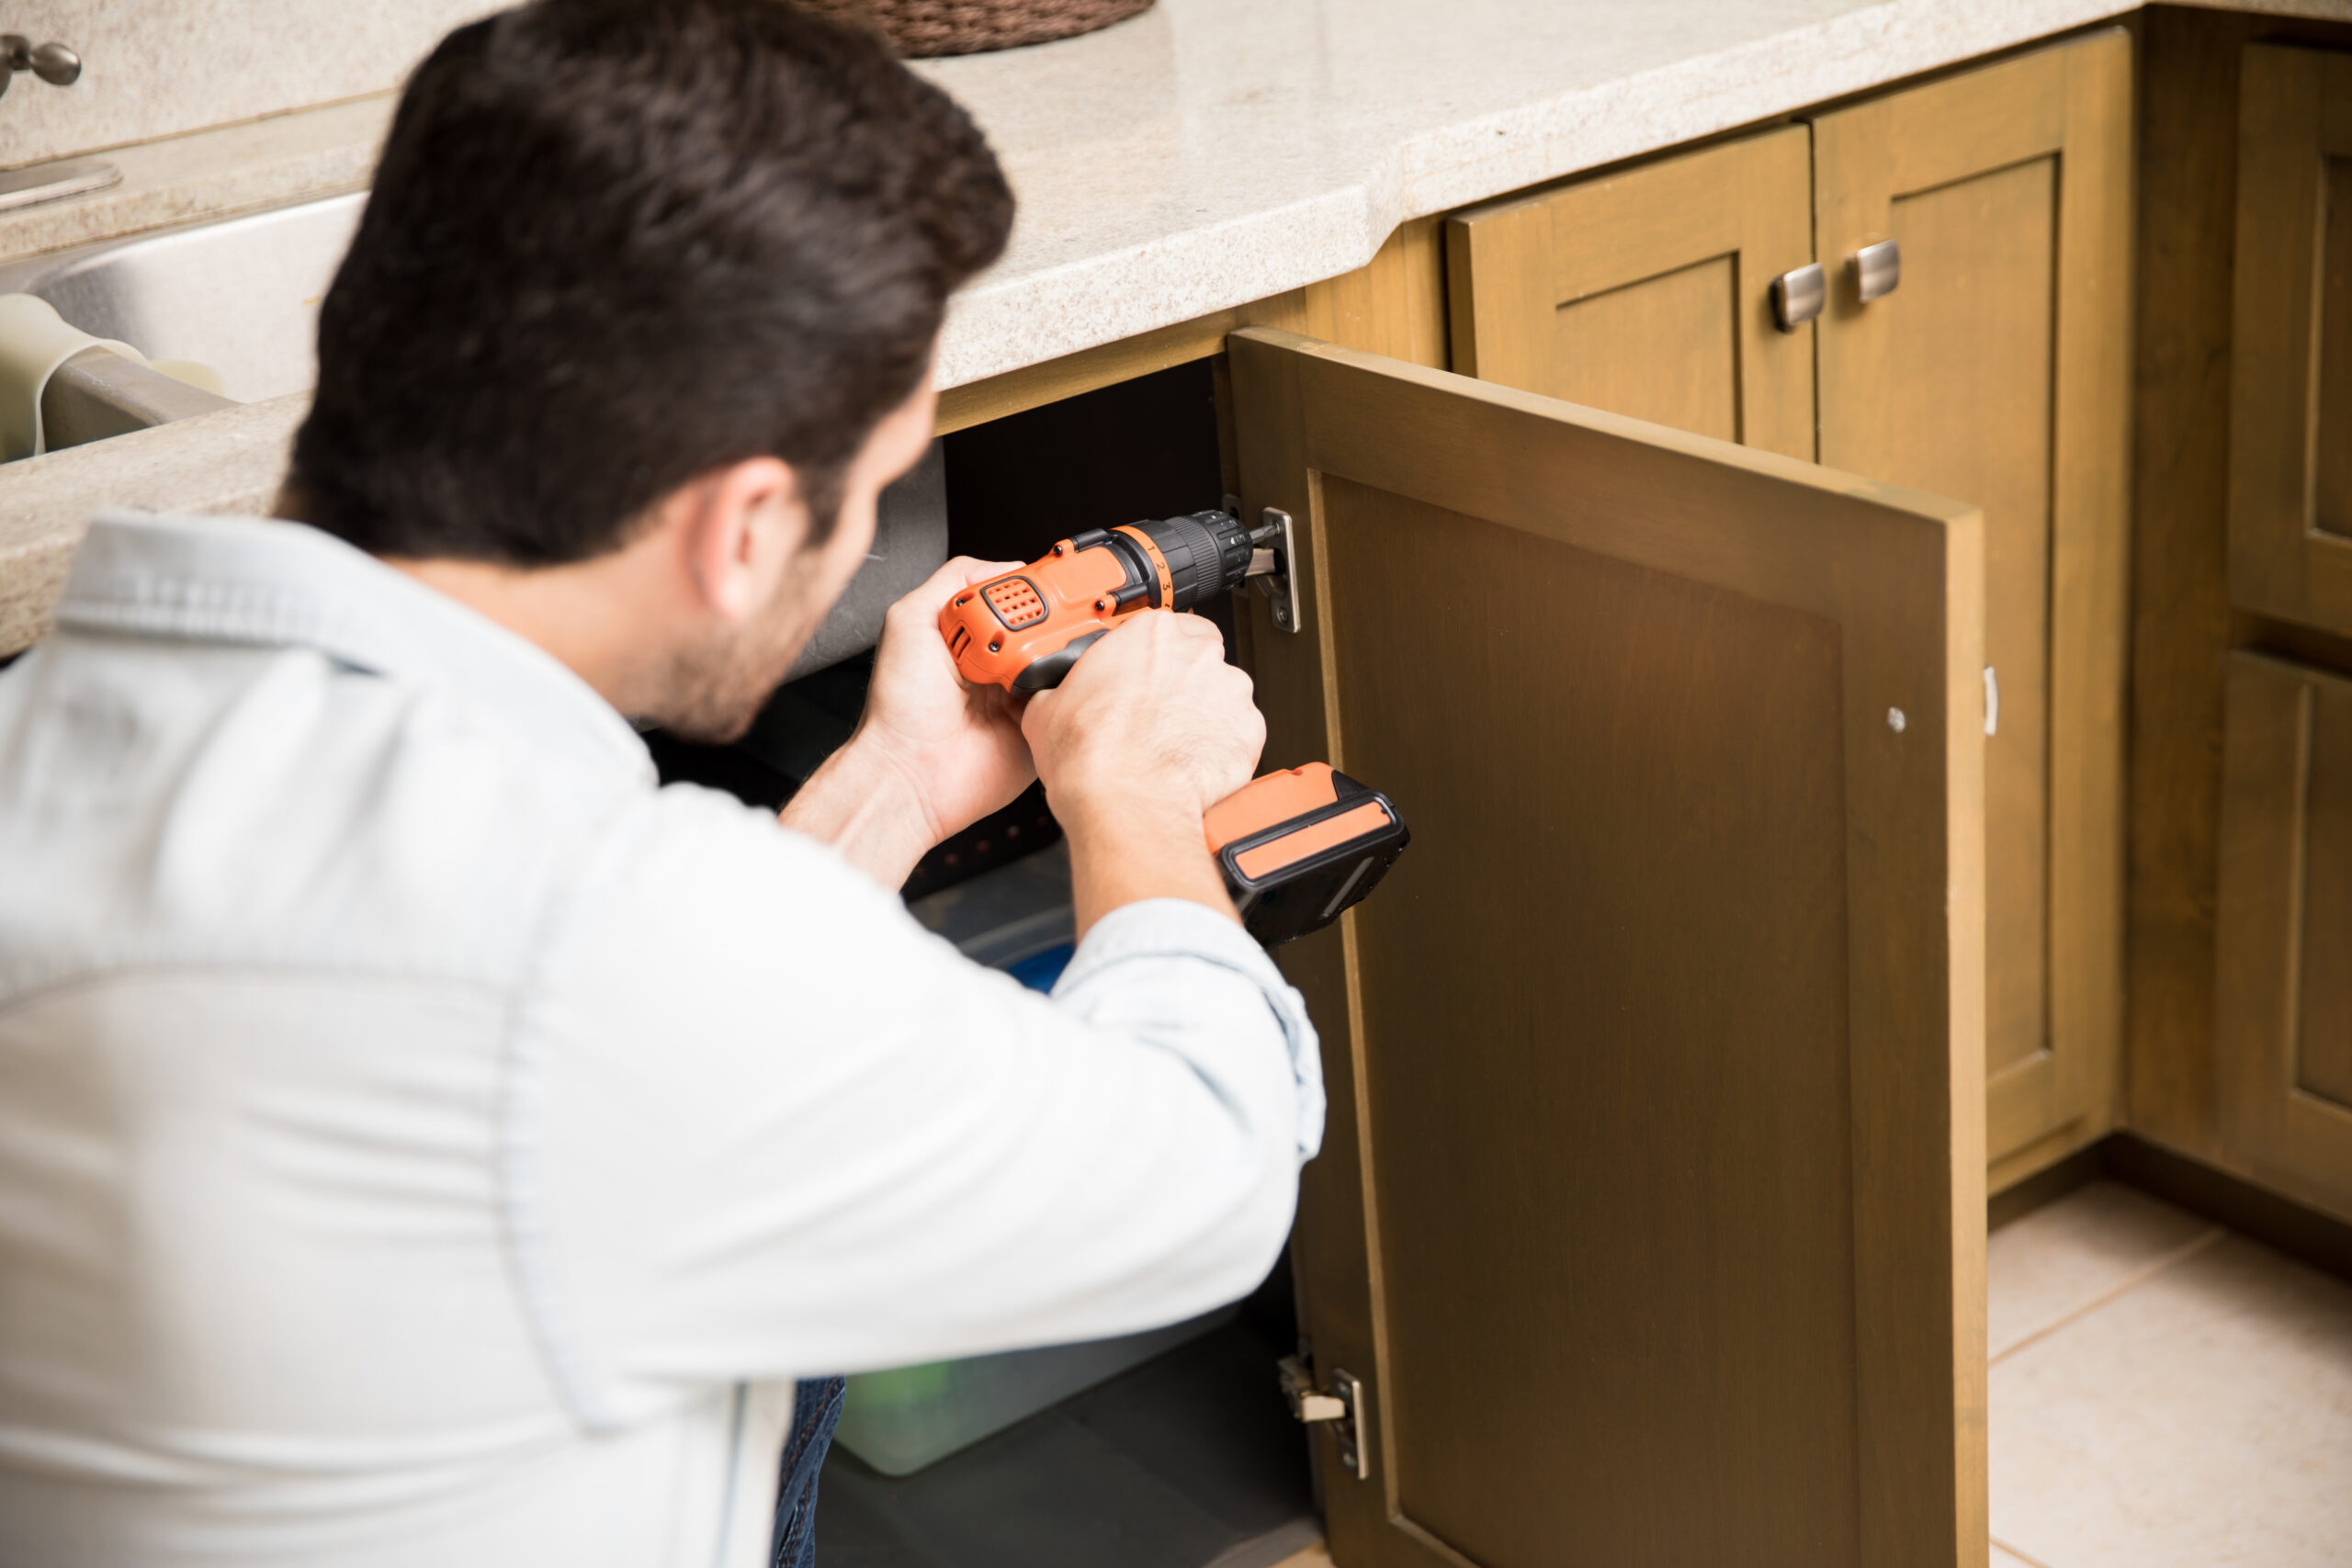
Incorrect Hinge Installation
Door alignment problems usually trace back to hinge installation errors. IKEA uses a specific hinge system that requires precision.
Drill hinge cup holes at the exact depth specified. Too shallow, and the hinge won’t seat properly. Too deep and you risk drilling through the door face. Use a drill press or a quality hinge boring jig for consistent results.
Install hinges with the door attached to check alignment before final tightening. IKEA hinges have adjustment screws for depth, height, and side-to-side positioning. Leave these adjustments for after all doors are hung so you can fine-tune the entire run together.
Common door problems and their fixes:
- Door sits too far forward or back: Adjust the depth screw on the hinge.
- Door is too high or low: Use the height adjustment or reposition the mounting plate.
- Door angles in or out: Adjust the side-to-side screw.
- Gap between doors varies: Check if cabinets are level and properly aligned.
Forgetting About Appliance Clearances
Built-in appliances need specific clearances that you must plan for during installation. Discovering clearance issues after cabinets are installed means major rework.
Dishwashers need space on both sides for proper installation and removal. Check your dishwasher manual for exact requirements, but generally plan for at least 1/4 inch on each side.
Refrigerators require ventilation space, especially if they’re built-in or counter-depth models. Most need several inches at the top and back for airflow. Restricting this space shortens the appliance’s lifespan.
Range installations demand attention to gas line or electrical outlet positions. Position base cabinets so these connections remain accessible.
Skipping the Toe Kick Installation
The toe kick seems like a minor detail, but incorrect installation creates problems.
Install toe kicks after all base cabinets are level, connected, and secured. The kick should run continuously across the cabinet fronts, hiding the adjustable legs and creating a finished look.
Leave access panels in the toe kick at locations where you might need to adjust cabinet legs in the future. Wood floors settle, houses shift, and having access to make adjustments without removing the entire toe kick saves massive headaches.
Cut toe kicks carefully to fit around obstacles like pipes or floor vents. Sloppy cuts here are visible and difficult to hide.
Inadequate Support for Countertops
Countertops are heavy and need proper support along their entire span. Relying only on the cabinet frame invites sagging and potential failure.
Add support rails across the top of base cabinets before installing countertops. IKEA provides these rails with some systems, but verify you have adequate support for your specific countertop material.
Stone countertops especially need robust support. If you’re installing granite, quartz, or marble, consult with your countertop fabricator about support requirements. You may need additional brackets or blocking beyond what IKEA provides.
Large unsupported spans need extra attention. Any countertop spanning over 24 inches without cabinet support underneath should have additional brackets or corbels.
Not Accounting for Filler Pieces
Filler strips fill gaps between cabinets and walls or appliances, creating a custom look. Forgetting about fillers or installing them incorrectly screams amateur installation.
Measure for fillers after the cabinets are installed and leveled. Wall irregularities mean the gap width often varies from top to bottom. Cut fillers to follow the wall contour rather than assuming a uniform gap.
Install fillers on the hinge side of corner cabinets to provide door clearance. Without proper filler width, doors bind against walls or adjacent cabinets.
Match filler material to your cabinet finish. IKEA sells pre-finished fillers that match their cabinet lines, but you can also use edge-banded plywood if you need custom sizes.
Improper Drawer Installation
Drawer problems frustrate homeowners more than almost anything else in a kitchen. Most issues come from installation mistakes.
Install drawer slides perfectly level and at consistent heights. Use a template or measuring jig to mark slide positions across multiple cabinets. Inconsistent drawer heights look bad and affect function.
Check slide extension before final installation. Full-extension slides should pull out completely, giving access to the entire drawer. If slides bind or stop short, something’s misaligned.
Adjust drawer fronts after everything else is complete. IKIA drawer fronts attach with adjustable brackets that let you fine-tune alignment. Get all drawers operating smoothly, then adjust fronts for perfect alignment and even gaps.
Neglecting Electrical and Plumbing Coordination
Cabinet installation must work around existing utilities or incorporate new ones. Coordination mistakes here get expensive quickly.
Mark all electrical outlets and switch locations before cabinet installation. Verify that outlet positions work with your final cabinet layout. Moving an outlet after the cabinets are up costs significantly more than relocating it beforehand.
Plan for under-cabinet lighting during installation. Running wiring after the cabinets are mounted is possible, but messy. Install junction boxes and run cables during the cabinet installation phase.
Coordinate sink and dishwasher plumbing with cabinet installation. Leave adequate access space for connections. Remember that you’ll need to reach these connections for maintenance and eventual replacement.
Missing the Final Quality Check
The installation isn’t complete until you’ve done a thorough quality check. This final step catches issues while they’re still easy to fix.
Test every door and drawer for smooth operation and proper alignment. Open and close each one multiple times. They should operate smoothly without binding, scraping, or requiring excessive force.
Check all cabinet connections and wall attachments. Give cabinets a gentle shake to verify secure mounting. Look for any movement or flex that indicates loose connections.
Verify that all visible surfaces are clean and undamaged. Remove any protective films, clean off fingerprints and smudges, and touch up any scratches or dings.
The Bottom Line
IKEA kitchen installation is entirely doable for determined DIYers, but success depends on avoiding these common mistakes. Take your time with planning, follow instructions carefully, and don’t skip steps to save time.
The few extra hours you invest in doing things right the first time prevent the many frustrated hours of fixing mistakes later.