Have you ever glanced at your old coffee grinds and banana peels and thought, “What a waste”? You’re throwing away free food for your plants.
To get better at gardening, you need to learn how to compost for beginners: transform kitchen scraps into gold for your garden. It’s not just about being good for the environment; it’s also about making the soil with the most nutrients on Earth.
What Exactly is Composting for Beginners?
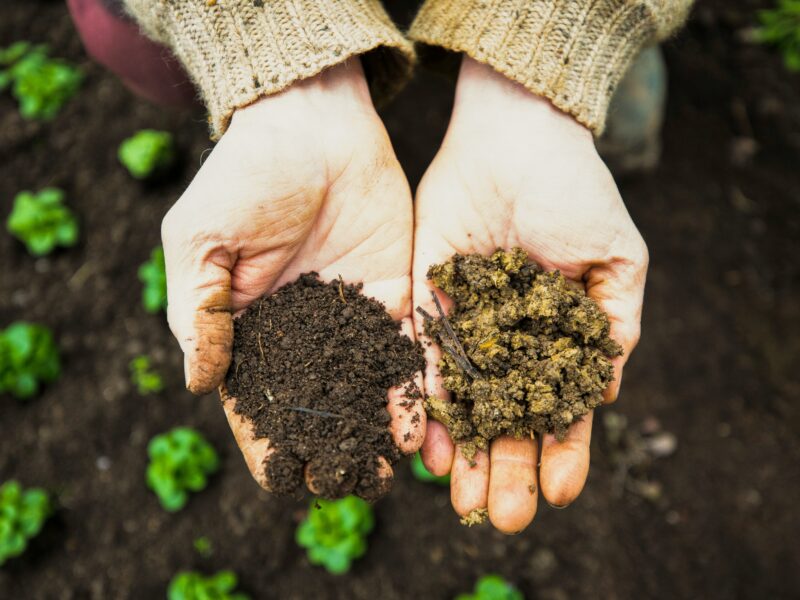
Composting is nature’s technique of recycling at its most basic level. You’re taking things that are alive, like food scraps and yard waste, and letting them break down into a black, crumbly substance.
This “black gold” is full of everything plants need. It makes the soil better, helps it hold on to water, and gives food to the small creatures that help your garden grow.
You don’t need a degree in biology to learn how to compost. Just turn your kitchen scraps into garden gold. It only takes a small bit of time and the correct blend of things.
The Science Made Simple
You don’t have to think too hard about the chemistry here. It’s like a celebration for bacteria and fungi.
They eat your garbage and turn it into food for plants. They only require a healthy diet, some drink, and some air to breathe from you.
Why You Should Start Composting Right Now?
Why make a compost pile when you can go to the shop and buy fertilizer? The item you buy in the store isn’t even close to the actual thing.
- Save Cash: Stop buying expensive soil conditioners and fertilizers. You’re making them for free in your backyard.
- Healthier Plants: Compost-fed plants are tougher. They fight off diseases better and produce more food or flowers.
- Save the Planet: Food waste in landfills produces methane, a nasty greenhouse gas. Composting keeps that waste out of the dump.
- Soil Structure: Whether your soil is like hard bricks or loose sand, compost fixes it. It makes the ground “just right” for roots to spread out.
Pro Tip: According to the Environmental Protection Agency (EPA), food scraps and yard waste currently make up more than 30% of what we throw away. That’s a lot of potential garden gold going to waste!
How Do I Turn Kitchen Waste Into Garden Gold?
To get the best results, you need a mix of two main categories: Greens and Browns. If you get this balance right, your compost will cook down fast and won’t smell like a locker room.
The “Greens” (Nitrogen)
Greens are your nitrogen-rich materials. They provide the protein the microbes need to grow and multiply.
- Kitchen Scraps: Fruit peels, veggie ends, and wilted lettuce.
- Coffee Grounds: Even though they’re brown, they are a massive nitrogen source.
- Fresh Grass Clippings: Just make sure they haven’t been treated with chemical weed killers.
- Green Leaves: Recently fallen or pruned bits from your bushes.
The “Browns” (Carbon)
Browns are the carbon-rich materials. Think of these as the “bread and pasta” for your compost pile—they provide the energy.
- Dry Leaves: The ultimate compost fuel.
- Cardboard: Plain brown boxes (tear them up first!).
- Straw or Hay: Great for adding bulk.
- Paper: Shredded newspapers or junk mail (avoid the shiny, glossy stuff).
The Perfect Ratio
The “secret sauce” for composting for beginners: turn kitchen waste into garden gold, is aiming for a ratio of about 3 parts brown to 1 part green.
If you have too many greens, the pile gets slimy and smelly. If you have too many browns, they sit there and do nothing.
| Material Type | Examples | What it Adds |
| Greens | Veggie scraps, coffee, grass | Nitrogen (The Builder) |
| Browns | Dry leaves, cardboard, straw | Carbon (The Energy) |
| Air & Water | Turning the pile, rain/hose | Life Support |
What to Put In and What to Keep Out?
There are some things in your kitchen that don’t belong in the compost bin. Some things can bring in bugs or make your pile smell bad.
YES: The Good Stuff
- Eggshells (crush them up for faster breakdown).
- Tea bags (remove the staples if they have them).
- Old flowers that have faded.
- Corn cobs and husks.
- Nut shells (except walnuts).
NO: The Bad Stuff
- Meat and Dairy: These will rot and attract rats or raccoons.
- Oily Foods: Fats and oils slow down the composting process.
- Pet Waste: Dog and cat poop can carry pathogens you don’t want in your garden.
- Diseased Plants: You don’t want to spread plant viruses back into your soil.
- Coal Ash: Contains chemicals that can hurt your plants.
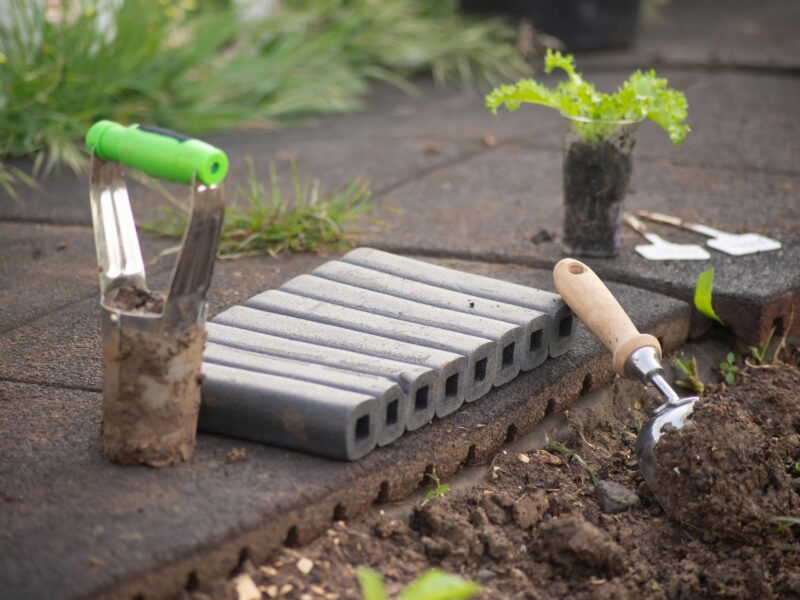
Choosing Your Compost Style: Bins vs. Piles
You don’t need a lot of fancy gear to get started. You have a few good choices, depending on how much space you have and how much work you want to put in.
1. The Classic Open Pile
This is the “set it and forget it” method. You heap everything in a corner of the yard.
- Pros: Totally free, holds a lot of material.
- Cons: Can look messy and might attract local critters.
2. The Enclosed Bin
Great for suburban backyards. These are usually plastic bins with a lid and holes for air.
- Pros: Keeps things tidy and keeps the heat in.
- Cons: Harder to turn the compost inside.
3. The Compost Tumbler
If you want results fast, this is the way to go. It’s a barrel on a stand that you can rotate.
- Pros: Makes compost quickly, easy to turn, keeps pests out.
- Cons: Can be expensive and holds less material.
4. Vermicomposting (Worm Bins)
Perfect for people in apartments or those with tiny yards. You use “Red Wiggler” worms to eat your scraps.
- Pros: Produces the highest quality “gold” (worm castings), can be done indoors.
- Cons: You have to keep the worms alive and happy.
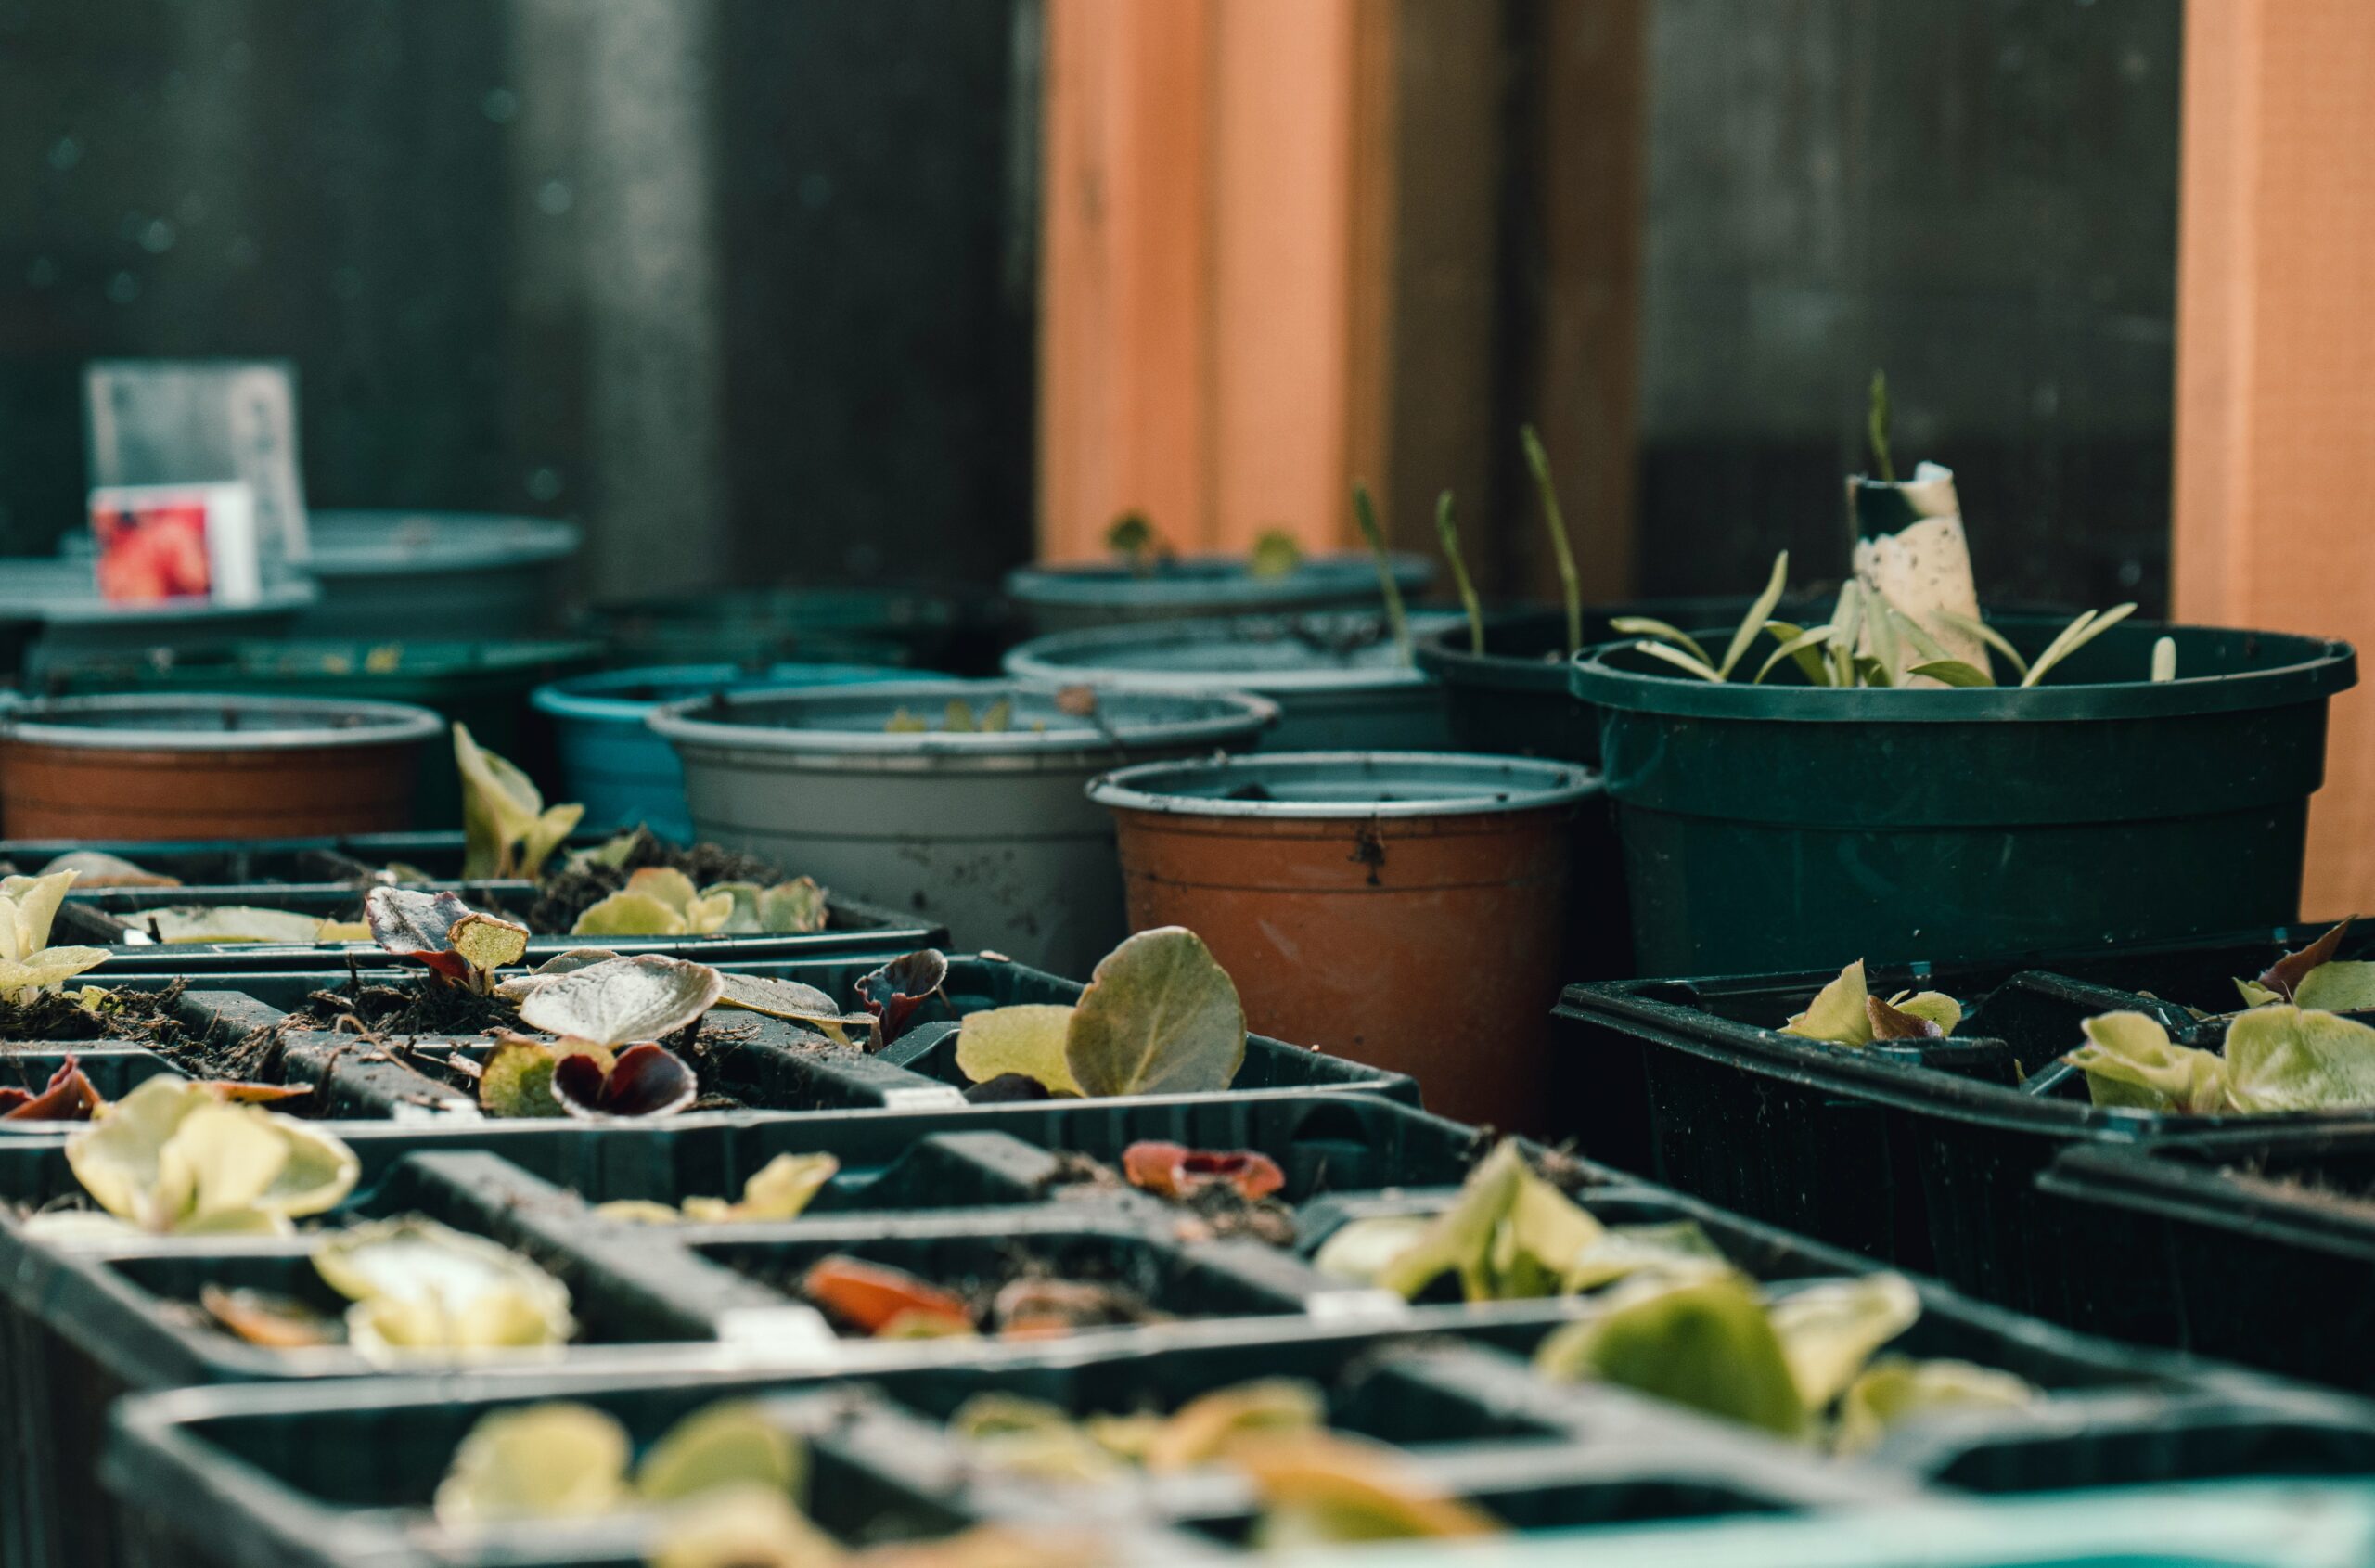
Step-by-Step: Starting Your First Pile
Ready to do this? Follow these steps to kick off your journey of composting for beginners: turn kitchen waste into garden gold.
Step 1: Choose Your Location
Look for a flat site that drains properly. Put your outside pile right on the ground so that worms and bacteria can get to it. It can handle some shade, but too much sun can dry it out.
Step 2: Put your materials in layers
Start with “browns” at the bottom, such as twigs or straw, which let air flow through. Next, put on a layer of “greens.” Keep adding layers like you’re preparing a huge lasagna for the yard.
Step 3: Pour in the water
Your compost should feel like a sponge that has been squeezed out. The bacteria can’t do their job if it’s bone dry. They’ll drown if it’s too wet. If it feels dry, give it a gentle spray with the hose.
Step 4: Turn It Often
Every week or two, use a shovel or pitchfork to mix the mound. This brings oxygen to the center, which is like fuel for the fire that breaks things down. If you’re using a tumbler, spin it a few times.
Step 5: Wait for the Magic
Your compost will be ready in 3 to 12 months, depending on the weather and how often you turn it. It will be done when it looks like black, rich soil and smells like dirt, not rancid.
Troubleshooting: Why Does My Compost Smell?
If your pile starts acting weird, don’t panic. Most problems are easy to fix.
“It smells like rotten eggs or ammonia.”
- The Cause: Too much moisture or too many “greens.”
- The Fix: Add more “browns” (dry leaves or shredded paper) and turn the pile to get some air in there.
“It’s not breaking down at all.”
- The Cause: It’s either too dry or the pieces are too big.
- The Fix: Chop up your scraps smaller, add some water, and toss in a handful of fresh grass or garden soil to jumpstart the microbes.
“Pests are hanging around.”
- The Cause: You probably put meat, fat, or dairy in there, or your scraps are sitting right on top.
- The Fix: Make sure to bury your “greens” under a layer of “browns.” If the problem persists, switch to an enclosed bin or tumbler.
How to Use Your Garden Gold?
Now that you have that nice, crumbly compost, you can use it. This is the “gold” element of composting for beginners: turning trash from the kitchen into gold for the garden.
- Soil Amendment: Mix 2-4 inches of compost into your garden beds before planting. It’s like a multivitamin for your dirt.
- Top Dressing: Spread it around the base of existing plants. Rain will wash the nutrients down to the roots.
- Potting Mix: Mix one part compost with two parts potting soil for your indoor or patio plants.
- Compost Tea: Soak a shovel-full of compost in a bucket of water for 24 hours. Use the “tea” to water your plants for a quick liquid boost.
Advanced Tips for Faster Results
If you want things done right away, these tricks will help you speed up the clock.
- Size Matters: Shred your cardboard and chop your veggie scraps. Smaller surface area means the microbes can eat through it way faster.
- The 3×3 Rule: Try to keep your pile at least 3 feet wide and 3 feet tall. This volume helps the center get hot enough to kill weed seeds and pathogens.
- Monitor the Heat: A “hot” compost pile can reach 130°F to 160°F. If you can see steam coming off your pile on a cold morning, you’re doing it right!
- Use an Activator: If things are sluggish, add a “booster” like alfalfa meal or even a little bit of old compost to introduce fresh microbes.
Wrapping It Up
One of the best things you can do as a gardener is learn how to compost for beginners: transform kitchen waste into garden riches. You help the planet and your plants enjoy their best lives at the same time.
Don’t think of the scraps in your kitchen as trash. They are what make a garden grow and thrive. Start small, keep your greens and browns in check, and before you know it, you’ll be harvesting your own “black gold.”
Frequently Asked Questions
Can I compost in the winter?
The process slows down when it’s freezing, but the microbes are still hanging in there. Keep adding your scraps, and once things thaw out in the spring, the pile will kick back into high gear.
Do I need to buy “Compost Starter”?
Honestly? Not really. A handful of healthy garden soil or some old compost has all the bacteria you need. Save your money for more seeds!
How long does it take to get garden gold?
In a tumbler, you could have finished compost in 4-8 weeks. In a passive backyard pile, it might take a full year. It’s all about how much effort you put into turning and balancing it.