Candle Making at Home: Tools, Wax Types, and Common Mistakes
Pulling your first batch of candles off the table only to discover sinkholes around the wick, a waxy film on the glass, and a perfume so mild it could be unscented is a unique type of frustration.
Most beginners hit a block not because candle manufacturing is complex, but because the underlying reasons for each process are rarely addressed. Understanding the reason for pouring at 140°F is crucial.
This tutorial is organized around that “why.”
Choosing Your Wax: More Than a Marketing Decision
Walk into any candle supply store, and you’ll face a wall of wax options. The choice matters more than most tutorials admit, because wax type determines nearly every other variable: your pouring temperature, your wick size, your fragrance load, and how much patience you’ll need.
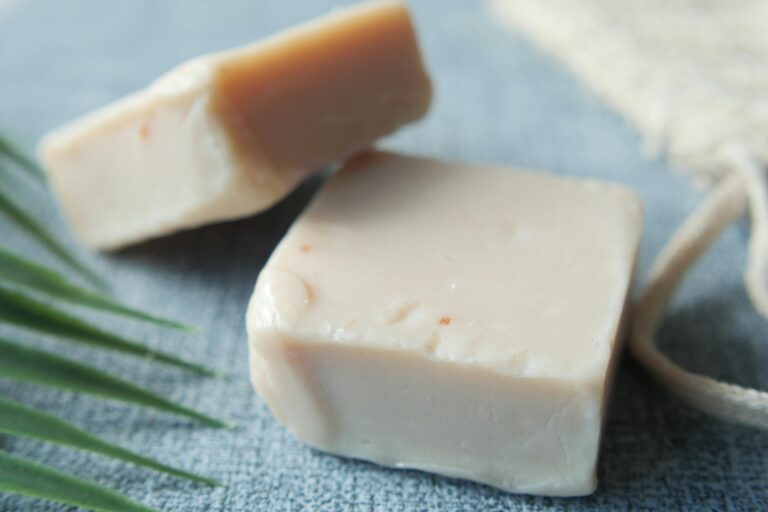
Soy wax (specifically 464 or similar flaked soy) is where most beginners start, and there are good reasons for that. It’s widely available, affordable, burns relatively clean, and has genuine consumer demand. Search volume for “soy candle” dwarfs “paraffin candle” by a significant margin.
That said, soy is also the most temperamental wax to work with. It’s prone to sinkholes, wet spots (where the wax pulls away from the glass), frosting (a white crystalline coating that’s harmless but looks unprofessional), and inconsistent scent throw. Think of it this way: mastering soy wax is like learning to drive in a manual transmission. Once you can do it well, every other wax feels easier.
Coconut soy blends solve several of soy’s problems. They pour hotter, set smoother, and typically give stronger cold and hot throws. The downside is the cost expected to pay 30–50% more per pound than straight soy. For a home hobbyist making 20 candles a month, that difference is manageable. For someone scaling to wholesale, it changes your margin math considerably.
Paraffin delivers the strongest scent throw of any common wax. This is why Yankee Candle and Bath & Body Works built empires on it. But it carries a stigma with modern consumers who associate it with petroleum products, even though the evidence that paraffin candles pose meaningful indoor air quality risks is thin at best.
If you’re making candles for yourself or gifting them, paraffin is worth experimenting with. If you’re building a retail brand, you’ll spend a lot of energy swimming against the current of “clean candle” marketing.
Beeswax deserves a mention for its beautiful natural honey scent and long burn time, but at $8–12 per pound, it’s a significant investment for testing. Reserve it for specialty projects once you have the fundamentals down.
The Three Temperatures You Actually Need to Know
Most candle-making confusion traces back to a single misunderstanding: people treat temperature as one variable when it’s actually three. Each stage has a different purpose.
Melting temperature: how hot you bring the wax into the melter. For most soy waxes, this is around 170–185°F. Going higher risks discoloration; the wax can take on a yellowish tinge that no amount of dye will fully counteract.
Fragrance oil addition temperature: the temperature of your wax when you stir in your fragrance. For soy and coconut soy, this is typically 185°F, not the melt temp and not some arbitrarily lower number.
Adding fragrance at the right temperature matters because the oil molecules need sufficient heat to bind with the wax molecules properly. Add too cool, and you’ll get uneven distribution, poor scent throw, and a higher chance of seepage.
The flash point printed on fragrance oil bottles is often misread as an upper limit for addition; it isn’t. Flash point is the temperature at which the oil could ignite if exposed to an open flame, which is not the same as adding it to hot wax.
Pouring temperature: how cool the wax has gotten by the time it goes into your vessels. For 464 soy, this means letting the wax cool down to somewhere under 140°F before pouring. The physics here are worth understanding: glass is at room temperature, roughly 68–72°F.
Wax poured at 180°F into cold glass contracts violently as it cools, which is what causes adhesion problems and sinkholes. Pouring cooler narrows the temperature differential and gives you a slower, more even cure.
A practical tip that experienced makers use: set your melter 2–3 degrees above your target addition temperature to account for the time it takes to pour wax from the melter into your pitcher and carry it to your workspace.
By the time you’re ready to add fragrance, you’ll be right where you want to be.
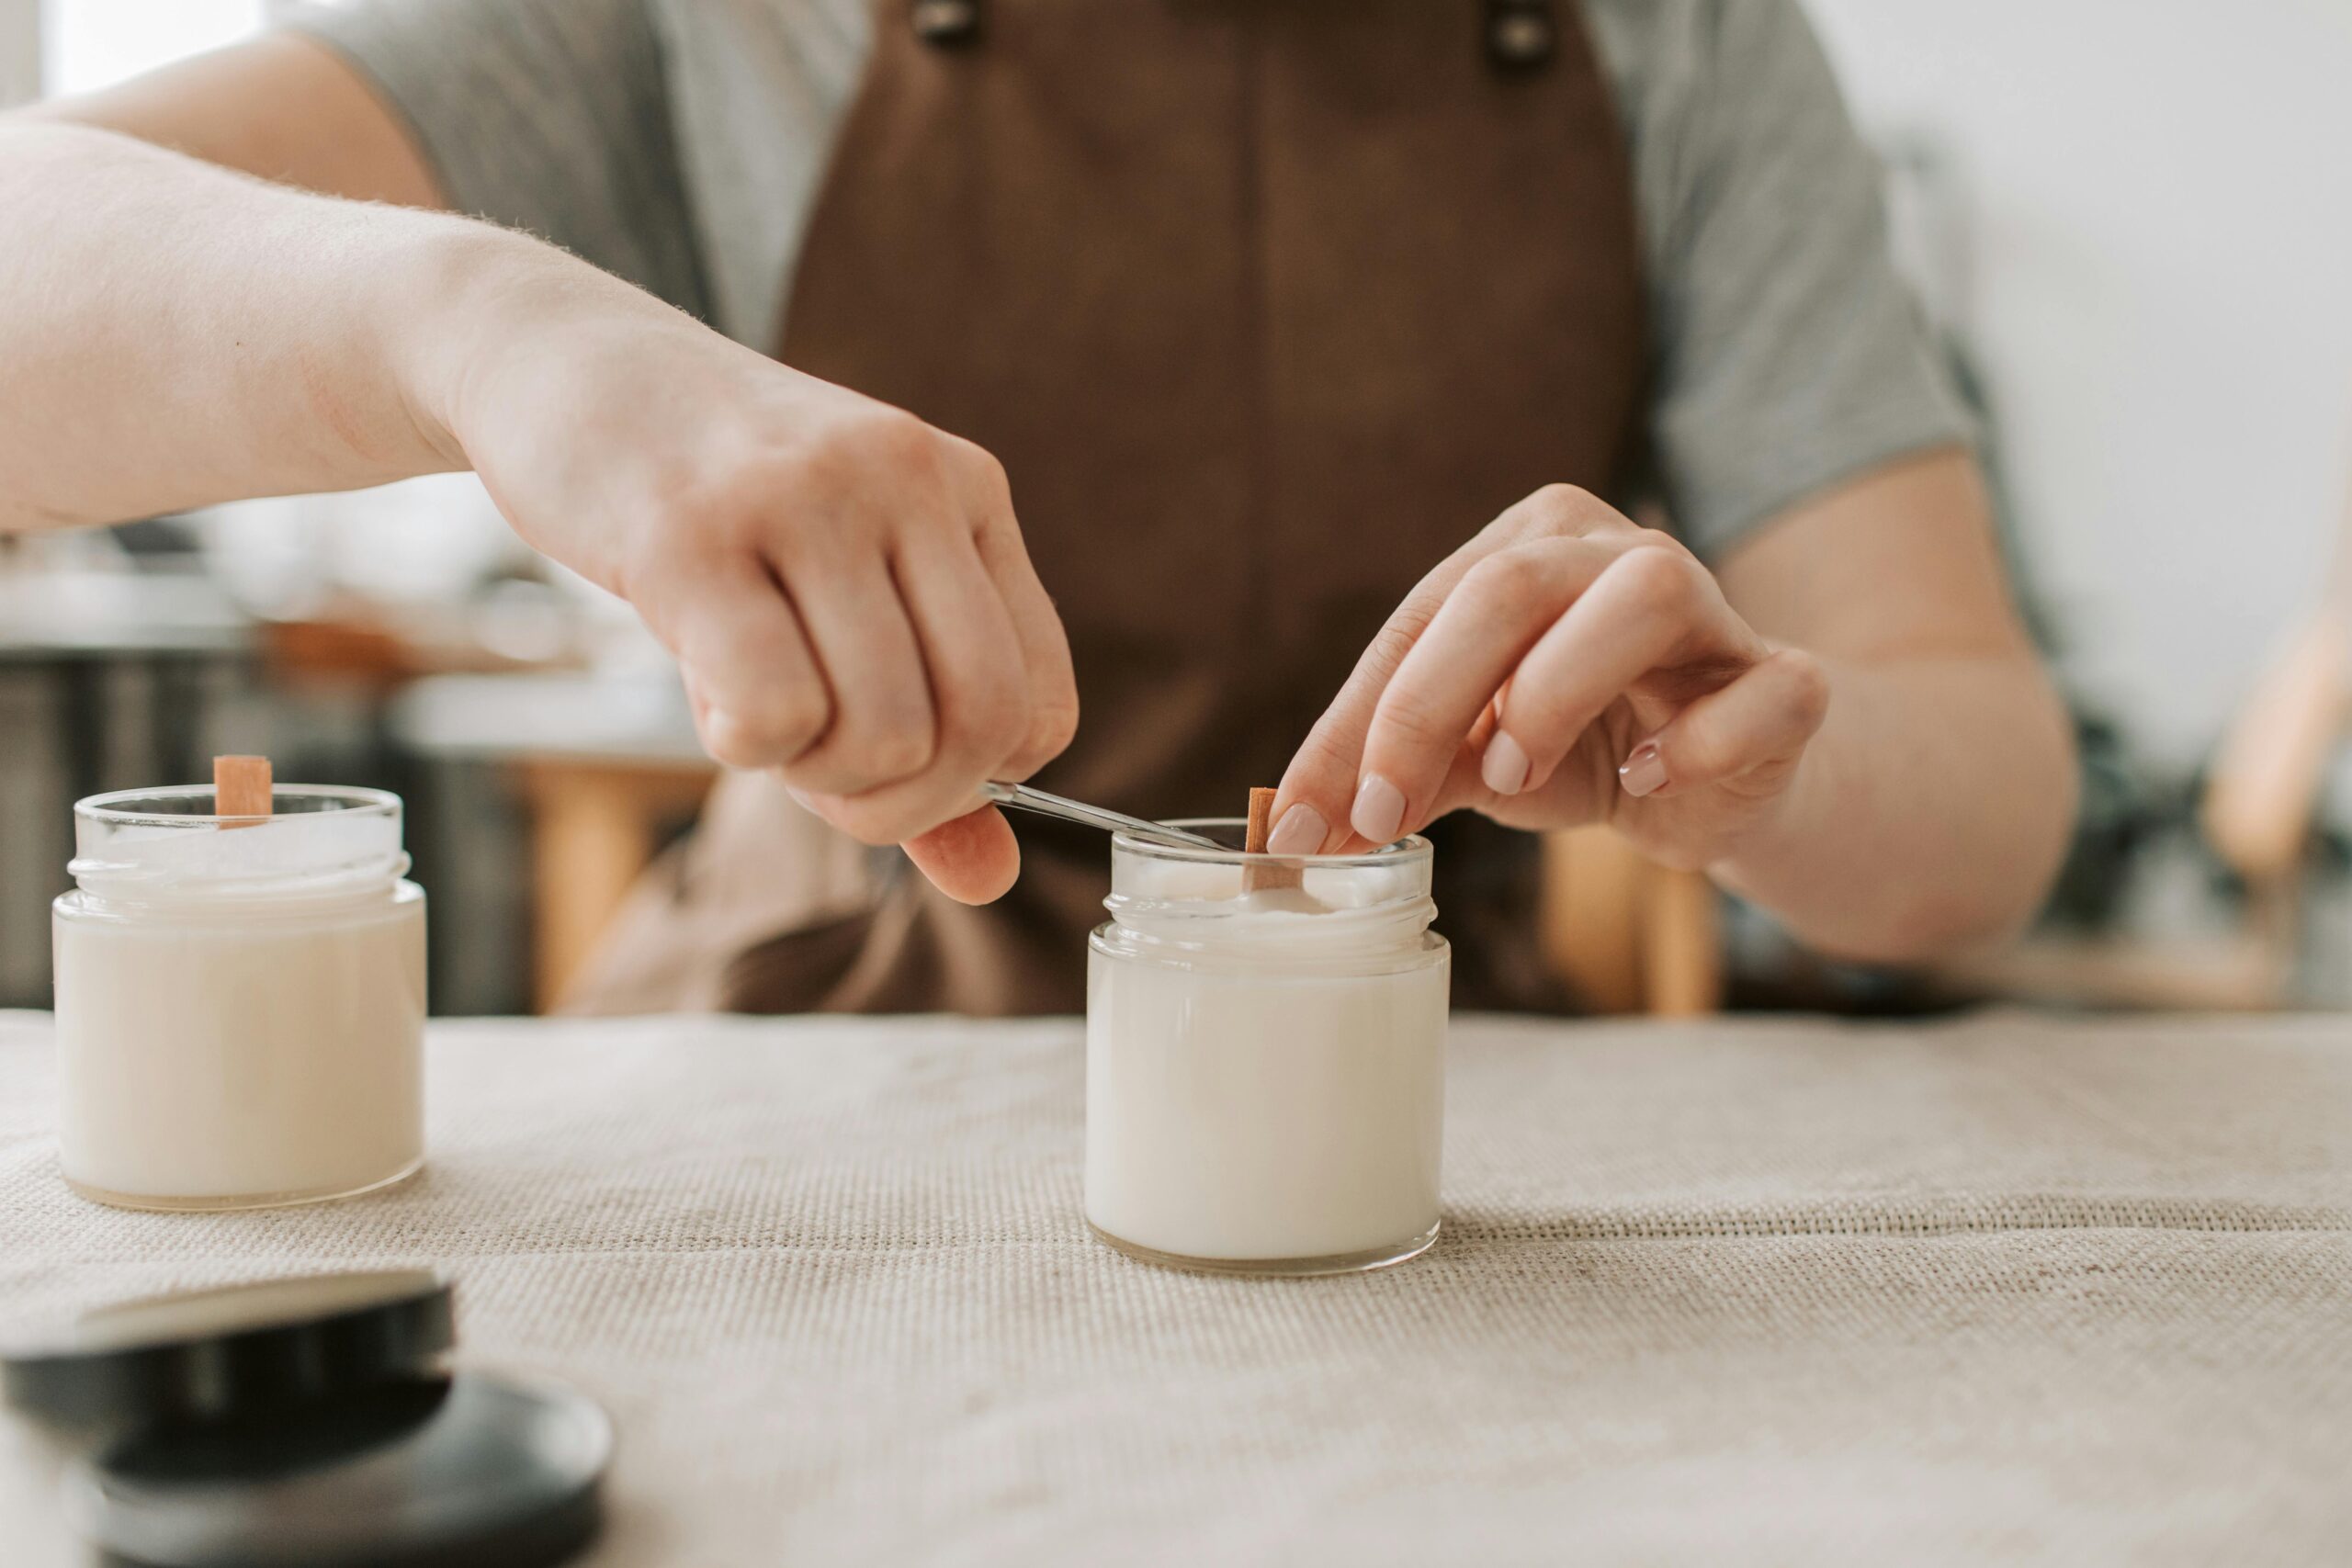
Wicks: The Variable Nobody Talks About Enough
Wicking is probably where more candles fail silently than anywhere else. A candle can look perfect, smooth top, centered wick, clean pour, and still burn poorly because the wick is one size off.
The wick’s job is to draw enough liquid wax up through capillary action to feed the flame and create a full melt pool within roughly two hours of burn time. Too small a wick and the candle tunnels burn straight down the center while the outer wax never melts.
Too large and the flame runs hot, burns through wax faster than it should, and can throw off enough soot to blacken the jar.
Wick sizing depends on four interacting factors: vessel diameter, wax type, fragrance load, and the specific fragrance oil itself. Heavier fragrance molecules (vanilla, musks, foodie scents) make the wax denser and require a stronger wick. Lighter florals or citrus need less wick strength.
This is why candle suppliers publish wick guides as ranges; they’re starting points, not answers.
The only reliable path is burn testing. Pour identical candles with three to four wick sizes into the same vessel. Burn each for two hours, then four, then allow complete cool-down and burn again.
You’re watching for: melt pool diameter (ideally reaching the edges within 2 hours), flame height (should stay under 1 inch), and soot deposits on the glass. This process is tedious but non-negotiable. Skipping it and sending untested candles to customers is how you end up with refunds and fire hazards.
One thing worth knowing about wick adhesion: before pouring, press each wick tab firmly to the vessel bottom, then confirm it holds by lifting the vessel by the wick. If it holds the weight of the glass, the tab is secure.
If the wick pops off during your pour, there are two likely culprits: wax poured too hot (which loosens the adhesive) or a vessel with a slightly convex bottom that prevents full contact.
Essential Tools (and What You Can Skip)
You don’t need much to make good candles. Here’s an honest breakdown:
| Tool | Why It Matters | Budget Option |
|---|---|---|
| Digital kitchen scale | Wax and fragrance must be measured by weight, not volume | Any scale reading to 0.1g, ~$15 |
| Precision scale (0.001g) | For fragrance oil accuracy, especially custom blends | ~$20 on Amazon |
| Probe thermometer | Accurate temperature at every stage | Meat thermometer, ~$12 |
| Pouring pitcher (stainless steel) | Doesn’t absorb scent the way plastic does | Restaurant supply store, ~$18 |
| Heat gun | Fixes sinkholes, smooths tops | Harbor Freight, ~$15 |
| Wick centering bars | Keeps wicks centered while wax sets | Simple wooden sticks work fine |
Things that sound helpful but often aren’t: wick placement tools marketed as “centering aids” that don’t account for vessel variation, candle-specific thermometers (any accurate probe thermometer works), and pre-mixed fragrance kits that don’t tell you their composition.
On melters: if you’re just starting, a Presto pot works well until you’re producing consistently. Specialty wax melters make sense when you’re pouring 50+ candles at a time and need stable temperature control.
The Mistakes That Actually Cost People Time and Money
Changing too many variables at once during testing. If you’re trying to figure out why your candles tunnel, don’t switch wax type, fragrance oil, and wick size simultaneously. You’ll never know what fixed it. Test one variable at a time, keep notes, and be patient. The right fragrance for your testing phase is one you buy in a larger bottle and use consistently across every test batch.
Misreading fragrance load. Most soy waxes hold a maximum of 8–10% fragrance oil by weight of wax. The calculation that trips up beginners: that percentage applies to the wax weight only, not the total batch weight.
And going over the max load doesn’t make candles smell stronger; it makes fragrance seep to the surface, which is both a quality issue and a genuine fire hazard. Candles that seem to spontaneously ignite in social media videos are almost always an overloaded fragrance issue.
Rushing the cure. Soy candles benefit from a curing period of up to two weeks before burning. During this time, the fragrance oil molecules continue bonding with the wax in a process that noticeably improves scent throw. Burn a soy candle the day after you pour it and compare it to the same candle two weeks later. The difference is real. If you’re making candles to sell, factor curing time into your production schedule.
Pouring in a cold or drafty room. Soy wax is sensitive to ambient temperature during the cure. A cold surface (like stainless steel tables) pulls heat from the bottom of the candle faster than the top can release it, causing uneven cooling and sinkholes. A room with drafts creates directional temperature variation that causes the wax to cure unevenly. Wooden work surfaces help because wood is a poor conductor of heat, meaning the bottom of your candle cools at a pace closer to the top.
Ignoring the label math. A 10-oz jar does not hold 10 oz of wax. It holds whatever volume it was designed for, and after accounting for headspace, the wick tab, and a lid recess, if there is one, you may only fill 7–8 oz of actual candle.
Net contents on your label must reflect the actual weight of wax and fragrance oil combined, not the jar’s stated capacity. This matters legally if you’re selling, and it matters practically for accurate pricing.
A Quick Note on Scent Selection
The instinct to offer many scents quickly runs into a wall of practical problems: testing time per scent, inventory fragrance investment, and the cognitive load you put on customers. In retail settings, customers confronted with 30 unlabeled candle options often buy nothing. Boutique collections of 6–8 well-tested, meaningfully named scents consistently outperform sprawling inventories.
Citrus blends and clean florals tend to be universal performers. Woodsy and masculine scents (cedarwood, sandalwood-forward blends) occupy a specific niche but have loyal buyers. Sweet, gourmand scents vanilla, bakery notes are often dismissed by makers who prefer “sophisticated” scents, but end up being strong sellers in practice.
Before you invest in testing a fragrance, ask whether it fills a genuine gap in your current lineup or whether you’re just buying it because it smells interesting to you.
FAQ
Why does my soy candle have white spots on the surface?
That’s soy wax frosting, a natural crystalline restructuring as the wax returns toward its raw state. It’s harmless and actually indicates 100% natural soy. It cannot be permanently eliminated, only reduced through pouring temperature adjustments and certain additives. Most customers don’t notice or care.
Can I use essential oils instead of fragrance oils?
Yes, but with significant limitations. Essential oils have lower flash points than most fragrance oils, meaning they can evaporate before the candle properly cures. They also tend to give weaker hot throws and are significantly more expensive per ounce. If you want aromatherapy claims on your candles, essential oils are worth the trouble. If you just want great scent performance, fragrance oils are more reliable.
How do I know if my wick is the right size without burning multiple test candles?
You can’t, fully. There are industry guides (Candle Science, Brambleberry, and others publish wick guides by vessel diameter and wax type) that narrow the field, but they don’t account for your specific fragrance oil. Use those guides to identify a likely range of two or three wick sizes, then burn test each.
Why does my candle smell great cold but weak when burning?
Weak hot throw despite strong cold throw usually points to one of three things: the fragrance was added at too low a temperature and didn’t fully bind with the wax; the wick is too small to generate enough heat to volatilize the fragrance molecules; or the candle hasn’t cured long enough. Work through those three variables in that order.
What’s the minimum I need to spend to start making candles properly?
A reasonable starter setup, 10 lbs of wax, 3–4 fragrance oil samples, three wick sizes, 12 vessels, a scale, thermometer, and pitcher can be assembled for around $80–120. That’s enough to do meaningful testing. Spending less usually means compromising on wax or wick quality, which makes learning harder.