DIY Soap Making: Cold Process vs Melt-and-Pour
There’s a moment every new soap maker faces, usually standing in front of a craft store display staring at shrink-wrapped blocks of white glycerin base, then crossing to the other aisle where bags of lye sit behind a locked cabinet.
That moment captures the entire fork in the road between melt-and-pour and cold process. One path is forgiving and fast. The other is a chemistry lesson with gorgeous results and a few real consequences if you rush it.
After years of making soap both ways for personal use, as gifts, and in small batches for a local farmers’ market, I can tell you that the “which method is better” question is the wrong one. The right question is which method fits what you’re trying to do right now.
What’s Actually Happening in Each Method
Understanding why these methods feel so different starts with understanding what soap actually is. Soap is the result of saponification: a chemical reaction between fats (oils, butters, lard, tallow) and a strong alkali, typically sodium hydroxide (lye) for bar soap. That reaction transforms the raw ingredients into something entirely new, a salt that cleanses, softens, and lathers.
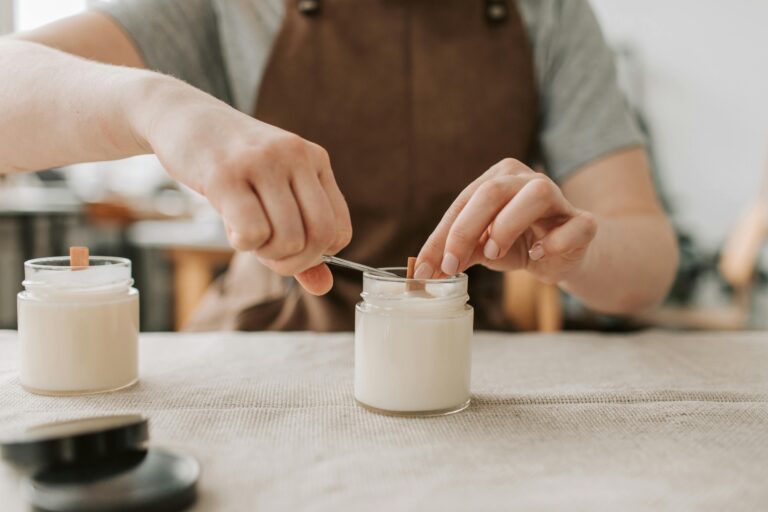
Cold process starts that reaction from scratch. You mix your own lye solution, combine it with oils at specific temperatures, and guide the batter through saponification yourself. The “cold” in the name is a bit misleading; you’re working with solutions that can be 90–120°F, but no external heat is applied once the ingredients are combined. The bars then cure for 4–6 weeks as the reaction completes and excess water evaporates.
Melt-and-pour uses a pre-made soap base where saponification has already happened in a factory. You melt the base, add fragrance, color, and botanicals, pour it into molds, and it’s ready to use in a few hours. You’re a soap stylist, not a soap chemist.
Neither is inherently superior. They’re solving different problems.
The Real Difference in Skin Feel and Ingredients
Here’s something most beginner guides skip: the ingredient control gap is significant.
With the cold process, you can design a bar from the ground up. Want a conditioning bar rich in shea butter and castor oil? You can formulate one with a 5% superfat, meaning 5% of your oils remain unsaponified, leaving free fatty acids on the skin after washing.
That’s a meaningful skincare decision. Want a hard, long-lasting bar for a guest bathroom? Increase your palm or lard percentage. The formulation is yours entirely.
Melt-and-pour bases are mostly opaque about what’s in them. The clearest glycerin base you can buy typically contains water, sorbitol, sodium laureth sulfate, sodium stearate, and propylene glycol.
That’s not necessarily bad; plenty of those bases make lovely, gentle soap, but you’re adding fragrance to someone else’s recipe. If you’re trying to make an “all-natural” bar for someone with sensitive skin, you’ll struggle to verify every ingredient in a commercial base.
That said, the range of available bases has improved dramatically. You can now find palm-free, goat milk, shea, hemp, and even activated charcoal bases that give you a reasonable head start without complete formulation control.
Equipment, Costs, and Getting Started
Melt-and-Pour Setup
The entry cost is genuinely low. A basic kit for 10 bars:
| Item | Approximate Cost |
|---|---|
| 2 lbs glycerin soap base | $8–$12 |
| Silicone loaf mold | $12–$18 |
| Fragrance or essential oil (0.5 oz) | $4–$8 |
| Soap colorant (small set) | $6–$10 |
| Microwave-safe pitcher | Probably already own it |
| Total | ~$30–$50 |
You can make your first batch in under an hour with no safety equipment beyond a towel for spills. The technique is genuinely accessible to anyone, including children with supervision.
Cold Process Setup
Cold process costs more to start because safety gear isn’t optional. Lye (sodium hydroxide) is caustic enough to cause chemical burns on contact. This isn’t a scare tactic; it’s a fact you work around comfortably once you understand it, the same way a home chef learns to respect a sharp knife.
| Item | Approximate Cost |
|---|---|
| Oils (olive, coconut, castor — 3 lb batch) | $15–$25 |
| Sodium hydroxide (lye) | $5–$8 |
| Safety goggles | $8–$12 |
| Nitrile gloves (box) | $10 |
| Stick blender | $20–$35 if you don’t own one |
| Digital kitchen scale | $12–$20 |
| Silicone mold | $12–$18 |
| Dedicated mixing bowls (stainless or heavy plastic) | $15–$25 |
| Total | ~$97–$153 |
Add the 4–6 week cure time, and you’re looking at a higher investment before you hold a finished product. But once your infrastructure is in place, the cost per bar drops considerably. A 3 lb batch typically yields around 8–10 bars at well under $2 each in materials.
A Real Scenario: The First-Time Soap Maker’s Mistake
A friend of mine decided to make cold-process soap for Christmas gifts in late November. She’d watched a few tutorials, bought her supplies, and dove in, but she didn’t account for the cure time.
The bars were still soft and caustic when she needed to give them. She ended up buying store soap for the gifts and curing her batch until February.
The lesson isn’t that the cold process is difficult. It has a timeline that demands planning. If you need soap in three days, melt-and-pour is your answer. If you’re building a soapmaking practice over months, cold process pays off in ways melt-and-pour can’t match.
Design Possibilities: Where Each Method Shines
Melt-and-pour has a real edge in visual complexity. Because the base solidifies quickly at room temperature, you can layer colors precisely, embed small objects or toys inside transparent bars, create swirls by pouring two colors simultaneously, and suspend dried flowers or exfoliants in clear glycerin without them sinking. The working window is short, but the control is high.
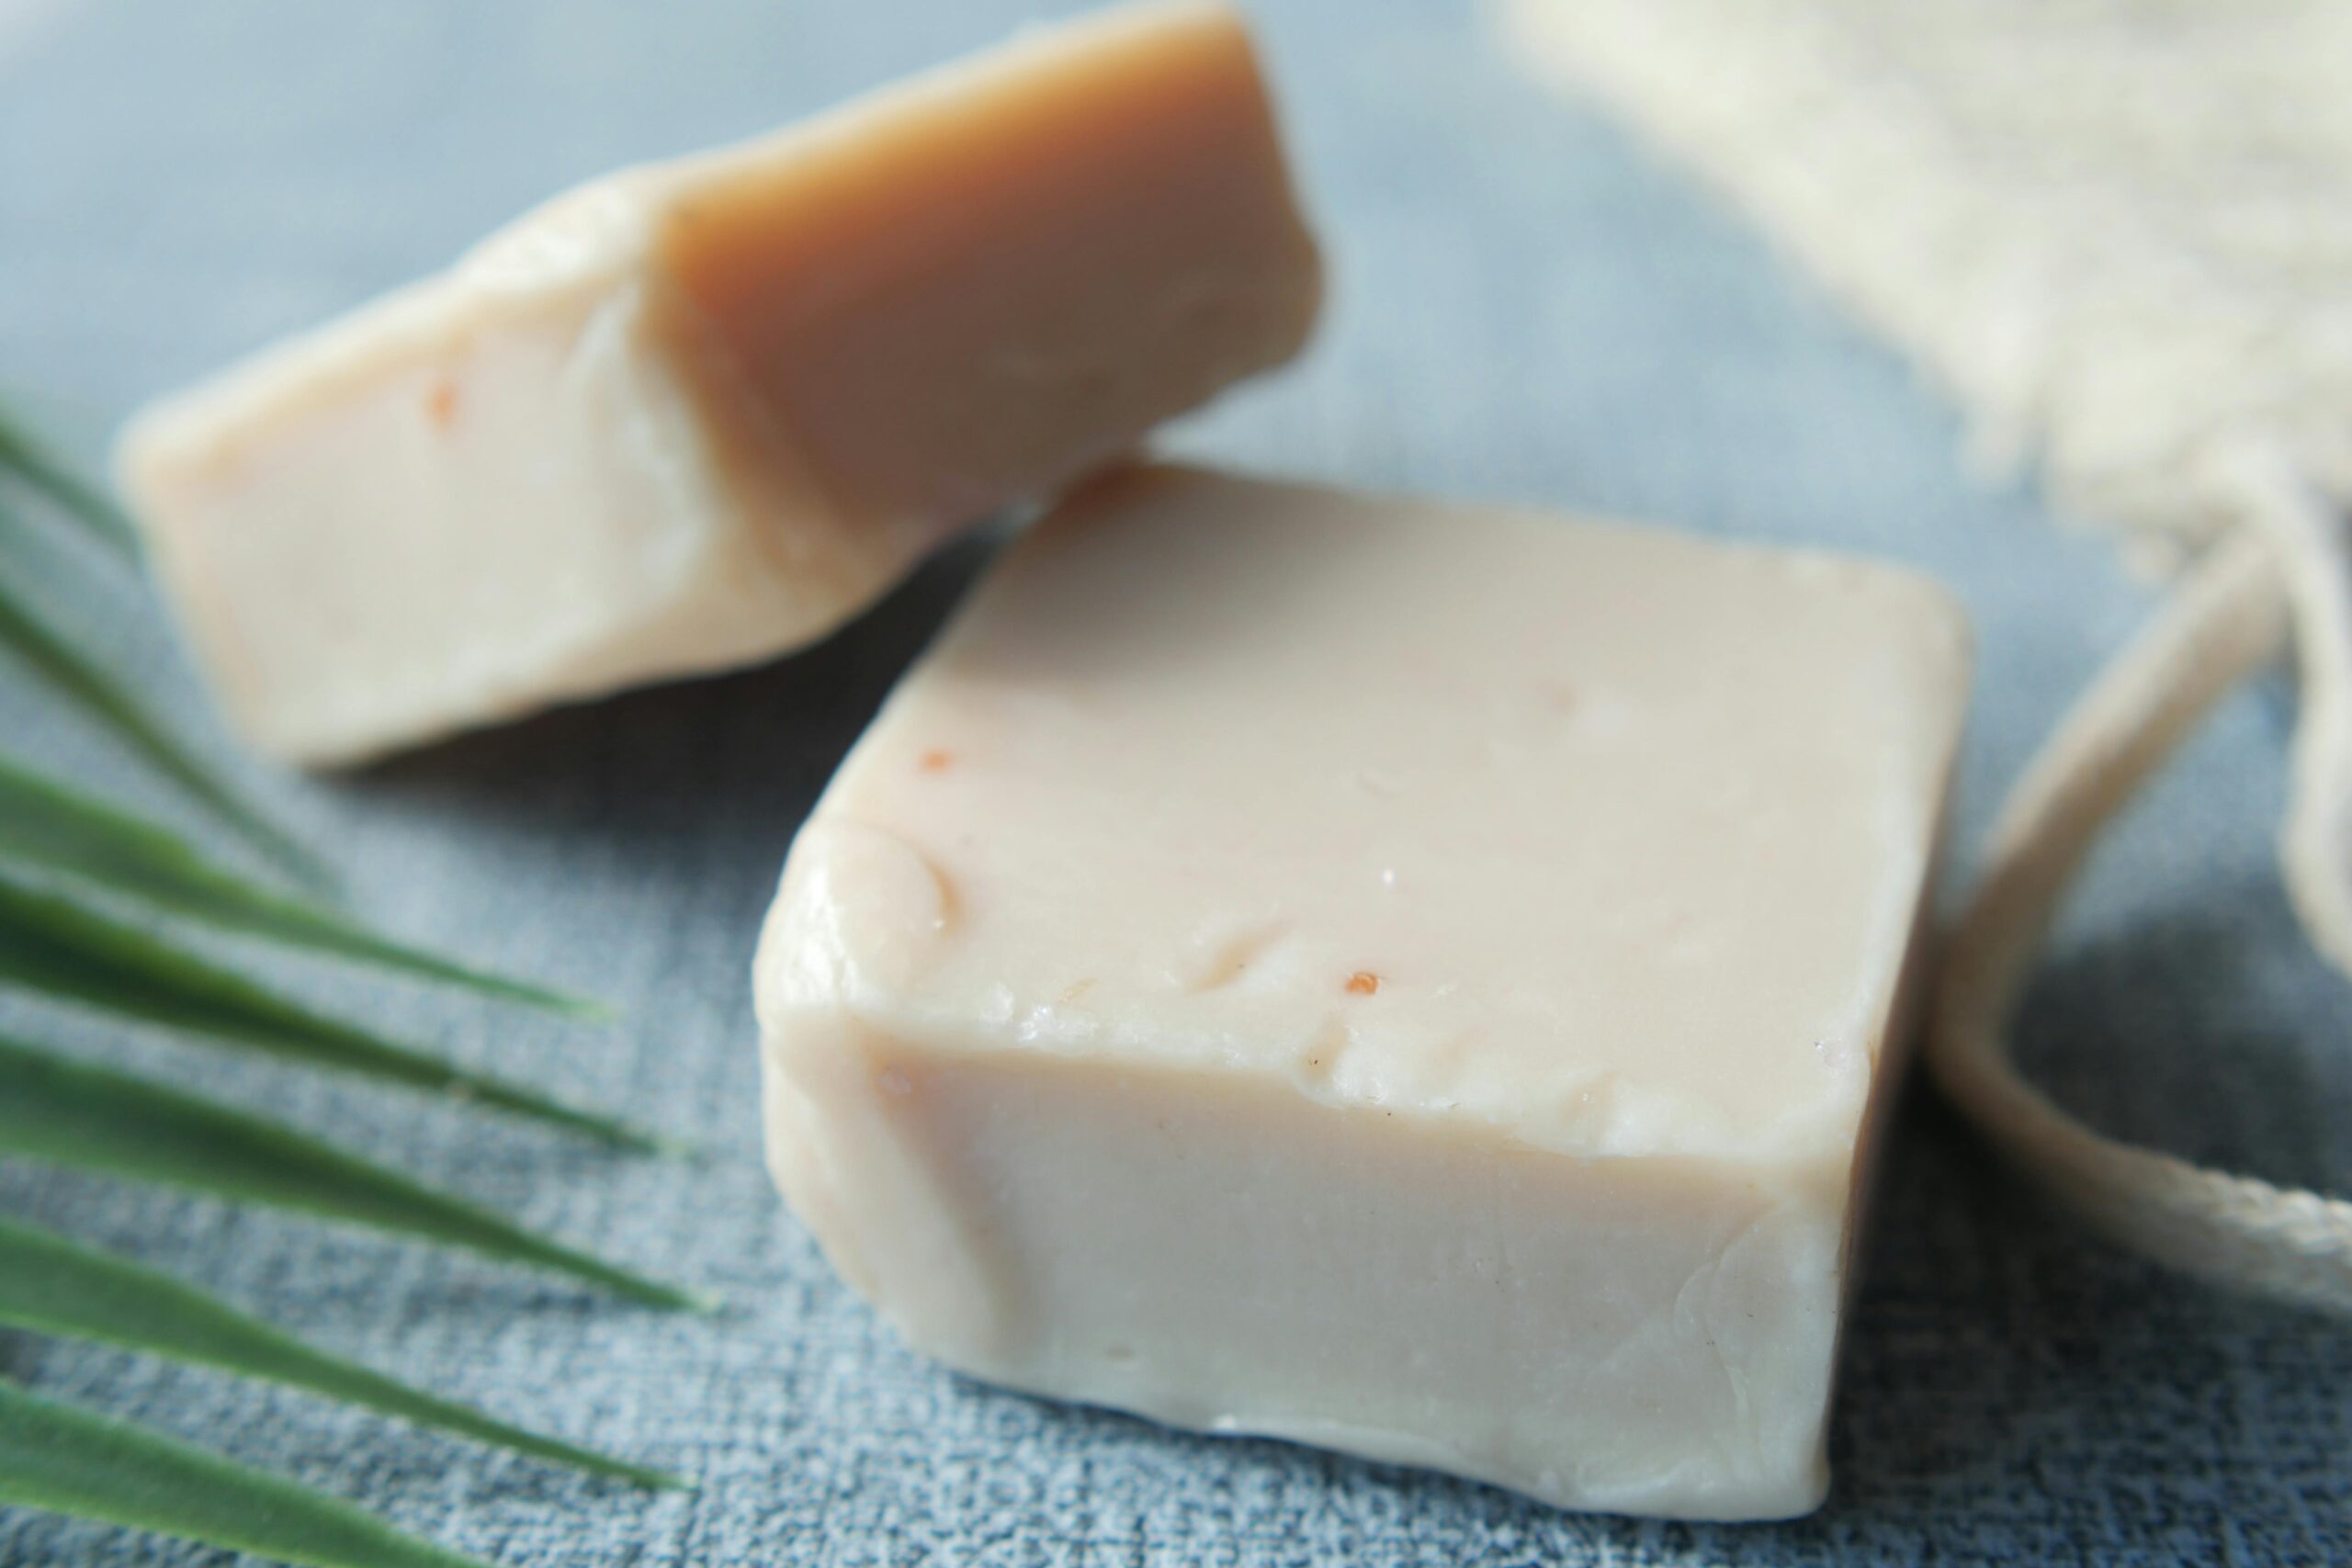
Cold process soap batter behaves more like pancake batter; it flows, it can be swirled, it can be separated into colors, but it continues saponifying in the mold, which means embedded botanicals often turn brown (lavender buds will go from purple to muddy green within days).
Experienced cold process makers work around this by using cosmetic-grade micas for color and reserving botanicals for the top of the bar rather than embedding them.
The most dramatic visual effects in cold process Taiwan swirls, in-the-pot swirls, and hanger swirls reward practice. Your first batch won’t look like the photos you saw on Pinterest, and that’s fine.
Scenting Your Soap: A Practical Note
Both methods can use fragrance oils or essential oils, but the behavior differs.
In melt-and-pour, you add your scent right before pouring, and it stays exactly where you put it. There’s no heat or alkaline environment left to interact with it. Some high-quality fragrance oils do accelerate (thicken) the base slightly, but it’s manageable.
Cold process is harsher on scent. The alkaline environment and the heat generated by saponification can cause fragrance oils to accelerate dramatically, turning fluid batter into a chunky, unusable mass in seconds, a phenomenon called “seizing.”
Some floral and spice fragrances are notorious for it. Before using any new fragrance in a full cold process batch, test it in a small (100g) batch first. It takes 20 minutes and saves you from wasting a full day’s work.
Essential oils are generally more stable but also more expensive, and many (especially citrus oils) fade significantly through saponification. A rule of thumb: budget 3% of your oil weight in fragrance for cold process; 2–3% for melt-and-pour, where the scent has less to fight against.
Common Mistakes Worth Knowing Before You Start
In melt-and-pour:
- Overheating the base, which causes it to weep glycerin (“sweating”) once unmolded, keep temperatures under 160°F.
- Adding water-based ingredients (like aloe juice or real milk) in quantities over 1–2 tablespoons per pound without understanding it will speed up spoilage.
- Pouring too hot into molds containing embeds, which melts whatever’s inside.
In cold process:
- Not using a lye calculator, this one is non-negotiable. SoapCalc and Brambleberry’s lye calculator are both free and accurate. Always, always run your formula before mixing.
- Mixing lye into water instead of water into lye — a minor convention issue to some, a fuming eruption risk to others. Add lye to water, never the reverse.
- Unmolding too early. If your bar feels soft and sticky after 48 hours, it needs more time. Forcing it out risks the bar crumbling or leaving caustic residue on the surface.
- Using containers with a recycling code of 3 or 6 (PVC or polystyrene), these can leach chemicals or warp. Stick to HDPE (#2), stainless steel, or silicone.
Which One Should You Start With?
If you’re completely new, melt-and-pour lets you learn the aesthetics, color blending, fragrance ratios, mold sizing, and the rhythm of the craft without the chemistry overhead. Many dedicated soap makers I know still use melt-and-pour for specific projects where speed or transparency matters more than formulation control.
If you already have some craft experience, some comfort working with precision, and you’re specifically interested in controlling what goes on your skin, start with the cold process.
Take the time to read Kevin Dunn’s Scientific Soapmaking or Anne-Marie Faiola’s Soap Crafting; both are worth the $20 and will save you multiple failed batches.
One practical middle path: start with a simple, proven cold process recipe (the classic 30% coconut oil, 70% olive oil “castile-ish” formula is enormously forgiving) rather than immediately trying to formulate from scratch. Understand the process before you start tweaking the variables.
In Short
The truth is that most committed soap makers eventually do both. Melt-and-pour stays in rotation for quick, visually complex projects. Cold process becomes the practice for bars you actually want to live with long-term. Neither is a shortcut; they’re just different tools for different results.
Frequently Asked Questions
Can I sell melt-and-pour soap as “handmade”?
Legally, this varies by region and marketplace. Etsy’s guidelines require disclosure if a product is resold or significantly made by a third party. In the US, the FDA regulates soap labeling; if you make structure/function claims (“moisturizes” or “heals”), it crosses into cosmetic territory with different requirements. Generally, melt-and-pour is best labeled as “handcrafted” rather than “handmade from scratch.”
Is cold-process soap actually better for sensitive skin?
Not automatically. A poorly formulated cold process bar with a high coconut oil content and no superfat can be as stripping as any commercial cleanser. The advantage is that good cold process formulation can be precisely tailored to high-oleic oil content for gentle cleansing, a higher superfat for extra conditioning, and complete knowledge of every ingredient.
How do I know when cold-process soap is safe to use?
The simplest test is the zap test: touch the bar briefly to the tip of your tongue. If it “zaps” like a battery, there’s still active lye and the bar needs more cure time. No zap means the saponification is complete. After 4–6 weeks of cure in a well-ventilated space, a properly formulated bar should always pass.
Why does cold-process soap need to cure if saponification is already done?
Saponification completes within the first 24–48 hours. Curing is about water evaporation. Freshly made cold process soap can be 30–35% water by weight. As that water leaves over 4–6 weeks, the bar becomes harder, longer-lasting, and develops a smoother, less harsh lather. A technically “safe” bar at day three can still be mushy, high-water, and unpleasant to use.
Can I add fresh ingredients like honey or milk to melt-and-pour?
Yes, in small amounts, typically 1 teaspoon per pound of base for honey, and up to 1 tablespoon of full-fat milk per pound. More than that introduces too much moisture and sugars that can cause molding within weeks. For larger percentages of milk, goat milk melt-and-pour bases are more reliable than adding raw milk post-melt.