In a property as large as The Residences at Commonwealth, staying connected is not just a convenience, it’s a necessity. With eight residential lobbies scattered across different towers, one of our latest IT infrastructure projects was to install internet access in all lobbies.
This blog is all about how we planned, executed, and delivered this challenging yet exciting project, from fiber optic installation to LAN cable deployment using TP-Link Omada media converters and D-Link Gigabit switches.
The Project: Internet for All Lobbies
The goal was simple: ensure all eight tower lobbies have reliable internet access for administrative and security use. But the execution? Not so simple.
Each tower lobby is located around 300 to 500 meters away from the main electrical room, and our internet source is based in my office (Allied Office), which has a PLDT Enterprise 500Mbps symmetrical connection (DL/UL).
The first big question:
“What’s the best way to distribute internet to all lobbies at this distance?”
The Solution: Outdoor Fiber Optic + TP-Link Omada Media Converters
After assessing the layout and distance, I made the decision to use outdoor-rated fiber optic cables paired with:
- TP-Link Omada Gigabit Media Converters
- D-Link 1Gbps 8-Port Unmanaged Switches
Fiber optic was the best choice due to the distance. If we used plain copper LAN cables (Cat5e/Cat6), signal degradation would be a major issue beyond 100 meters. Fiber solves that with virtually zero loss over long distances.
Step 1: Planning the Network Backbone
We started by mapping out the network from my office internet source, leading to each tower’s EE (electrical equipment) room. From there, LAN cables will run up to the lobby areas.
Equipment used:
- Fiber optic cables (outdoor-grade, SC/APC)
- TP-Link Omada Media Converters (fiber-to-Ethernet)
- D-Link 1Gbps switches
- Cat6 LAN cables
- PVC conduit and plastic moldings
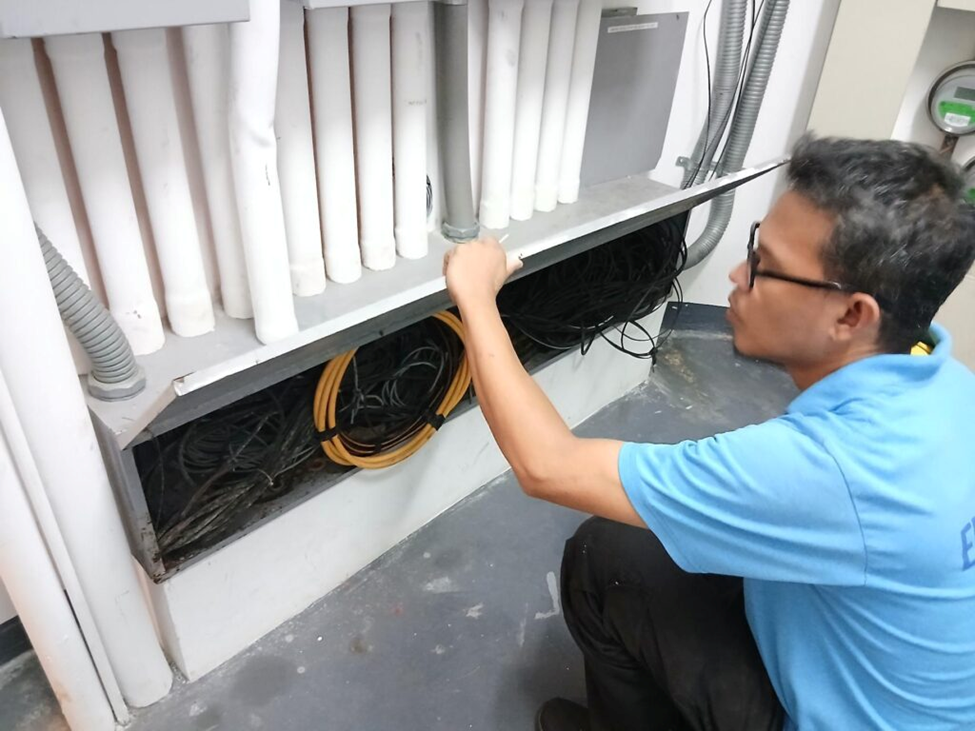
Step 2: Deployment Begins – Thanks to Our Maintenance Team
This was a team effort. Our maintenance and electrician team helped immensely. While I handled the planning and terminations, they did the hard labor, pulling LAN cables across long runs and through ceilings, walls, and electrical ducts.
I made sure to:
- Inspect fiber cable layout
- Confirm power availability in each EE room
- Coordinate with tower engineers for safe installation
Step 3: First Termination – Quirino East Tower
The first tower we completed was Quirino East. I was thrilled; this was my first official fiber optic termination in a workplace.
I’ve done terminations before… at home. But doing this in a real project, with real expectations and real results, it was different. And I’m proud to say:
- Termination successful.
- LAN cable crimping clean.
- Connection tested at 1Gbps.
The lobby PC received a full 500Mbps speed, just like the main line. This proved the fiber backbone and media converter setup worked perfectly.
Tools I Used
In my next blog post, I’ll show you:
- The exact tools I used for fiber optic cable termination
- My go-to crimper for UTP LAN cable
- Where you can buy these tools affordably in the Philippines (Shopee/Lazada links)
Why This Matters
You may be asking, why connect lobbies to the internet?
Well, in a property like ours:
- Receptionists and security staff can access important email and files
- Future IoT projects
Final Thoughts: Planning Is Everything
This project reminded me of the importance of network planning in large properties. It’s not just about “plug and play.” It’s about:
- Choosing the right cable for the right distance
- Making sure your equipment is future-proof
- Working with your team and understanding your site’s layout
I’m grateful for the trust given to me as the site IT, and even more excited for what comes next. This is just the beginning, 1 down, 7 towers to go.
Stay tuned for my next post!
“My Tools for Fiber Optic Termination and Where to Get Them.”