
The realization usually happens the first time you brew a cup of coffee that was roasted just days prior. The hot water hits the grounds, and the coffee aggressively foams and blooms—a visual confirmation of escaping carbon dioxide and volatile aromatics.
Supermarket coffee, no matter the premium branding, rarely behaves this way because it has been sitting on a shelf for weeks or months, slowly losing its vibrancy.
Taking control of the roasting process at home transforms your morning routine from passive consumption into a deeply rewarding craft.
It allows you to tailor flavor profiles exactly to your palate, saves you money on premium beans, and connects you to the agricultural reality of coffee.
Moving from a casual coffee drinker to a home roaster requires an understanding of thermodynamics, green bean density, and the sensory cues that dictate a successful roast.
The Science of the Roast: What Actually Happens Inside the Bean?
Coffee roasting is controlled chemical degradation. A raw, green coffee bean is dense, grassy, and completely undrinkable. As heat is applied, the bean undergoes a massive physical and chemical transformation, losing 11% to 3% of its moisture and expanding significantly in size.
The magic happens during the Maillard reaction and subsequent caramelization. At temperatures just below the caramelization point of sugars, amino acids, and reducing sugars interact to create hundreds of distinct flavor and aroma compounds. If you apply too little heat during this phase, the coffee will lack complexity.
As internal temperatures climb to around 196ºC (385ºF), the remaining water vapor inside the bean forcefully breaks through the cellular structure. This audible popping sound is known as First Crack.
At this stage, you have officially created a light roast, characterized by high acidity and bright, origin-specific flavors.
If you continue to apply heat, the beans will build up carbon dioxide pressure until the cellulose structure begins to fracture further. This leads to Second Crack at approximately 224ºC (435ºF).
The sound is softer, akin to snapping rice cereal. Here, the roast moves into dark territory: natural sugars break down entirely, acidity diminishes, and oils migrate to the surface of the bean, resulting in a heavier body with bittersweet, roasty notes.
Equipment Trade-Offs: Finding Your Ideal Roaster
Your choice of equipment dictates your batch size, the level of control you have over the heat curve, and ultimately, the flavor profile in the cup.
Fluid-bed (air) roasters heat beans quickly using convection, preserving bright acidic notes but often resulting in a more rigid bean structure and a lighter body. Drum roasters take longer, allowing acidic compounds to mellow while increasing the perceived body and mouthfeel of the brewed coffee.
Home Roasting Equipment Comparison
| Method / Device | Heat Transfer | Ideal Batch Size | Pros | Cons |
|---|---|---|---|---|
| Cast Iron Skillet / Stovetop | Conduction | 100g – 200g | Almost zero entry cost; highly tactile. | Extremely difficult to achieve an even roast; heavy smoke production. |
| Hot Air Popcorn Popper | Convection | 75g – 80g | Fast (5-7 mins); cheap and highlights bright acidity. | Small capacity; blows chaff everywhere; not built to withstand repeated high-heat cycles. |
| Entry Air Roaster (e.g., Fresh Roast SR540) | Convection | 120g – 150g | Purpose-built for coffee; features chaff collection; allows precise fan/heat control. | Limited batch size; smoke can still be an issue indoors. |
| Prosumer Drum Roaster (e.g., Kaldi Wide, Behmor) | Conduction & Convection | 300g – 450g | Commercial-style drum replicates professional roasts; excellent for developing body. | Higher upfront cost ($400+); requires separate gas burner (for some models); steep learning curve. |
| Advanced Drum Roaster (e.g., Aillio Bullet R1) | Induction | Up to 1kg | Massive capacity; USB connectivity for software data logging; infinite heat control. | Very expensive ($3000+); overkill for casual hobbyists. |
Designing a Safe and Efficient Roasting Space
Roasting coffee generates heat, smoke, volatile organic compounds (VOCs), and a highly flammable byproduct called chaff, the dried silverskin of the coffee bean.
A poorly ventilated kitchen will quickly fill with eye-watering smoke, and accumulated chaff presents a serious fire hazard if it touches a heating element.
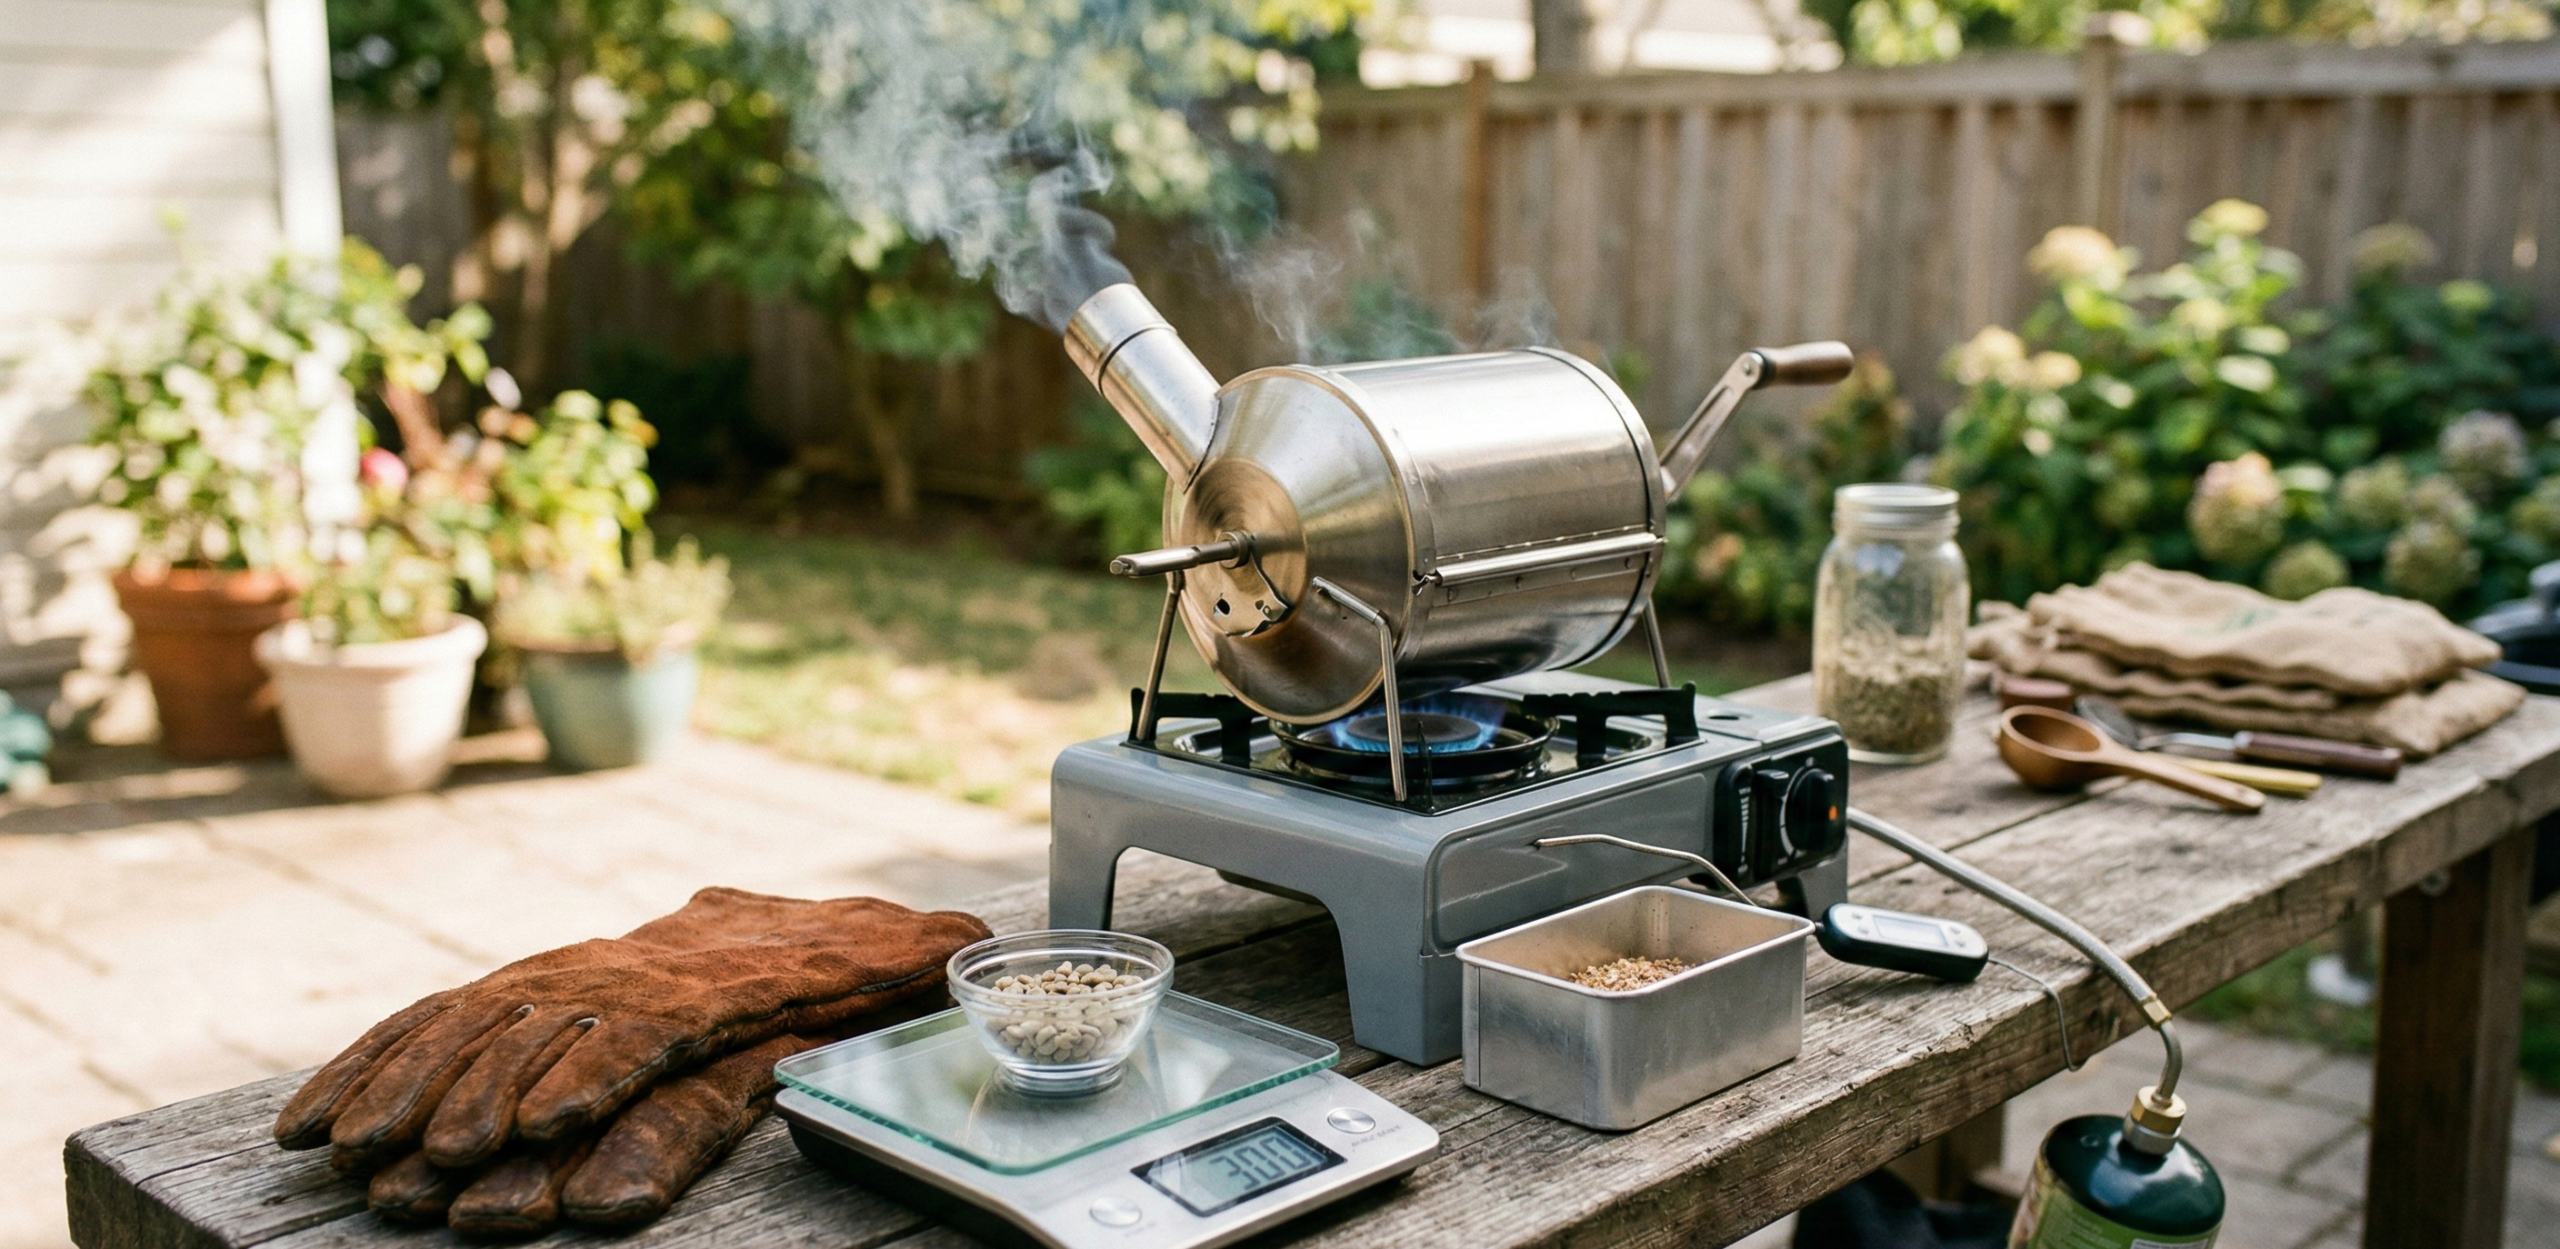
Your workspace must prioritize airflow. If you are roasting indoors, position your setup directly under a high-powered, externally venting range hood. Alternatively, set up a dedicated station in an open garage or outdoors.
Keep a metal bucket with a tight-fitting lid nearby for safe chaff disposal, and never leave an active roast unattended. Always have heat-resistant gloves and a Class ABC fire extinguisher within arm’s reach.
The Roasting Process: A Step-by-Step Implementation
Achieving consistency requires treating each roasting session like a science experiment. Relying on your senses—watching color changes, smelling the shift from grassy to sweet, and listening for the cracks is just as important as reading your thermometer.
1. Preheating and Charging
A cold roaster will stall your initial heat transfer. Preheat your drum roaster to approximately 175ºC (350ºF). Once preheated, drop your pre-weighed green coffee into the roaster. This is called the “charge.”
The internal temperature will drop sharply as the room-temperature beans absorb heat, before bottoming out and beginning to climb—a pivot point known as the turning point.
2. The Drying Phase (0–5 Minutes)
During the first few minutes, the beans will transition from pale green to a yellowish-tan. They will emit a grassy, hay-like aroma. Ensure you have enough airflow to pull the evaporating moisture out of the roasting chamber; otherwise, you risk steaming the beans rather than roasting them.
3. The Maillard Phase (5–8 Minutes)
As the beans turn a deeper brown, the aroma shifts from grassy to toasted bread. The chemical reactions are accelerating here. You want a steady, gradual climb in temperature. If the temperature rises too quickly, the outside of the bean will cook before the inside; if it grows too slowly, the flavor will fall flat.
4. First Crack and Development (8–11 Minutes)
At around 196ºC, the beans will begin popping audibly. This is First Crack. The time immediately following this event is called the “development time.” This is where the roaster’s artistry comes into play. Pulling the beans 60 to 90 seconds after First Crack begins will yield a bright, acidic light roast. Leaving them for 2 to 3 minutes pushes them into a balanced medium roast.
5. Cooling (The Most Critical Post-Roast Step)
Coffee beans retain a massive amount of thermal energy. If you turn off the heat, they will continue to roast themselves into charcoal. The moment you drop the beans from the roasting chamber, they must be cooled to room temperature within 3 to 4 minutes.
If your equipment lacks a forced-air cooling tray, dump the beans into a metal colander and toss them aggressively in front of a high-velocity fan to halt the roasting process immediately.
Case Study: Adapting to Bean Density
Not all green coffee behaves the same way under heat. Early in my roasting journey, I purchased a dense, high-altitude strictly hard bean (SHB) from the Yirgacheffe region of Ethiopia, and a lower-density, lower-altitude bean from Brazil.
I applied the same roast profile to both. The Brazilian beans, being softer and less dense, absorbed heat rapidly; the edges scorched dark brown before the core reached First Crack.
The brewed coffee was bitter and thin. The Ethiopian beans, however, absorbed the heat beautifully, resisting the early high temperatures and developing complex floral notes.
The takeaway was clear: bean density dictates heat application. High-altitude, dense coffees require more initial thermal energy (a higher charge temperature) to penetrate the bean.
Lower-density beans require a gentler heat application early on to prevent the delicate exterior from scorching. You can verify best practices for classifying bean density through the Specialty Coffee Association (SCA) green coffee standards.
Common Rookie Mistakes Checklist
Avoiding these frequent errors will save you from wasting expensive specialty-grade green coffee:
- Baking the Beans: This occurs when your Rate of Rise (RoR)—the speed at which the temperature increases—stalls or drops before First Crack. The beans fail to caramelize properly, resulting in a dull, bready flavor devoid of sweetness.
- Scorching: Usually caused by a charge temperature that is far too high, or a drum that spins too slowly. The flat sides of the beans will show dark, burnt spots while the rest remains underdeveloped.
- Ignoring the Clean-up: Chaff builds up in exhaust pipes and cooling trays. Because chaff is essentially dried kindling, ignoring regular maintenance is the fastest way to start an equipment fire.
- Brewing Immediately: While the coffee is technically fresh out of the roaster, it is heavily saturated with carbon dioxide. If you try to pull a shot of espresso with beans roasted an hour ago, the extreme off-gassing will ruin the extraction.
The Crucial Art of Degassing
Patience is a necessary virtue in home roasting. Once cooled, roasted coffee needs time to rest. During the roasting process, CO2 becomes trapped within the cellular walls of the bean. This gas acts as an active barrier against water during the brewing process.
Store your freshly roasted beans in an opaque container equipped with a one-way degassing valve. For light roasts, resting the beans for 5 to 7 days is often required to achieve clarity in the cup.
Darker roasts have a more porous cellular structure and off-gas faster, generally reaching their peak flavor in 2 to 3 days.
The Final Drop
Mastering coffee roasting at home is the link between the raw materials from farming and the exactness of cooking. It takes away the mystery of the bags on grocery shelves and gives you full control over the essential factors: where the beans came from, how deeply they were roasted, and how fresh they are.
You can expect to mess up a few batches at first; it’s just part of the process. Keep a meticulous journal, write down your temps and times, and taste your results carefully.
The sensory signals will become second nature with time, and the coffee you make in your own area will easily compete with the best specialty cafés in your city.