Last Tuesday, I was looking at my wilted kale and thinking about how much time I waste standing outdoors with a hose. It’s 2026, and we still act like human sprinklers every night?
That’s when I started to really work on my backyard. You’re in the perfect place if you’ve ever thought that your garden is like a part-time job that doesn’t pay.
Making a self-watering garden bed at home is like giving your plants a straw and letting them drink anytime they want. For anyone who wants a lush garden without having to watch it all the time, this is a game-changer.
This isn’t simply a box with dirt in it; it’s a whole ecosystem that employs science to perform the work for you.
What is a Self-Watering Garden Bed?
The phrase “self-watering” can be a bit misleading because the bed doesn’t make water out of thin air. Instead, it has a reservoir at the bottom that holds water. Capillary action then moves the water up into the soil.
People who plant typically call these “wicking beds.” Like a sponge in a shallow puddle, the water naturally rises through the fibres and keeps the top of the sponge wet.
This approach of setting up your garden stops the feast-or-famine cycle of top-watering. Your plants get a steady amount of water, which means big harvests and less stress for you as a gardener.
Why You Should Switch to Wicking Beds?
If you’re still not sure, let me explain why traditional beds are going out of style. Evaporation and runoff waste a lot of water in conventional gardening.
The Environmental Protection Agency (EPA) says that around 30% of all the water used in a home is used outside. A self-watering system can decrease that number a lot because the water is hidden under the soil where the sun can’t get to it.
The Major Benefits
- Water Efficiency: You use about 50% to 70% less water than a standard garden.
- Healthier Roots: Plants grow deeper and stronger because they are reaching down for the moisture.
- Fewer Weeds: Since the top layer of soil stays relatively dry, weed seeds have a harder time germinating.
- Vacation Friendly: You can actually go away for a weekend without coming home to a desert.
Materials You’ll Need for the Build
You don’t need a degree in engineering to achieve this, but you do need to be clear about what materials you need.
| Component | Purpose | Recommendation |
| The Container | Holds the soil and water | Cedar wood or food-grade plastic bins |
| Waterproof Liner | Prevents leaks in wooden beds | 45-mil EPDM pond liner or heavy-duty poly |
| Reservoir Media | Creates space for water storage | Scoria, gravel, or slotted drainage pipe |
| Wicking Fabric | Keeps soil out of the water | Heavy-duty landscape fabric |
| Fill Pipe | How do you get water into the bottom | 1.5-inch PVC or recycled downspout |
| Overflow Valve | Prevents drowning your plants | A simple bulkhead fitting or plastic tube |
Don’t skimp on the liner. If the mechanism breaks, your “self-watering” bed will be a regular, very heavy box of dirt.
How to Build a Self-Watering Garden Bed at Home?
This approach is based on the idea that you are making a typical raised bed, but it will work even if you are using a plastic tote or a refurbished IBC tank.
Step 1: Prepare Your Frame
First, you need a strong box. Cedar and redwood are good choices for construction since they don’t rot easily.
Put your waterproof liner on the interior of the box. Leave a lot of extra room so that the weight of the water and rocks doesn’t rip the material when it’s full.
Step 2: Install the Fill Pipe
Put your PVC pipe in one of the bed’s corners. It has to be high enough to rise above the final level of soil.
Make a 45-degree angle cut at the bottom of the pipe. This makes sure that the bottom of the liner doesn’t impede the water from flowing into the reservoir.
Step 3: Create the Reservoir
This is where the magic takes place. Put your reservoir media in the bottom 6 to 10 inches of your bed.
I like using scoria (lava rock) since it has holes in it and traps much more water. Use a series of arched drainage pipes wrapped in mesh if you want a lighter bed.
Step 4: The Overflow Hole
This is the step that most people get wrong. You need to drill a hole in the side of your bed right at the top of the reservoir layer.
A strong rainstorm will transform your garden into a swamp and kill your roots if you don’t have an overflow. Once the reservoir is full, the water should flow out of this hole.
Step 5: Lay the Wicking Fabric
Put a layer of heavy-duty garden fabric over your rocks or pipes. This works like a filter.
It keeps the dirt from tumbling down and blocking your water storage while letting the water soak into the dirt. To make a full seal, the fabric should go up the sides of the bed.
Step 6: Add the Wicking Soil Mix
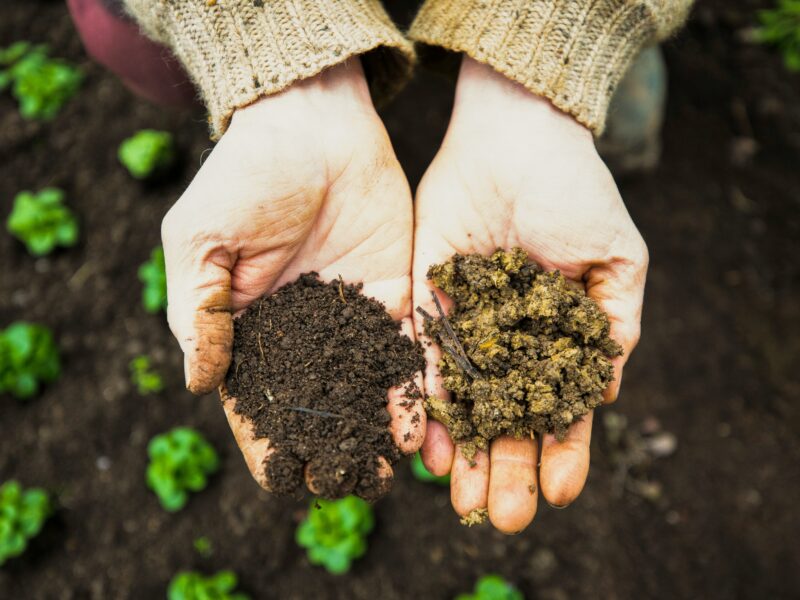
You can’t just use typical clay from your yard here. To get that “wicking” motion going, you need a mix that has a lot of organic matter in it.
A suitable mix is one-third high-quality compost, one-third coconut coir or peat moss, and one-third perlite. If you want to get creative with your container soil, the Old Farmer’s Almanack provides some fantastic recipes.
The Science of Wicking: How Does It Work?
I don’t want to bore you with a physics lesson, but knowing about capillary action can help you fix things. The same thing happens when the corner of a paper towel becomes wet, and the water spreads to the middle.
The dirt in your garden bed is the “wick.” The water molecules are drawn to the soil particles and “climb” up against gravity.
The soil must touch the water or the fabric that is wet with moisture for this to operate. If there are air spaces, the chain is broken, and your plants won’t get enough water.
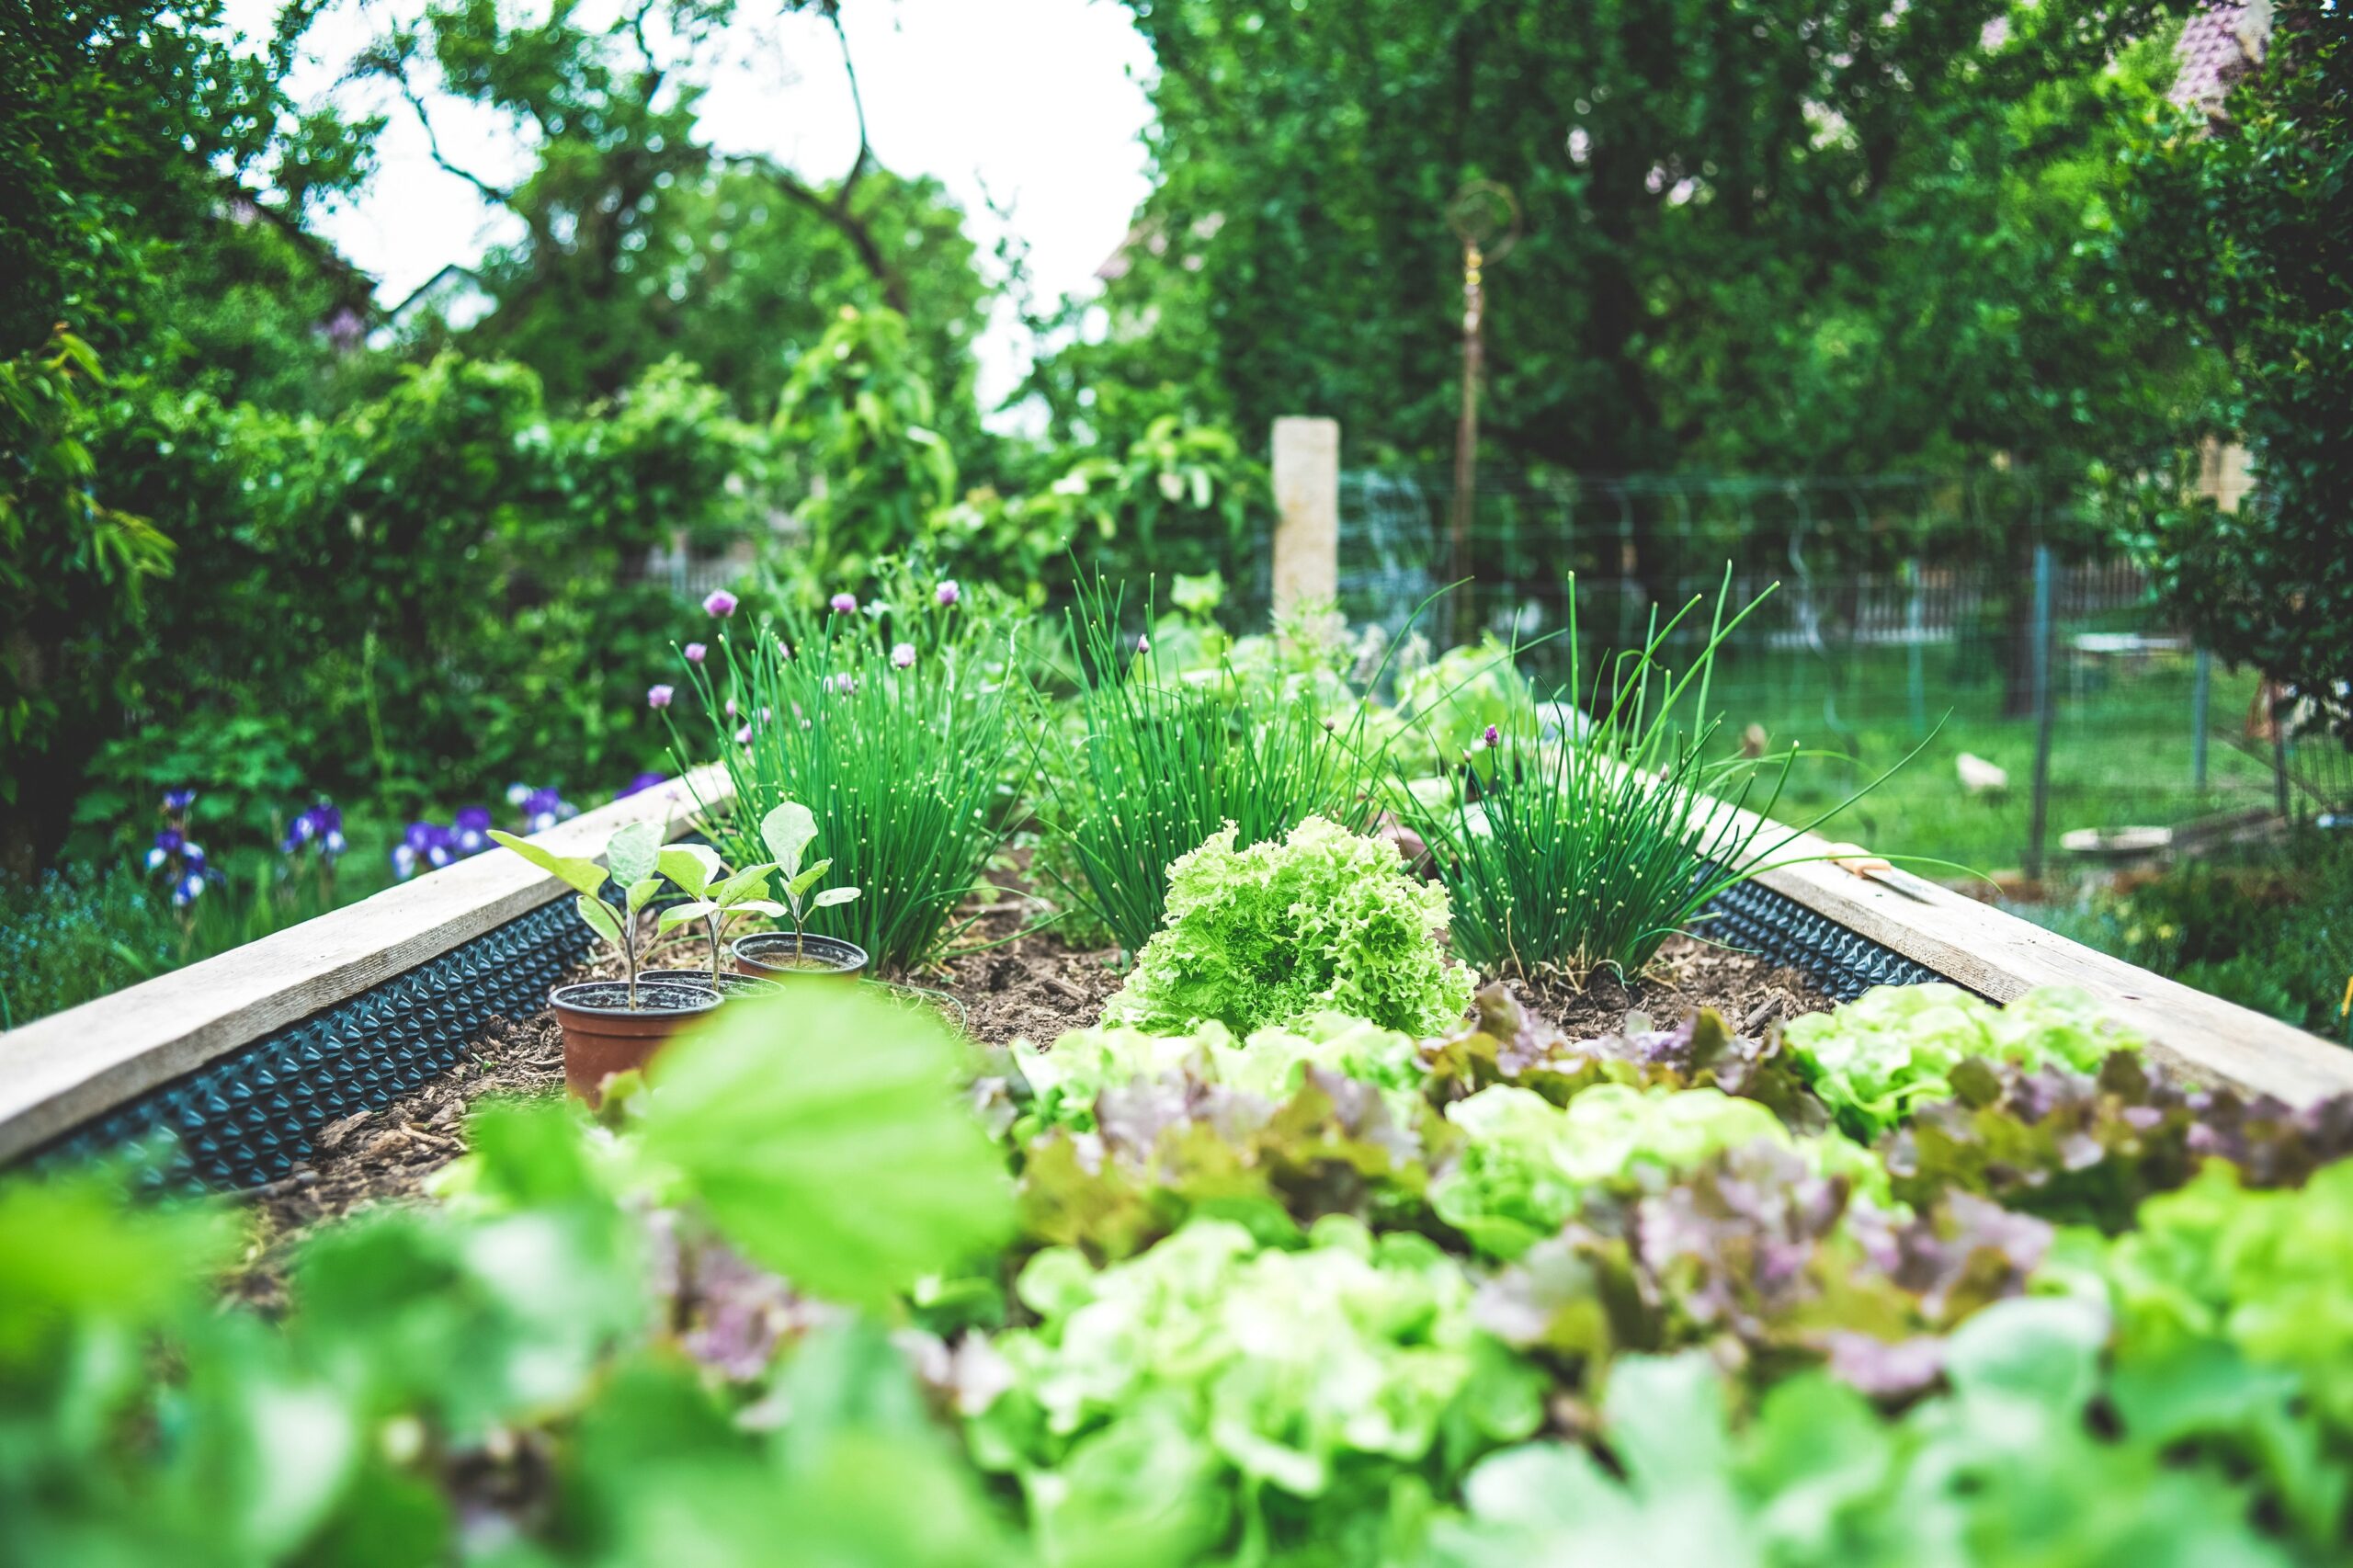
Choosing the Best Plants for Self-Watering Beds
Not all plants prefer to survive in a wicking bed, but most of the big ones in your food garden will do extremely well.
The Thirsty Winners
- Tomatoes: These guys are water hogs. A consistent water supply prevents blossom end rot, which is usually caused by uneven moisture.
- Leafy Greens: Spinach and lettuce hate drying out. In a self-watering bed, they stay crisp and take longer to bolt.
- Peppers: They love the heat but need steady hydration to produce those thick, crunchy walls.
- Cucumbers: Since they are mostly water anyway, having a constant reservoir makes them grow like crazy.
What to Avoid?
Don’t use Mediterranean herbs like lavender and rosemary or succulents. These plants appreciate it when their “feet” dry out between waterings. Putting them in a wicking bed will quickly cause the roots to rot.
Troubleshooting Common Issues
There can be difficulties with even the best-made beds. Let’s speak about what to do when things go wrong.
The Soil is Bone Dry
Don’t worry if the top of your soil is dry; that’s natural. If the soil 2 inches down is dry, though, your wicking has failed.
This usually happens when the soil has “shrunk” and moved away from the water source. The answer? Once you’ve watered the top well, the capillary connection should reset, and the plant should start wicking again on its own.
The Water Smells Like Rotten Eggs
If your overflow isn’t working or the water has been sitting for too long without being used, it can go anaerobic. This signifies that it is running out of air.
You can remedy this by cleaning the reservoir with clean water or pouring a little hydrogen peroxide into the fill pipe to provide oxygen to the water.
Mosquitoes in the Reservoir
Mosquitoes will discover it if your fill pipe is open. It’s like a five-star hotel for them.
Put a fine mesh filter or a simple cap over the top of your fill pipe. It keeps bugs out and lets the system breathe at the same time.
Maintenance: Keeping Your System Running
Once you know how to make a self-watering garden bed at home, it’s not too hard to take care of. But you can’t just leave and never come back.
I suggest completing a “deep flush” of the reservoir every spring. Put a hose down the fill pipe and let it run until the overflow water is clear. This stops mineral salts from collecting at the bottom.
You should also add compost to the top of the soil every season. You aren’t watering from above, so the nutrients aren’t being washed away, but the plants are still taking them in.
Traditional vs. Self-Watering: The Real Comparison
I’ve done both for years, and to be honest, I’ll never go back to regular raised beds for my major crops.
Here’s a quick list of reasons why:
| Feature | Traditional Raised Bed | Self-Watering Wicking Bed |
| Watering Frequency | Daily (in summer) | Every 1-2 weeks |
| Setup Cost | Low | Moderate |
| Yield Potential | Standard | High (due to consistency) |
| Complexity | Simple | Moderate |
| Water Waste | High (Evaporation) | Minimal |
Yes, it takes time to get started. But the savings in labour and the bigger produce are just too attractive to pass up.
My Personal Take on the Gardening Revolution
I’ve seen a lot of “new” things in gardening come and go. A lot of them are basically fancy plastic things that wind up in a landfill.
But wicking beds are not the same. They are based on simple biology and physics. This is the kind of setup that makes sense in today’s environment, where we’re all busy, and water costs more.
I was sitting on my porch with a refreshing drink last night, watching my tomatoes develop while my neighbours dragged hoses across their lawns. That’s the best thing about understanding how to make a self-watering garden bed at home.
It’s not just about the plants; it’s about getting your time back. And to be honest, isn’t that why we all desire a better yard?
Final Thoughts on Your Garden Project
It’s not just about saving time when you build your own setup; it’s also about giving your plants the best care possible. You can keep your whole garden healthy by controlling the moisture.
There’s no reason for wilting greens or wasted water now that you know how to make a self-watering garden bed at home. Gather your supplies, pick a Saturday, and make something that will nourish you for years.
It’s worth all the work to know that your garden is taking care of itself. Stop being a slave to the hose and start using your brain.
Frequently Asked Questions
How often do I need to fill the reservoir?
In the heat of summer, once a week. In the spring or fall, you might go three weeks without even looking at the fill pipe.
Can I use any wood for the frame?
Stick to rot-resistant woods. Pine will rot in about two years if it’s constantly in contact with moisture, even with a liner.
Do I still need to fertilize?
Yes, but you have to be careful. It’s best to use organic liquid fertilizers down the fill pipe or mix slow-release granules into the top layer of soil.
What is the best depth for a wicking bed?
Ideally, you want about 12 inches of soil on top of a 6-10 inch reservoir. This gives most veggies plenty of room to roam.