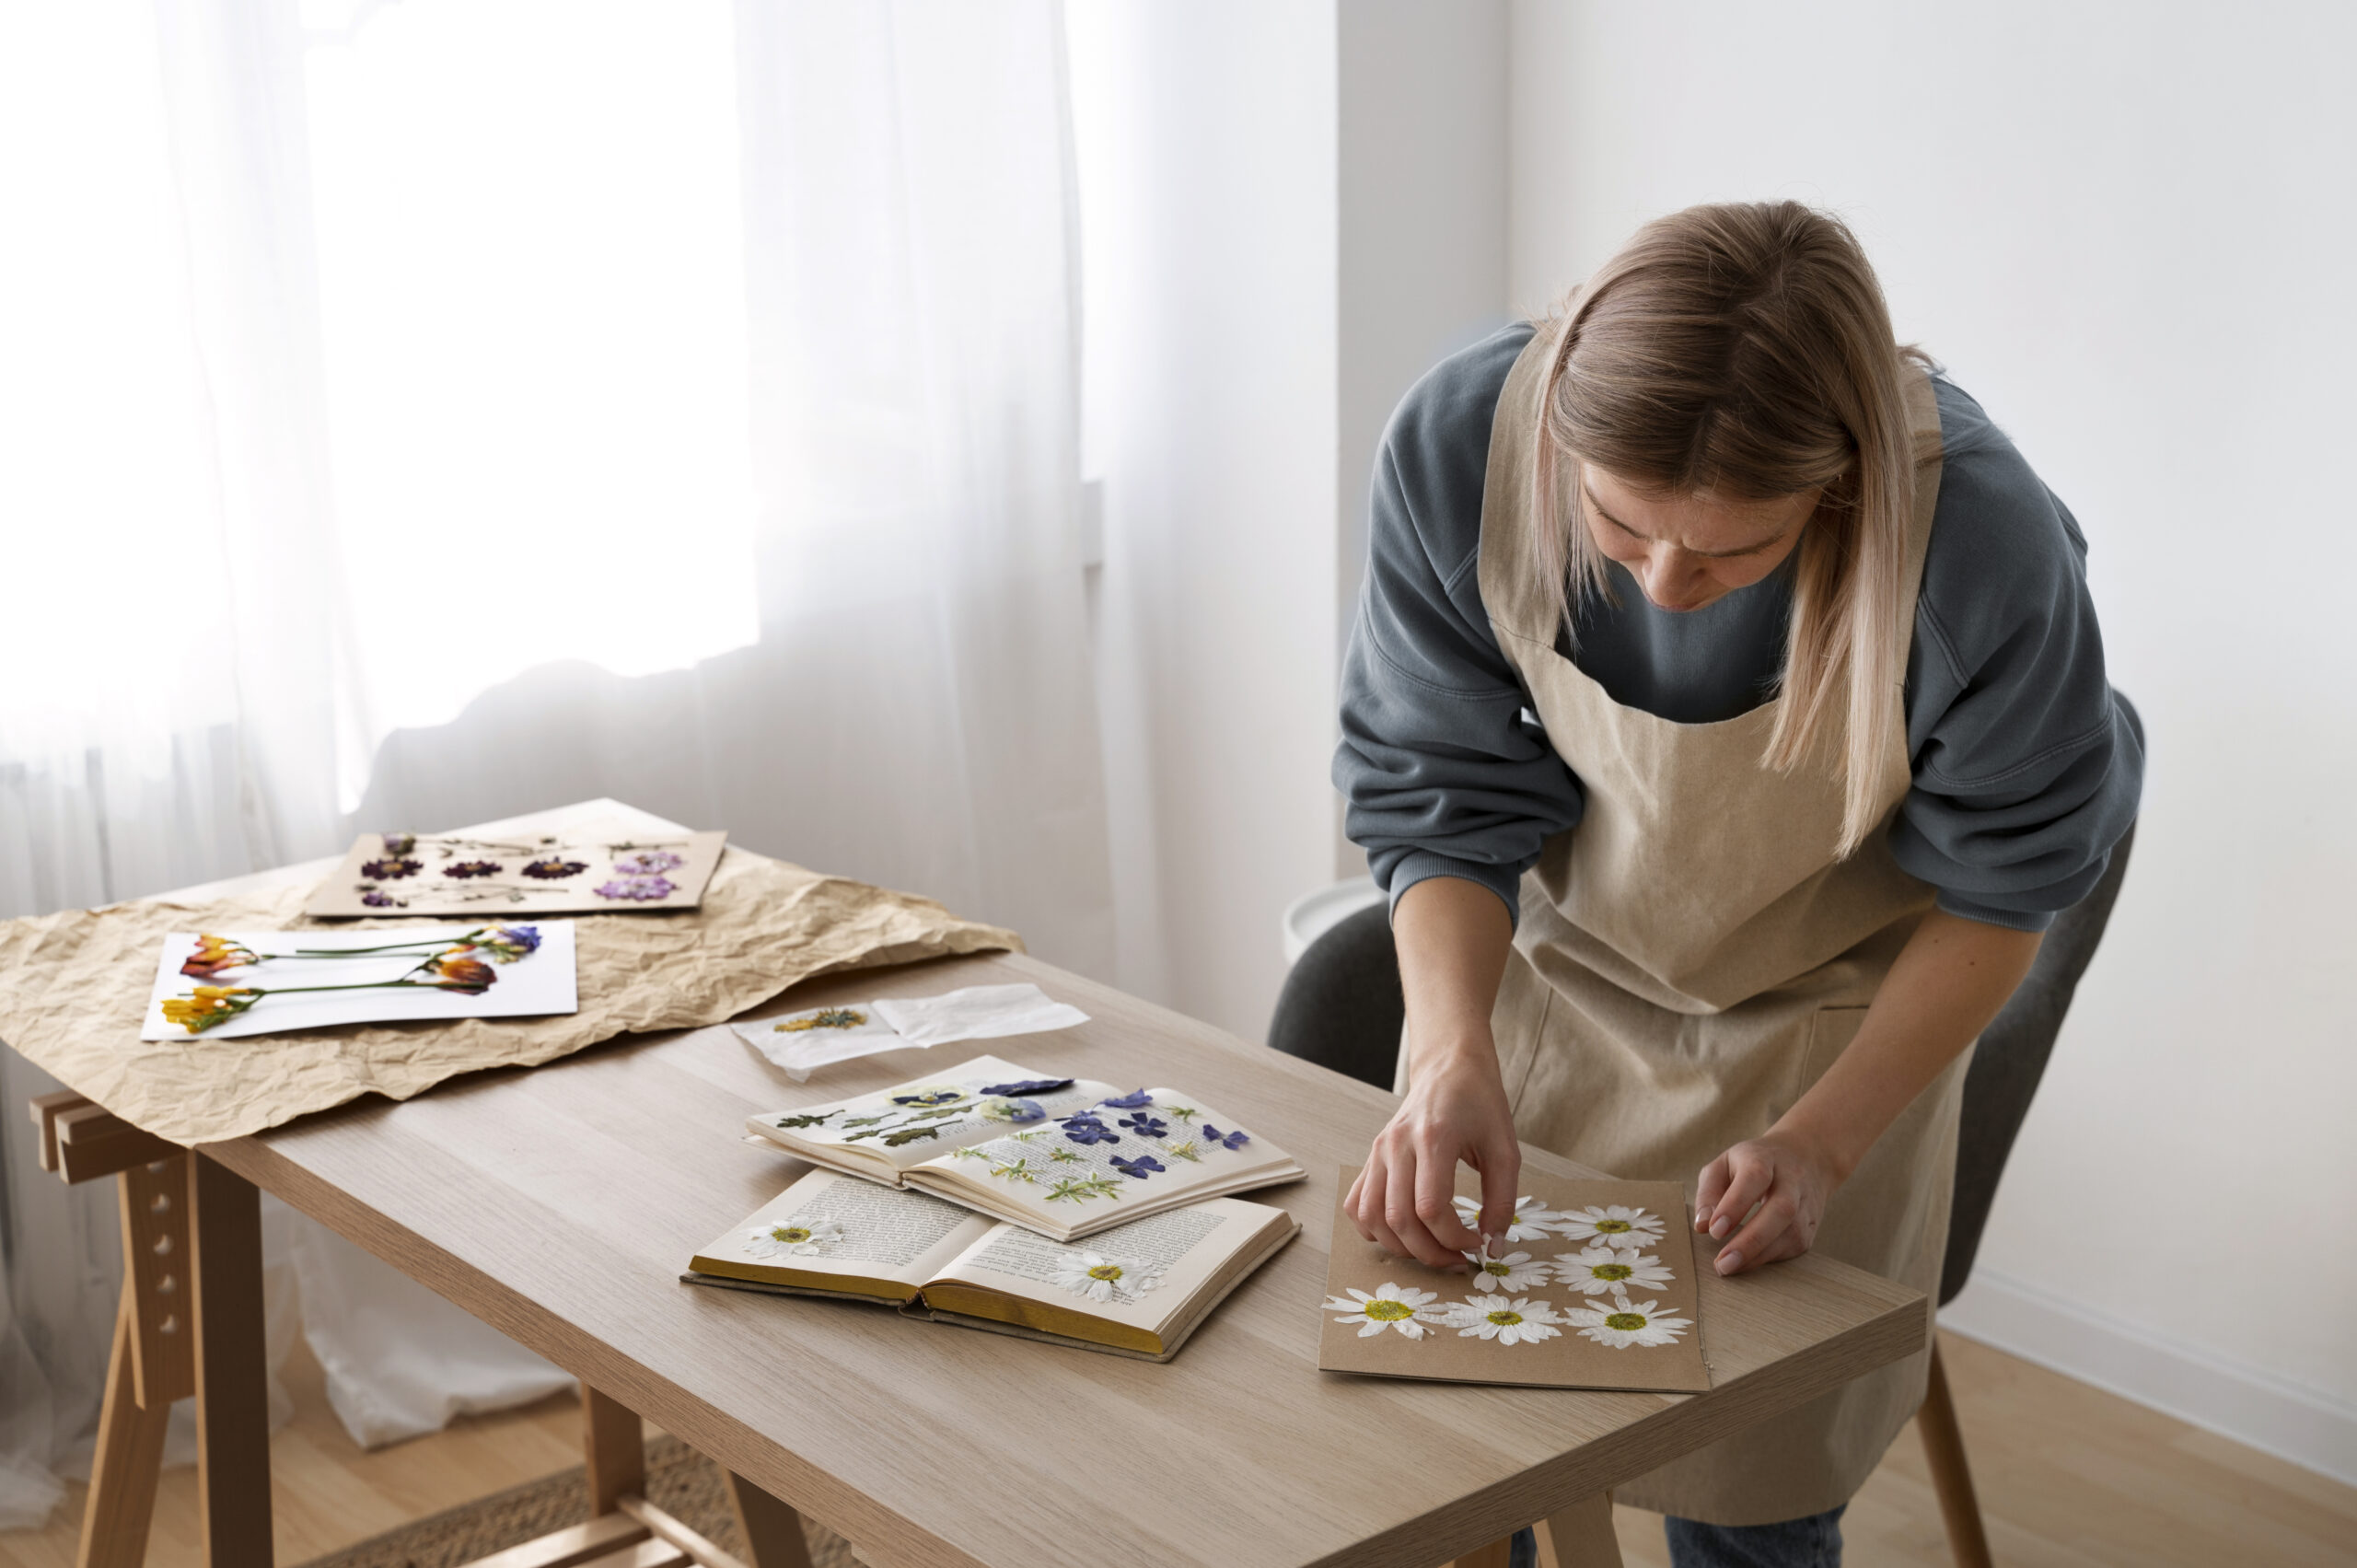
In a small apartment, making a workspace is more complicated than just clearing off a dining table spot. When your living room is also your studio, setting up and taking down projects can stop your creative flow very fast. Even worse, the wrong setting could make you feel bad, damage your home, or make your neighbors unhappy.
It takes smart space planning, strict material management, and ergonomic accuracy to make a small craft hobby space that works, is safe, and is comfortable.
Establishing Your Workspace Footprint
A main work table should be between 24 and 30 inches deep and 36 to 48 inches wide for rooms that aren’t very big. This size is just the right amount to keep your reach areas comfortable while still leaving at least 30 to 32 inches of space behind your chair for walking and moving around.
If you can’t commit to a fixed space, choose furniture that can be used in different ways. A drop-leaf table fixed on the wall with locking hinges and anchored to wall studs makes a stable surface that disappears when not in use.
A nesting setup with a narrow fixed table and a secondary leaf that slides out lets you increase the workspace for cutting fabric and decrease it for smaller tasks.
The Ergonomics of Crafting
Your table height dictates your posture, and forcing the wrong height will inevitably lead to back aches and wrist strain. A one-size-fits-all approach fails because different crafts require entirely different body mechanics.
- Paper Crafting and Illustration: Precision control requires a standard desk height of 30 to 32 inches.
- Sewing and Fabric Cutting: Proper posture and leverage for rotary cutting or guiding fabric demand a 34 to 36-inch height.
- Detailed Jewelry or Beadwork: To reduce severe neck strain from leaning over tiny components, a slightly higher 38 to 40-inch surface is highly recommended.
If you routinely switch between disciplines, investing in an adjustable-height desk (pneumatic or crank-operated) is a practical trade-off against the higher initial cost. Pay attention to the edge profile of the table as well.
A sharp 90-degree table edge will compress the nerves in your forearms during long sessions. Look for beveled edges or a 3-millimeter radius bullnose edge to prevent nerve compression and wrist fatigue.
Spatial Zoning: The 15-Inch Rule
Crafters constantly face the paradox of wanting maximum open workspace while simultaneously needing instant access to hundreds of small supplies. The solution lies in strategic zoning rather than sprawling storage.
Design your workstation around a 15-inch radius “hot zone” centered on your primary working position. This area must only house tools you reach for every five minutes, like shears, bone folders, or your primary adhesive. To keep the horizontal plane clear, utilize vertical organization within this zone.
Magnetic strips mounted to the wall can safely corral metal rulers and scissors.
Establish a secondary zone within a 22 to 24-inch radius for typical supplies you use occasionally during a session, such as specific paint brushes or thread spools. Anything used seasonally or rarely should be stored either below the knee or above the shoulder to protect your prime real estate.
Practical Small-Space Layout Options
| Setup Type | Best For | Footprint Required | Key Advantage |
|---|---|---|---|
| Drop-Leaf Gateleg | Sewing, fabric cutting, mixed media | 12″ deep (closed) up to 60″ (open) | Expands massively for layout work but tucks away into a console-sized footprint. |
| Standing Island on Casters | Clay sculpting, large-scale cutting | 24″ x 36″ | Mobile prevents back rounding during downward-pressure tasks. |
| Cube Shelving Desk | Scrapbooking, paper crafting | 30″ x 60″ | Integrates deep 16×16-inch storage cubes that perfectly house 12×12 paper stacks. |
Verticality and Mobile Storage
When square footage is scarce, you must build upward. Wall-mounted pegboard systems (like the popular slotted IKEA Skadis panels) let you adapt your storage over time with hooks, shallow trays, and clips.
For items that cannot be wall-mounted, a tiered rolling utility cart is an apartment crafter’s best asset. The top tier acts as a mobile extension of your 15-inch hot zone, keeping wet mediums or hot glue guns accessible but safely off your main work surface.
When evaluating drawer units, prioritize shallow depths. Drawers that are only 2 to 3 inches high physically prevent you from overstacking items, ensuring that small tools are instantly visible rather than buried at the bottom of a bin.
Managing Apartment Constraints: Light, Noise, and Air
Crafting in an apartment requires strict adherence to environmental controls. You share walls, floors, and ventilation systems with others, making noise and air quality paramount.
Lighting for Precision
A single overhead apartment fixture will cast hard shadows over your hands. A layered lighting plan is essential. Start with a neutral ambient light (around 4000 K for crisp neutrality), and add an adjustable task lamp featuring a high Color Rendering Index (CRI of 90+).
Position this task light opposite your dominant hand to eliminate cast shadows across your work plane. Aim for an illuminance of 300 to 400 lux for general assembly, scaling up to 500 lux for detailed precision tasks like weeding vinyl or threading needles.
Acoustic Mitigation
Power tools, sewing machines, and even the repetitive tapping of a mallet will transfer through apartment structures. Small rooms actively amplify high-frequency tool noise. To combat this, mount acoustic felt pinboards or cork backing panels on the walls directly behind your workstation to absorb mid-to-high frequency sound waves.
Vibration is the enemy of downstairs neighbors. Place dense rubber feet or anti-vibration mats under your table legs and directly beneath motor-driven equipment like sewing machines to block vibration transfer through hard floors.
If you must use louder power tools (like a rotary tool or small dust separator), structural isolation helps. Operating within a closed interior room (like a bedroom) adds layers of drywall and hallway air gaps between you and shared tenant walls.
In testing, closing interior doors can successfully reduce an 80-decibel power tool down to an ambient 25 decibels by the time the sound waves reach the exterior hallway. Always apply common sense: restrict noise-generating activities to mid-day hours.
Air Quality and Chemical Safety
Apartments generally have poor cross-ventilation, making the buildup of fumes, mists, and fine particulates a serious health hazard.
- Avoid Solvents: Strictly avoid solvent-based materials (like turpentine, toluene, or mineral spirits) and aerosol spray fixatives indoors. Solvents not only pose a severe inhalation risk but are also highly flammable. Substitute with water-based acrylics, inks, and non-toxic glues.
- Dust Control: If your hobby produces fine dust (such as sanding polymer clay, carving wood, or working with dry pigments), a simple paper mask is inadequate for chemical vapors and fine particulates. For dust, an apartment’s HVAC system will recirculate the mess. Use a HEPA-filtered vacuum or wet-mopping techniques to clean your space. Never dry-sweep fine particulates, as this launches them back into your breathing zone.
- Material Certification: Only purchase art materials bearing the label “Conforms to ASTM D-4236”. This ensures the product has been evaluated for chronic toxicity under the requirements of the Labeling of Hazardous Art Materials Act (LHAMA).
Real-World Scenario: The 5×5 Footprint
Consider the case of a renter operating a small custom stationery business out of a 450-square-foot apartment. They required space for a digital cutting machine, a heat press, and delicate weeding work, but could only spare a 5×5-foot corner in the living room.
The Solution: They installed a heavy-duty drop-leaf table mounted to the wall studs. In the “down” position, the table protrudes only 10 inches into the room. Above the table, a modular pegboard system holds cutting mats, spare blades, and weeding picks.
To the side, a rolling drawer cart (fitted with custom vinyl decals to match the living room decor) houses the heavy cutting machine on top and heat transfer materials in the shallow drawers below.
When it is time to work, the drop-leaf is raised (creating a 30×40 inch surface), the rolling cart is pulled adjacent to create an L-shape workspace, and a clamp-mounted 500-lux task light is swung into position. Cleanup takes less than three minutes, and the living room is instantly reclaimed.
Common Apartment Crafting Mistakes
- Using a High-Gloss Tabletop: Glossy white tables look beautiful in photographs but cause severe specular glare when task lighting bounces off them, leading to rapid eye fatigue. Always choose a matte finish.
- Neglecting Heat Protection: Setting a heat press, soldering iron, or high-temperature glue gun directly on a standard laminate desk will eventually cause bubbling or scorching. Always integrate a dedicated heat-resistant overlay or silicone mat into your hot zone.
- Ignoring Cable Management: A dangling cord attached to an iron or glue gun is a severe hazard in a tight space. Install an under-table power strip with surge protection and an auto-shutoff timer, and route cords through adhesive channels beneath the desk to keep the work plane clear.
- Improper Waste Disposal: Pouring plaster, clay slurry, or acrylic paint water down an apartment sink will destroy the plumbing. Use a multi-stage settling bucket system, and dispose of solid waste in the trash.
Frequently Asked Questions
How can I protect my apartment’s floors from spills and dropped tools?
Place a heavy-duty polycarbonate chair mat or a dedicated, easy-to-wipe vinyl floor cloth directly under your workspace. If you drop a craft knife or spill a bottle of ink, the protective layer absorbs the damage, securing your security deposit.
Is it safe to bake polymer clay in my apartment kitchen oven?
While most modern polymer clays are certified non-toxic, baking them can release localized, irritating plasticizer fumes. It is highly recommended to purchase an inexpensive, dedicated toaster oven strictly for curing clay, and to operate it near an open window with an exhaust fan.
What is the best way to clean up loose glitter or embossing powder?
Avoid sweeping or using standard vacuums that can blow the fine particles out of their exhaust. Use a lint roller to pick up the vast majority of the spill, followed by wiping the surface with a damp microfiber cloth.
Final Thoughts
Starting a craft hobby in a small apartment forces you to be intentional about your tools, your materials, and your physical footprint. By engineering a workspace that respects ergonomic heights, utilizes vertical zoning, and safely mitigates noise and fumes, you eliminate the friction that causes so many projects to be abandoned.
A tightly optimized, well-lit micro-studio doesn’t just save space; it protects your focus, allowing you to easily slip into a state of creative flow without leaving the comfort of your home.