How to Start Leather Crafting Without Expensive Tools?
When people start working with leather, they often think they have to spend a lot of money to make something useful. That idea stops a lot of people who want to be makers before they even cut their first piece. It’s messier and more hopeful in real life: the main obstacle to entry is mental, not financial.
When you first start, these things really matter, and here’s how to get better without going into debt.
The Real Starter Kit (What You Actually Need vs. What Looks Nice)
There’s a useful mental split to make early: tools you genuinely cannot borrow or improvise, and tools you already own or can substitute.
The short list of leather-specific buys:
- A set of stitching chisels (a 4-piece set covers you for straight and curved lines).
- Harness needles, also called John James Tyler needles, are thicker and built for the thread.
- Waxed thread (linen or polyester, pre-waxed).
- Leather itself more on this below.
That’s it for the “must buy from a leather supplier” column. Everything else you likely have sitting in a drawer or a garage shelf.
What you already own that works:
- A self-healing cutting mat (or any firm, flat surface you don’t mind scratching).
- A metal ruler, ideally cork-backed so it doesn’t skate across slippery leather.
- An X-Acto knife with a #2 blade, which has more heft than the standard size and handles thicker material without flexing badly.
- A rubber mallet, or anything with real weight and a non-damaging head, a deadblow hammer, a piece of hardwood, or even a dense rubber doorstop in a pinch.
- Sandpaper in two grits: 120 for rough edges, 400 for finishing.
- A small scrap of canvas.
- Beeswax (a furniture paste or candle stub works).
- A lighter.
The mallet issue trips people up. Starter kits sold online often include those featherweight wooden mallets, and they teach you nothing useful. You want something in the 16–24 oz range with enough mass to drive a chisel cleanly in two or three strikes.
Repeatedly hammering six or seven times to punch a hole trains bad habits and exhausts your arm on long projects.
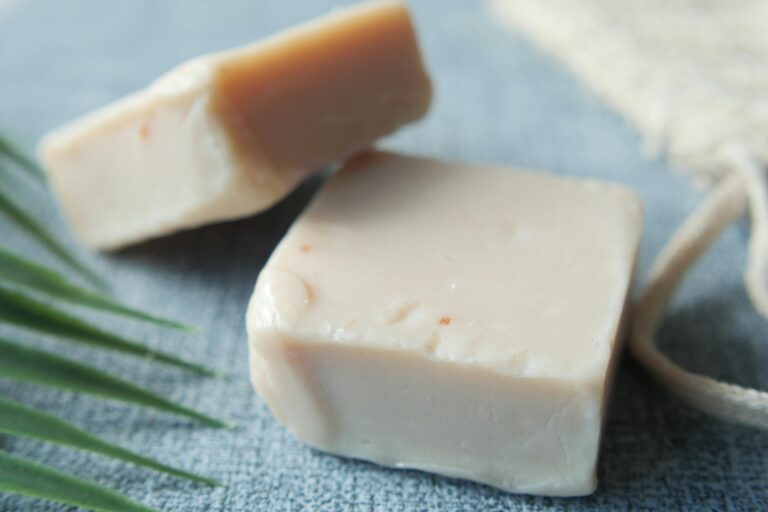
Where to Get Leather Without Overspending?
New leather from a full hide is expensive, and for a beginner, it’s the wrong investment. You want volume over quality at the start material; you can cut badly, punch crookedly, and glue unevenly without feeling sick about it.
The practical options:
Scrap boxes from leather suppliers are underrated. A 5-pound box from a reputable tannery typically runs $30–$50 and arrives with a mix of vegetable-tanned and chrome-tanned offcuts in varied weights and colors. Yes, some pieces will have brands, scars, or irregular shapes; that’s why they’re scraps. But for building muscle memory on cutting, punching, and burnishing, irregular shapes are fine. Some pieces will surprise you with their size.
For vegetable-tanned specifically, look for anything in the 3–5 oz weight range when you’re starting. Heavier leather (6–8 oz) takes more force to cut cleanly, which amplifies minor technique errors. Lighter veg tan forgives more and lets you feel what the blade is actually doing.
Chrome tan behaves differently; it’s softer, more pliable, and doesn’t burnish or tool the same way. If your scrap box includes some, use it for understanding how the material responds to cutting, but do your fundamental stitching practice on veg tan.
Estate sales and thrift stores occasionally surface old leather goods worth cutting apart. A beat-up briefcase or belt can yield usable panels. The weight is inconsistent, and you can’t always identify the tannage, but again, for pure skill-building, that’s acceptable.
Learning in the Right Order
This part matters more than the tools. Most beginners skip straight to a project, struggle, feel discouraged, and quit. The better path spends a few days on isolated skills before combining them.
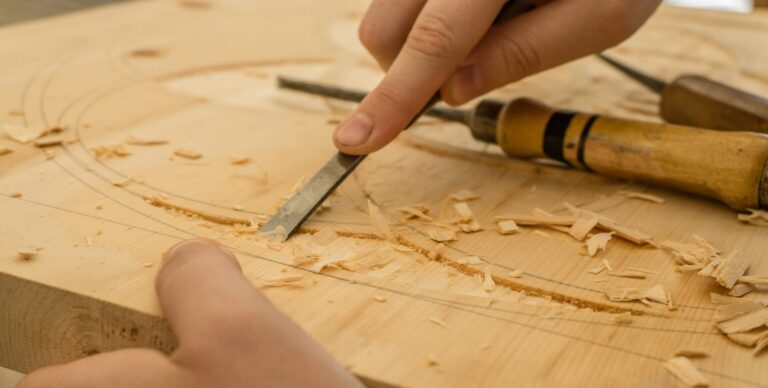
Step 1: Cutting
Take scrap leather. Take your ruler. Cut strips—eighth-inch slivers at first, then slightly wider. The goal is understanding how much pressure the blade needs, how the leather wants to drag or resist, and how to keep a consistent angle on the handle.
Then draw curved lines freehand and cut them without a ruler. Curves expose whether you’re gripping the knife correctly and whether your wrist is leading or your elbow.
One hour of this, spread over a couple of evenings, will develop more real skill than watching four tutorial videos.
Step 2: Punching Straight Lines
Mark a stitch line. Use the back of your chisel against a ruler edge, or the tip of a single-prong punch running along a straightedge. Then punch holes with your most enormous chisel (the 6-prong if you have one) and overlap by one hole on each subsequent placement.
This overlap technique is what keeps your hole spacing consistent. Without it, you get a subtle drift that becomes obvious once the thread is in.
For curves, switch to the 2-prong or even single-prong chisel. The method changes: place the first prong in your last punched hole, mark the next position, then reposition the chisel so prong one is on the mark and prong two looks forward. It’s slower, but curves punched any other way at this stage will wander.
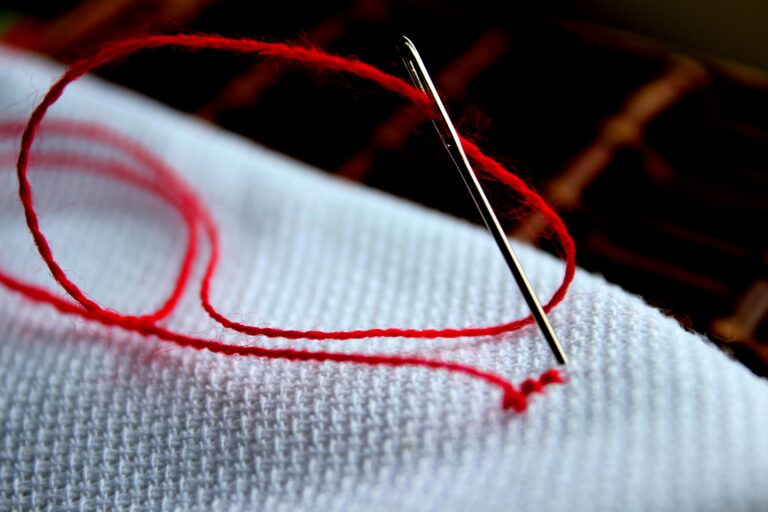
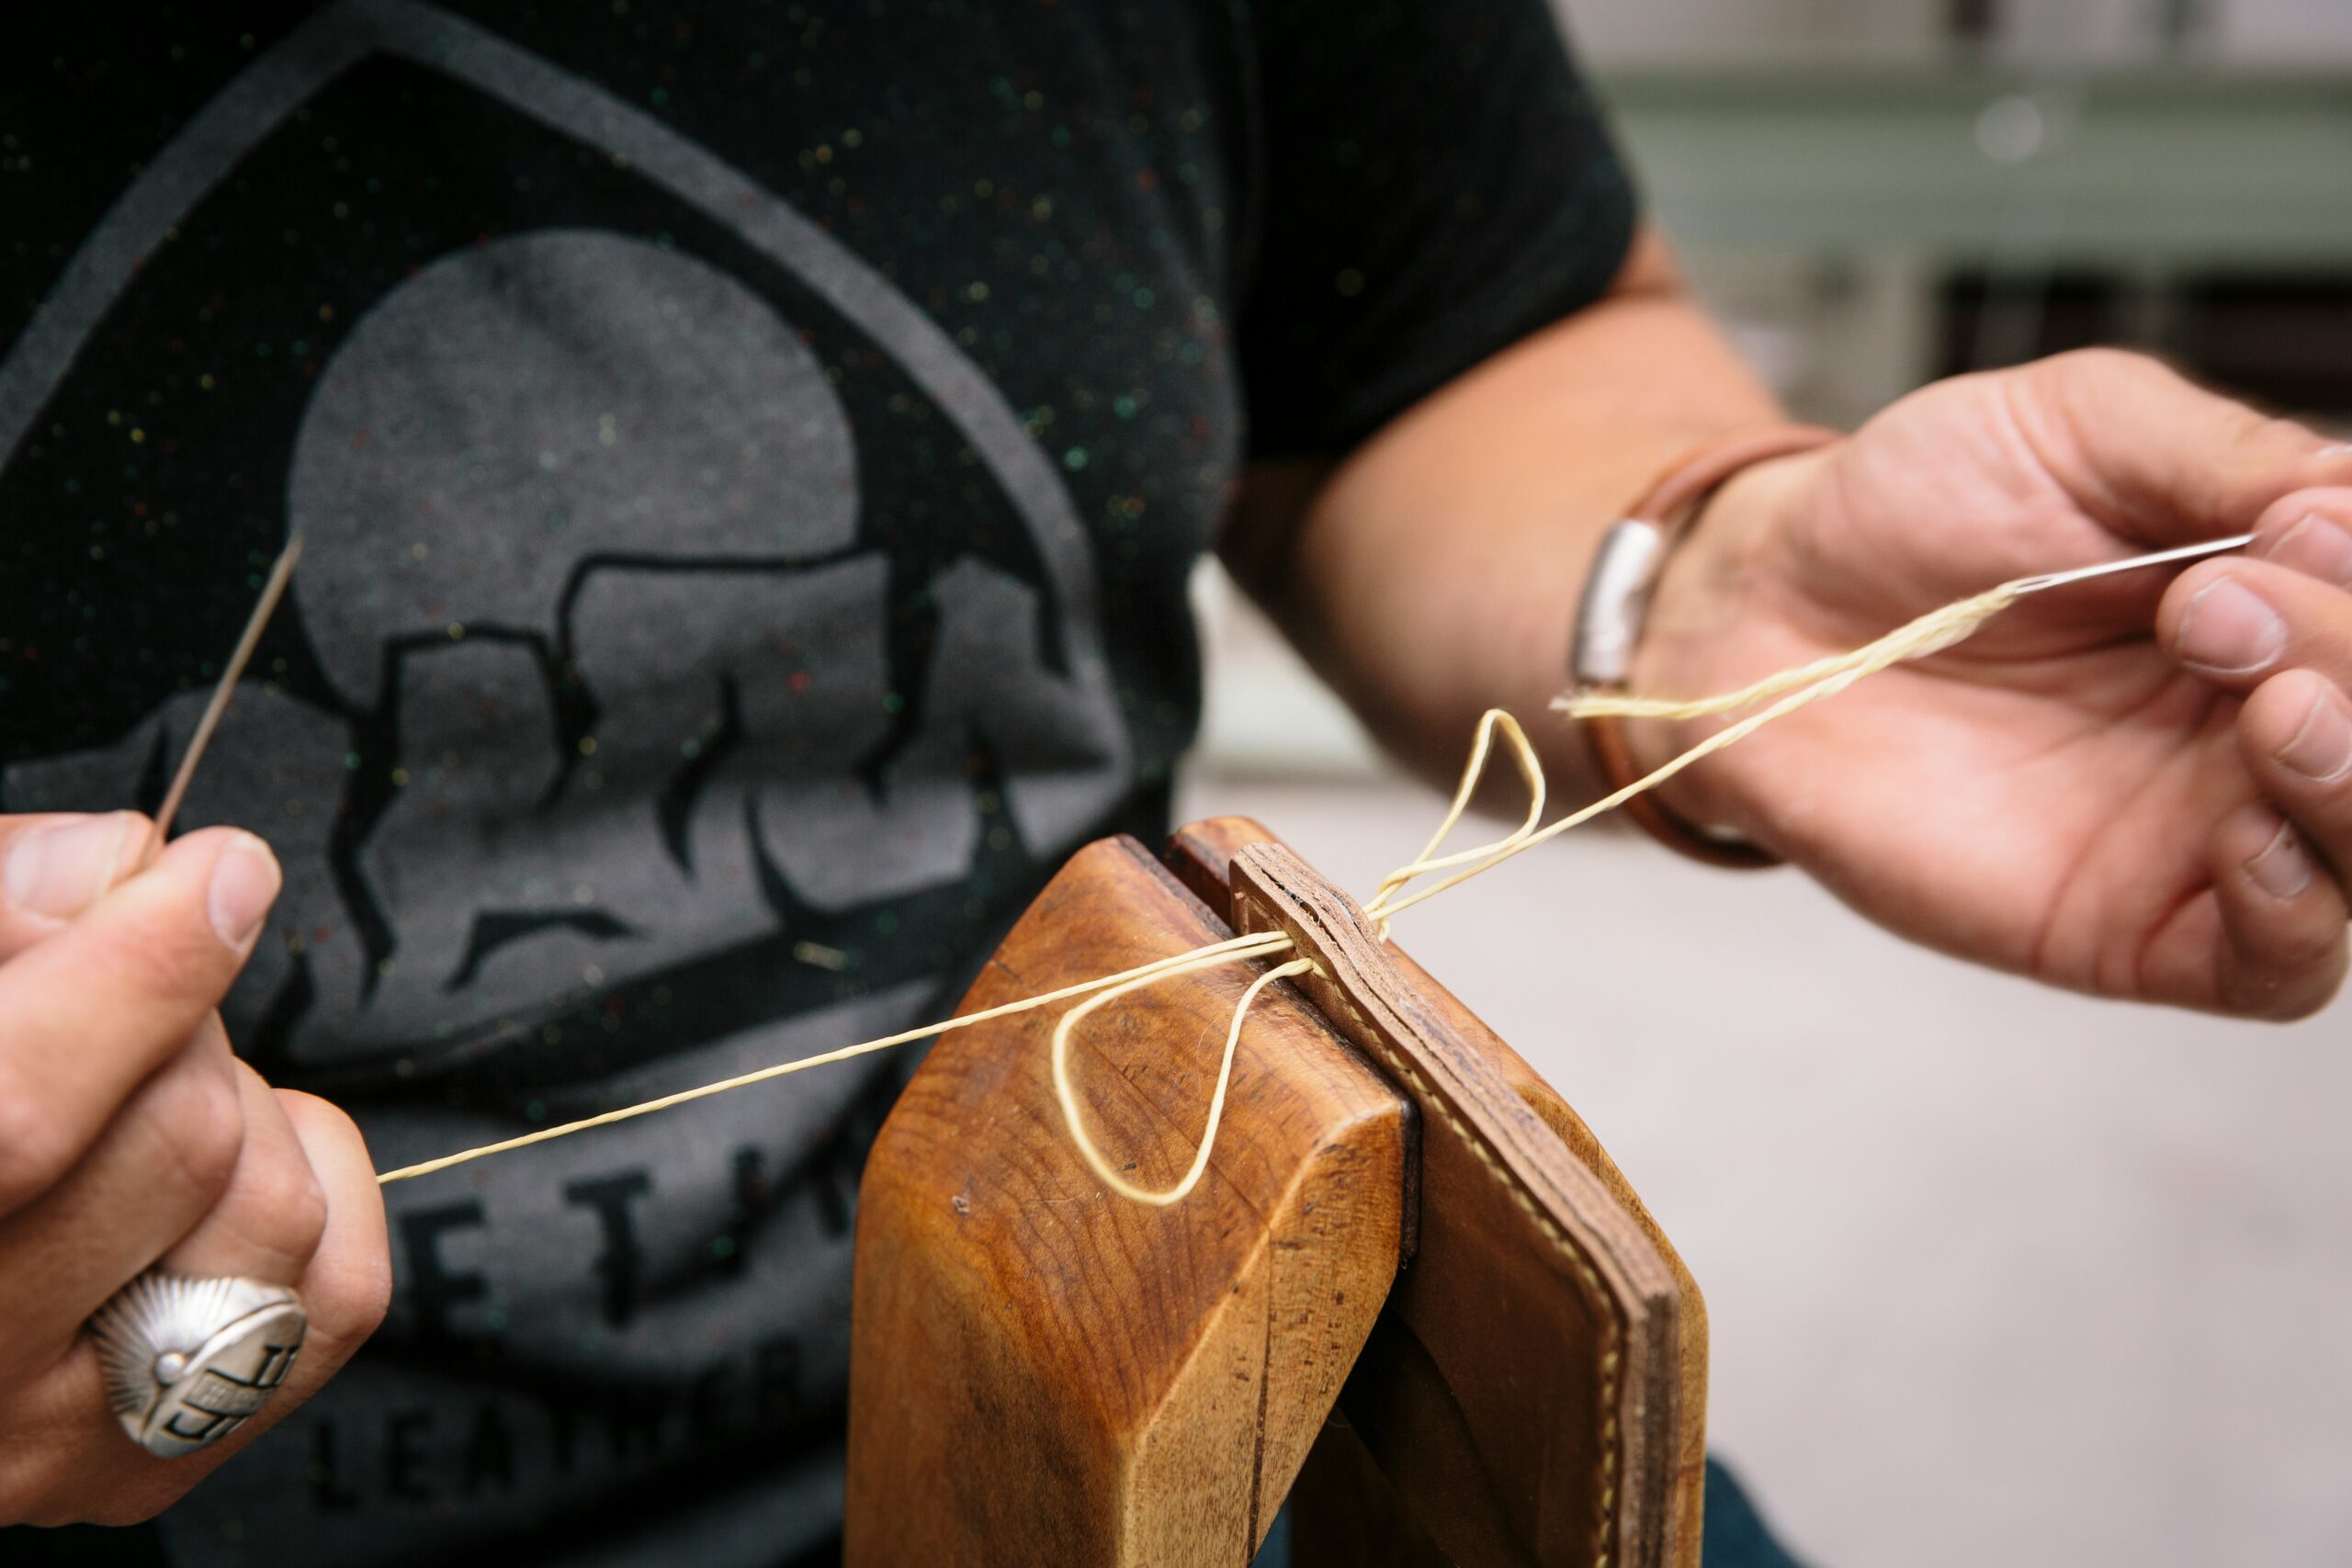
Step 3: Saddle Stitching
This is its own deep subject, but the core is: two needles, one thread, each needle passing through the same hole from opposite directions. The result locks itself if one side breaks, the stitch doesn’t run. Machine sewing can’t replicate this.
A stitching pony (a clamp that holds your work) is convenient but not essential for small pieces. Clamping between your knees works for a card holder or keychain.
Step 4: Edge Finishing
Sand the raw edge with 400-grit until it loses its fuzz. Apply a small amount of water with a fingertip just enough to dampen, not soak. Rub with a canvas scrap using back-and-forth pressure. The friction and heat draw out the leather’s natural oils, and the edge begins to compress and shine. Finish with beeswax rubbed in and another round of canvas work.
A well-burnished edge is the detail that separates a piece that looks handmade from one that looks hand-finished. It takes less than five minutes once you know the motion.
First Real Project: A Simple Card Holder
Once each skill feels solid in isolation, combine them into something functional. A flat card holder is the right first project: two straight cuts, one or two curved corners, contact cement, a stitch line, and finished edges.
Scenario: A beginner using a $40 scrap box, a borrowed X-Acto knife, and a $28 chisel set from Weaver Leather completes their first card holder after roughly three practice sessions totaling about four hours.
The finished piece isn’t perfect; one corner has slightly uneven stitching, but the edges are burnished cleanly, and the structure holds. More importantly, the second one takes half the time and looks noticeably better. That feedback loop is the whole point.
The contact cement step catches newcomers off guard. Apply it to both surfaces, let it tack for 60–90 seconds (until it no longer transfers to your finger when touched), then press the pieces together. Repositioning after that point is very difficult, so align carefully. Trim any overhang before punching.
Common Mistakes Worth Knowing in Advance
Using a dull blade. Leather drags on a dull edge rather than cutting cleanly, and you compensate with more pressure, which creates wavy cuts. Snap off a blade segment or replace the blade more often than you think necessary.
Punching without backing. Punching directly onto a hard surface without a leather scrap underneath damages both your cutting mat and the tips of your chisels faster than almost anything else.
Skipping the practice phase. Projects expose weaknesses in fundamentals. If you haven’t spent time just cutting and punching before attempting a finished piece, you’ll discover every gap in your technique simultaneously, under pressure.
Buying a cheap set with lightweight tools. A $12 Amazon chisel set will work for a few projects before the prongs bend. Weaver Leather’s basic chisel sets run $25–$35 and hold up to years of use. The price difference is not large enough to justify the frustration of bad tools.
Summary
The fastest and cheapest way to start working with leather is to buy a lot of cheap leather, take what you can, and cut and punch for the first few hours instead of making things. You can feel the skills and get better quickly. If you work on it some evenings a month, you’ll have work that you’d be proud to carry or give as a gift.
FAQ
Can I use household scissors instead of a knife?
For thick veg tan, no scissors, compress the edge rather than cutting it, and the result is ragged. For thinner chrome tan or suede below 2 oz, heavy-duty fabric scissors can work in a pinch, but a sharp blade is always cleaner.
Do I need a stitching pony?
Not to start. Your knees, a book clamp, or even a binder clip on a table edge can hold small pieces. A pony becomes valuable when you’re doing longer stitch lines or working for extended periods; the ergonomics matter then.
What’s the difference between veg tan and chrome tan for a beginner?
Veg tan is stiffer, toolable, and burnishes beautifully. It’s the standard for wallets, belts, and structured goods. Chrome tan is softer, more water-resistant, and can’t be tooled or carved. They require different finishing approaches and feel completely different under the knife. Start with veg tan.
How much should I expect to spend to get started?
Realistically: $40 on a scrap leather box, $28–$35 on chisels, $8 on needles and thread, and you’re using tools from around the house. Under $90 total to make real, usable items and decide whether you want to invest further.
Is it worth taking a class?
If you have access to one, yes, watching the technique in person compresses the learning curve significantly. But the fundamentals are learnable from good video content and deliberate practice. The craft rewards patience with materials more than formal instruction.