
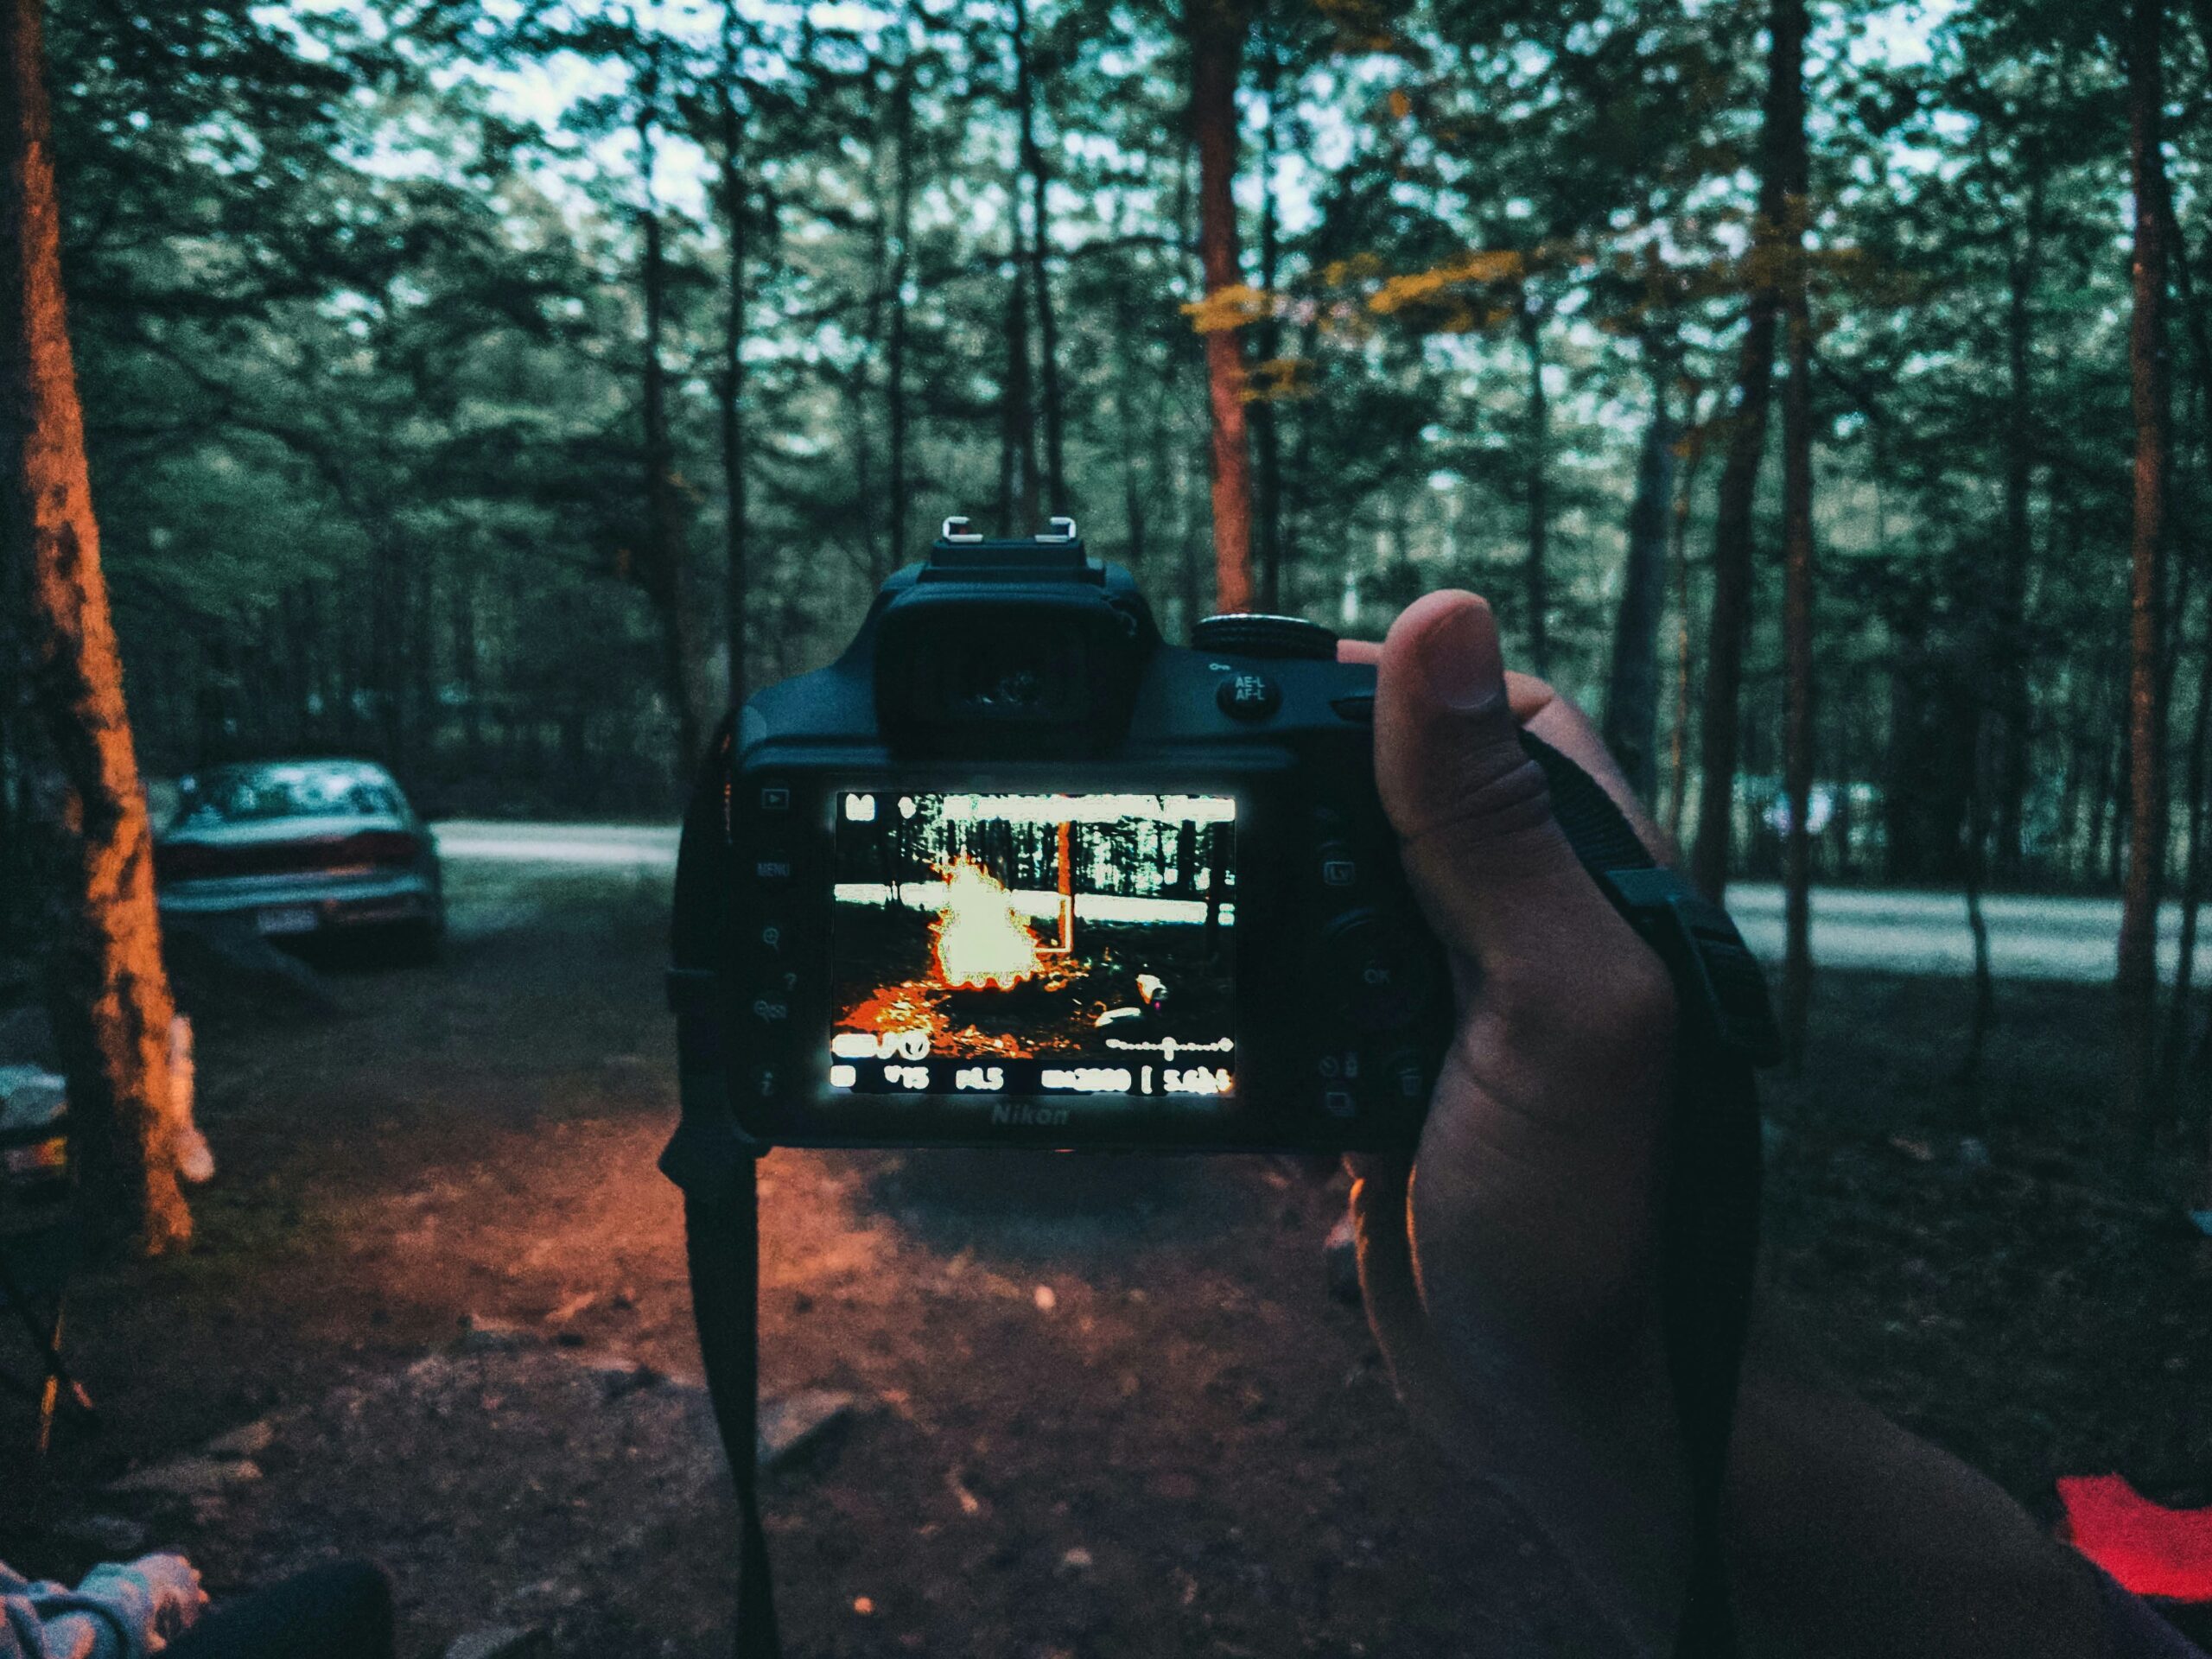
Photography is fundamentally the art of capturing light. A $3,000 camera body does not inherently understand light, composition, or timing any better than a five-year-old smartphone; it simply records a higher-resolution file.
When starting photography as a hobby, the most common mistake is believing that premium gear is a prerequisite for creating compelling images.
If you want to master photography without draining your bank account, the path forward requires studying the physics of light, the psychology of composition, and the mechanics of exposure.
By maximizing the device currently in your pocket and eventually exploring highly affordable vintage optics, you can build a formidable skill set before ever spending a dime on modern, professional-grade equipment.
Start With the Camera in Your Pocket
The smartphone you already own is an exceptional training ground. Stripped of complex manual dials, a phone forces you to focus entirely on what actually matters: what is happening inside the frame. Some world-class photographers publish entire books shot exclusively on mobile phones.
To get the most out of your smartphone, you must work around its physical limitations. Mobile sensors are incredibly small, which means they struggle in low light and cannot naturally produce the shallow depth of field (the blurry background) native to larger lenses.
- Avoid Digital Zoom: Digital zoom is nothing more than cropping the image in-camera, which drastically reduces resolution and detail. If you cannot physically walk closer to your subject, take the photo at your phone’s native optical focal length and crop it later in post-processing.
- Leverage Burst Mode: For moving subjects—like pets, children, or street scenes—hold down the shutter button to activate burst mode. Capturing multiple frames per second drastically increases your chances of freezing the perfect moment.
- Utilize HDR: High Dynamic Range (HDR) computationally blends multiple exposures to balance bright skies and dark shadows. This is an area where smartphones often outperform older professional cameras.
Mastering Composition Over Megapixels
Composition is the arrangement of visual elements within your frame. A well-composed image shot on a cheap phone will always command more attention than a poorly composed file shot on a medium-format sensor.
Structure Your Frame
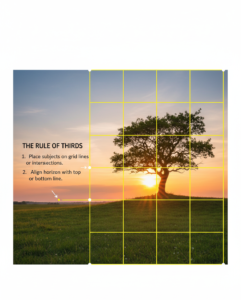
Most camera apps allow you to turn on a grid overlay. This introduces you to the Rule of Thirds, a guideline that divides your frame into nine equal rectangles. Placing your subject along these lines, or at their intersections, generally creates a more balanced, aesthetically pleasing image than placing them dead center.
However, symmetry demands a centered composition. If you are photographing a straight road, a bridge, or a perfectly symmetrical building facade, place your subject directly in the middle to emphasize order and stability.
Dynamic Tension and Leading Lines
Horizontal and vertical lines suggest stability, while diagonal lines and triangles introduce what photographers call “dynamic tension”. Diagonals subconsciously suggest instability or movement, making an image feel active and engaging.
You can also use physical lines in your environment, such as fences, pathways, and painted lines on a road to guide the viewer’s eye directly toward your subject. These are known as leading lines.
The Power of Negative Space
Do not feel compelled to fill every inch of your photograph. Leaving “negative space” (empty areas like a vast sky or a blank wall) around your subject isolates them and creates a sense of minimalism and calm.
A small subject placed against a massive, empty background emphasizes scale and mood. When practicing minimalist photography, aim for a frame where 70% to 90% is negative space.
Understanding Light (The Real Currency of Photography)
Light dictates the mood, texture, and depth of your photograph. Shooting outdoors provides ample light, allowing you to use fast shutter speeds and low ISO settings for crisp, clean images.
Backlight:
Placing the sun behind your subject creates a glowing rim of light around their edges, separating them from the background. This is highly effective during the golden hours (shortly after sunrise or before sunset) when the light is soft and directional.
Open Shade:
Direct midday sun creates harsh, unflattering shadows under the eyes and nose. Move your subject into open shade, the edge of a shaded area that still looks out toward the open sky. This provides soft, even illumination.
A word of warning: Avoid placing your subject directly next to bright, sunlit grass while they are in the shade. The sunlight will reflect off the grass, casting an unnatural, sickly green color onto their skin.
The Exposure Triangle: Moving to Manual Control
Once you understand composition and light, you will eventually hit the technical limitations of a smartphone’s automated brain. Cameras are exceptionally good at measuring light, but they are entirely devoid of context.
Your camera’s light meter evaluates a scene and tries to average the brightness out to a middle gray (18% gray). It does not know that a wedding dress is supposed to be bright white, so it will underexpose the image to make the dress gray. It does not know a black cat is supposed to be black, so it will overexpose the image, turning the cat a muddy gray.
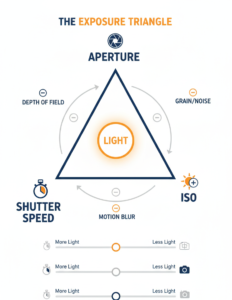
Taking creative control requires understanding the Exposure Triangle:
- Aperture (f-stop): The size of the hole in the lens that lets light in. A wide aperture (like f/1.8) lets in a lot of light and blurs the background. A narrow aperture (like f/16) lets in less light but keeps everything from the foreground to the horizon in sharp focus.
- Shutter Speed: How long the camera’s sensor is exposed to light. Fast speeds (1/1000s) freeze motion; slow speeds (1/30s) blur motion.
- ISO: The sensitivity of the sensor. A low ISO (100) requires more light but produces a clean image. A high ISO (3200) allows you to shoot in the dark but introduces digital noise or “grain”.
These three elements operate on a principle of reciprocity. If you double the amount of light entering through the aperture, you must halve the shutter speed time to maintain the same exposure.
The Sunny 16 Rule
If you ever find yourself shooting fully manual without a light meter, rely on the historic Sunny 16 rule: On a bright, sunny day, set your aperture to f/16. Your required shutter speed will be the reciprocal of your ISO. If your ISO is 100, your shutter speed should be 1/100th of a second.
Stepping Up: Vintage Lenses on Cheap Digital Bodies
When you are ready to move beyond a smartphone, you do not need to spend thousands on modern autofocus lenses. The most cost-effective way to achieve professional-grade optics and unique character is by adapting vintage film lenses to a cheap, used digital mirrorless body.
Older lens mounts, such as the M42 screw-thread mount (popularized by Pentax and Praktica) or the Tamron Adaptall 2, flood the used market today. With a simple $10 metal adapter ring, these lenses mount flawlessly to modern Sony, Fujifilm, or Panasonic mirrorless cameras.
Practical Setup: The Budget Vintage Kit
| Component | Example Item | Estimated Cost | Characteristics |
|---|---|---|---|
| Camera Body | Used Sony a6000 or Fuji X-T10 | $200 – $300 | Focus peaking makes manual focusing incredibly easy. |
| Portrait Lens | Helios 44-2 (58mm f/2) | $40 – $60 | A legendary Soviet lens known for its distinct, “swirly” background bokeh. |
| Macro/Telephoto | Tamron 80-200 CF Tele Macro | $15 – $25 | An Adaptall 2 lens is perfect for extreme close-ups and compression. |
| Wide Angle | Carl Zeiss Jena 35mm f/2.4 | $65 – $120 | Superb German optical sharpness for landscapes and street photography. |
Trade-offs of Vintage Lenses: You will lose autofocus, image stabilization, and weather sealing. You must inspect used lenses carefully for internal fungus or stiff focusing rings. However, the manual focus experience teaches you intentionality, forcing you to slow down and truly construct your image rather than unthinkingly snapping away.
Post-Processing Without Subscription Fees
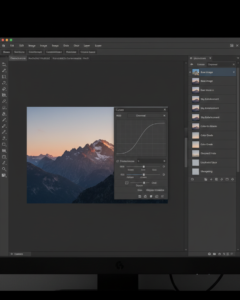
Editing is where you refine exposure, fix color casts, and finalize your composition. While Adobe Photoshop and Lightroom are industry standards, their recurring monthly subscription fees are a barrier for hobbyists. Fortunately, competent free alternatives exist:
- Photo Demon: A remarkably lightweight (under 25MB), portable editor for Windows that requires no installation. It features adjustment curves, layer support, and color grading tools ideal for intermediate tweaks.
- GIMP (GNU Image Manipulation Program): A fully-featured, open-source alternative to Photoshop. It possesses a steep learning curve but offers professional-level layer masking, clone stamping, and advanced color balancing.
- Krita: While primarily designed for digital painting, Krita handles raster photo editing beautifully and is available on Windows, Mac, and Linux.
When editing, apply a light touch. Recover your blown highlights, lift your crushed blacks slightly to restore shadow detail, and ensure your horizon lines are perfectly straight.
Field Checklist for Beginners
Before you press the shutter, run through this brief mental checklist:
- Subject Isolation: Is it immediately obvious what the subject of this photo is?
- Background Check: Are there distracting elements (trash cans, street signs, bright spots) competing for attention?
- Light Quality: Is the light soft and directional, or harsh and flat?
- Edges: Scan the perimeter of your frame. Are you accidentally cutting off someone’s feet or the top of a building?
- Stability: If shooting in low light, are you resting your device on a stable surface or a tripod to prevent motion blur?
Common Mistakes to Avoid
- Chasing the “Left to Right” Rule Exclusively: Some compositional theory dictates that motion in a frame should flow from left to right because that is how Western languages are read. Do not let rigid rules dictate your art; motion flowing right to left is perfectly valid and visually arresting.
- Over-Processing: Sliding clarity and saturation sliders to 100% does not hide a bad photo; it only advertises amateur editing.
- Blaming the Gear: If a photo fails, it is rarely because the camera lacks resolution. It is almost always because the lighting was poor or the composition was cluttered.
Final Thoughts
Visual literacy is a continuous endeavour that involves the acquisition of photography skills. The manner in which you perceive the world is wholly independent of the equipment you employ.
You will make more progress than an individual who exclusively depends on the automated settings of an expensive new camera by actively practicing compositional geometry, utilizing the smartphone you already own, and studying the way light descends on a subject.
The realm of affordable vintage glass provides an infinite, cost-effective canvas for creative expression when you are ultimately prepared to broaden your toolkit.