
You open a brand new Android phone, charge it to 100%, and by early afternoon, you’re hunting for an outlet. It’s not your fault. The factory settings are optimized for features, not battery life.
Over the years, I’ve tested dozens of Samsung, Pixel, and OnePlus devices, and the same culprits keep showing up: radios scanning for networks, apps pinging your location, and a display that’s working harder than it needs to.
The Number One Battery Drain You Can Fix in 30 Seconds
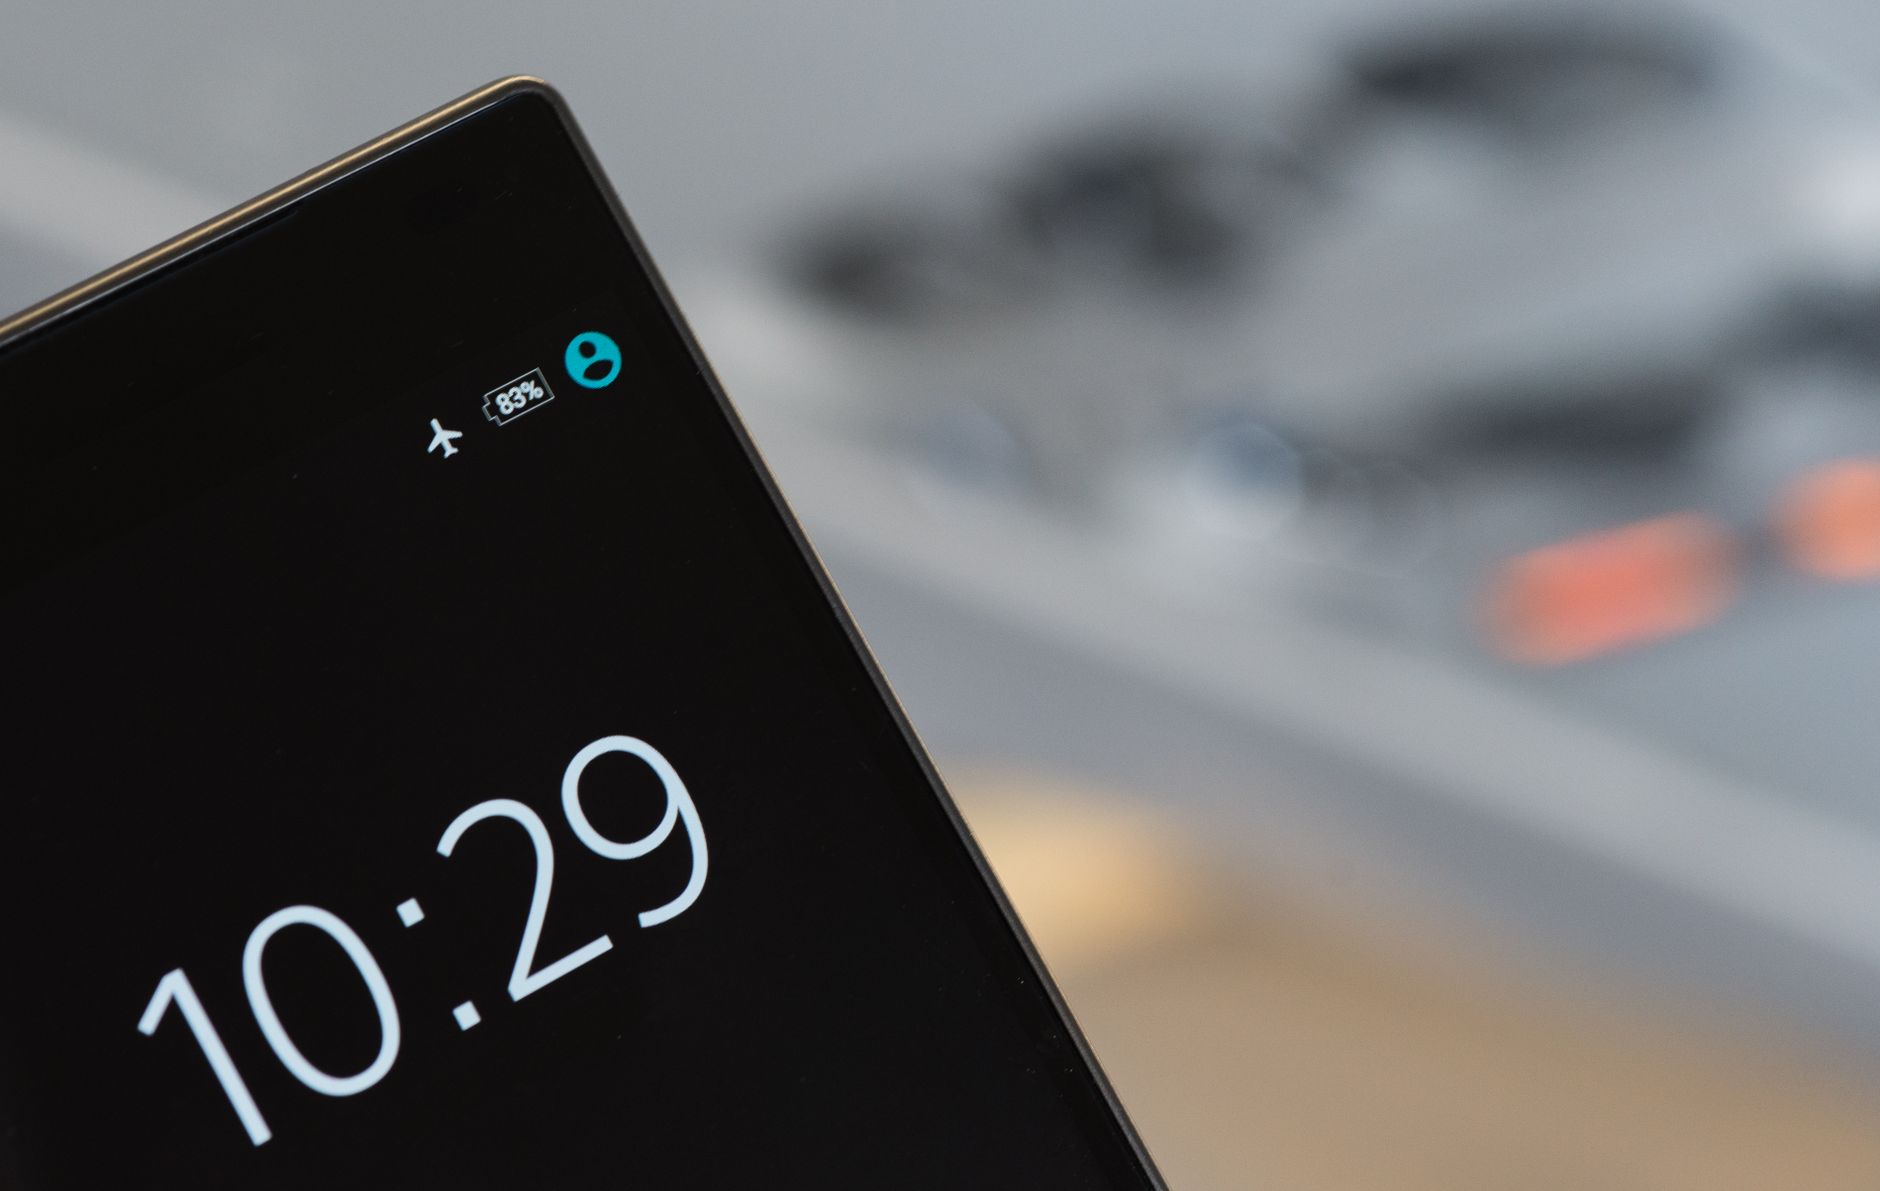
5G. It’s been hyped for years, but in practice, 5G eats more battery than LTE, especially when the signal is weak. Here’s why: your phone constantly adjusts its power to maintain that connection. If you’re in a spot where 5G is spotty (like inside an office building or a suburb with limited towers), the radio works overtime switching between bands.
I once kept a 5G phone for a week with the settings left on default. By noon, I’d lose 40% of my battery. After switching to LTE, I gained an extra three to four hours of use. The same thing happened with a colleague who lived near a highway—5G would cut out every few minutes, draining his phone before lunch.
How to change it:
Go to Settings > Connections > Mobile Networks > Network Mode. Pick LTE/3G/2G (often labeled simply “LTE”). Unless you’re in a city with rock‑solid 5G coverage, you won’t notice a difference in daily browsing, streaming music, or messaging. If you do need 5G for large downloads or tethering, you can toggle it back on later.
One thing worth checking: many phones have a separate “5G Standalone” setting deep in the network menus. If your carrier supports it, leaving it on may actually improve battery life over the default “non‑standalone” mode. But for most people, sticking with LTE is the safest bet.
Related setting: Nearby Device Scanning. This lets your phone scan for Bluetooth devices even when Bluetooth is off. Sounds helpful, but it’s constantly waking up the radio. Go to Settings > Connections > More Connection Settings and turn off the switch. You can still manually scan when you need to pair something.
Tame the Vibration Motor Without Losing Alerts
Your phone’s vibration motor draws power every time it buzzes. The more intense the vibration, the more juice it uses. And most Samsung phones come with system vibrations cranked up for keyboard feedback, navigation gestures, and notifications.
My rule of thumb: Keep vibration for calls and notifications you actually need to feel. Turn off keyboard vibration and lower the intensity for everything else.
How to adjust:
- Settings > Sounds and Vibration > System Vibration. You can turn off specific categories like “Touch feedback” or “Keyboard vibration.” Keyboard vibration in particular is a huge drain if you type a lot.
- Settings > Sounds and Vibration > Vibration Intensity. Drag the sliders for calls, notifications, and media down to a level that still gives you feedback but doesn’t make the phone buzz like a hyperactive bee.
A reader once told me they tripled their battery life by simply disabling keyboard haptics. That’s an exaggeration (maybe 5–10% savings), but combined with other tweaks, it adds up.
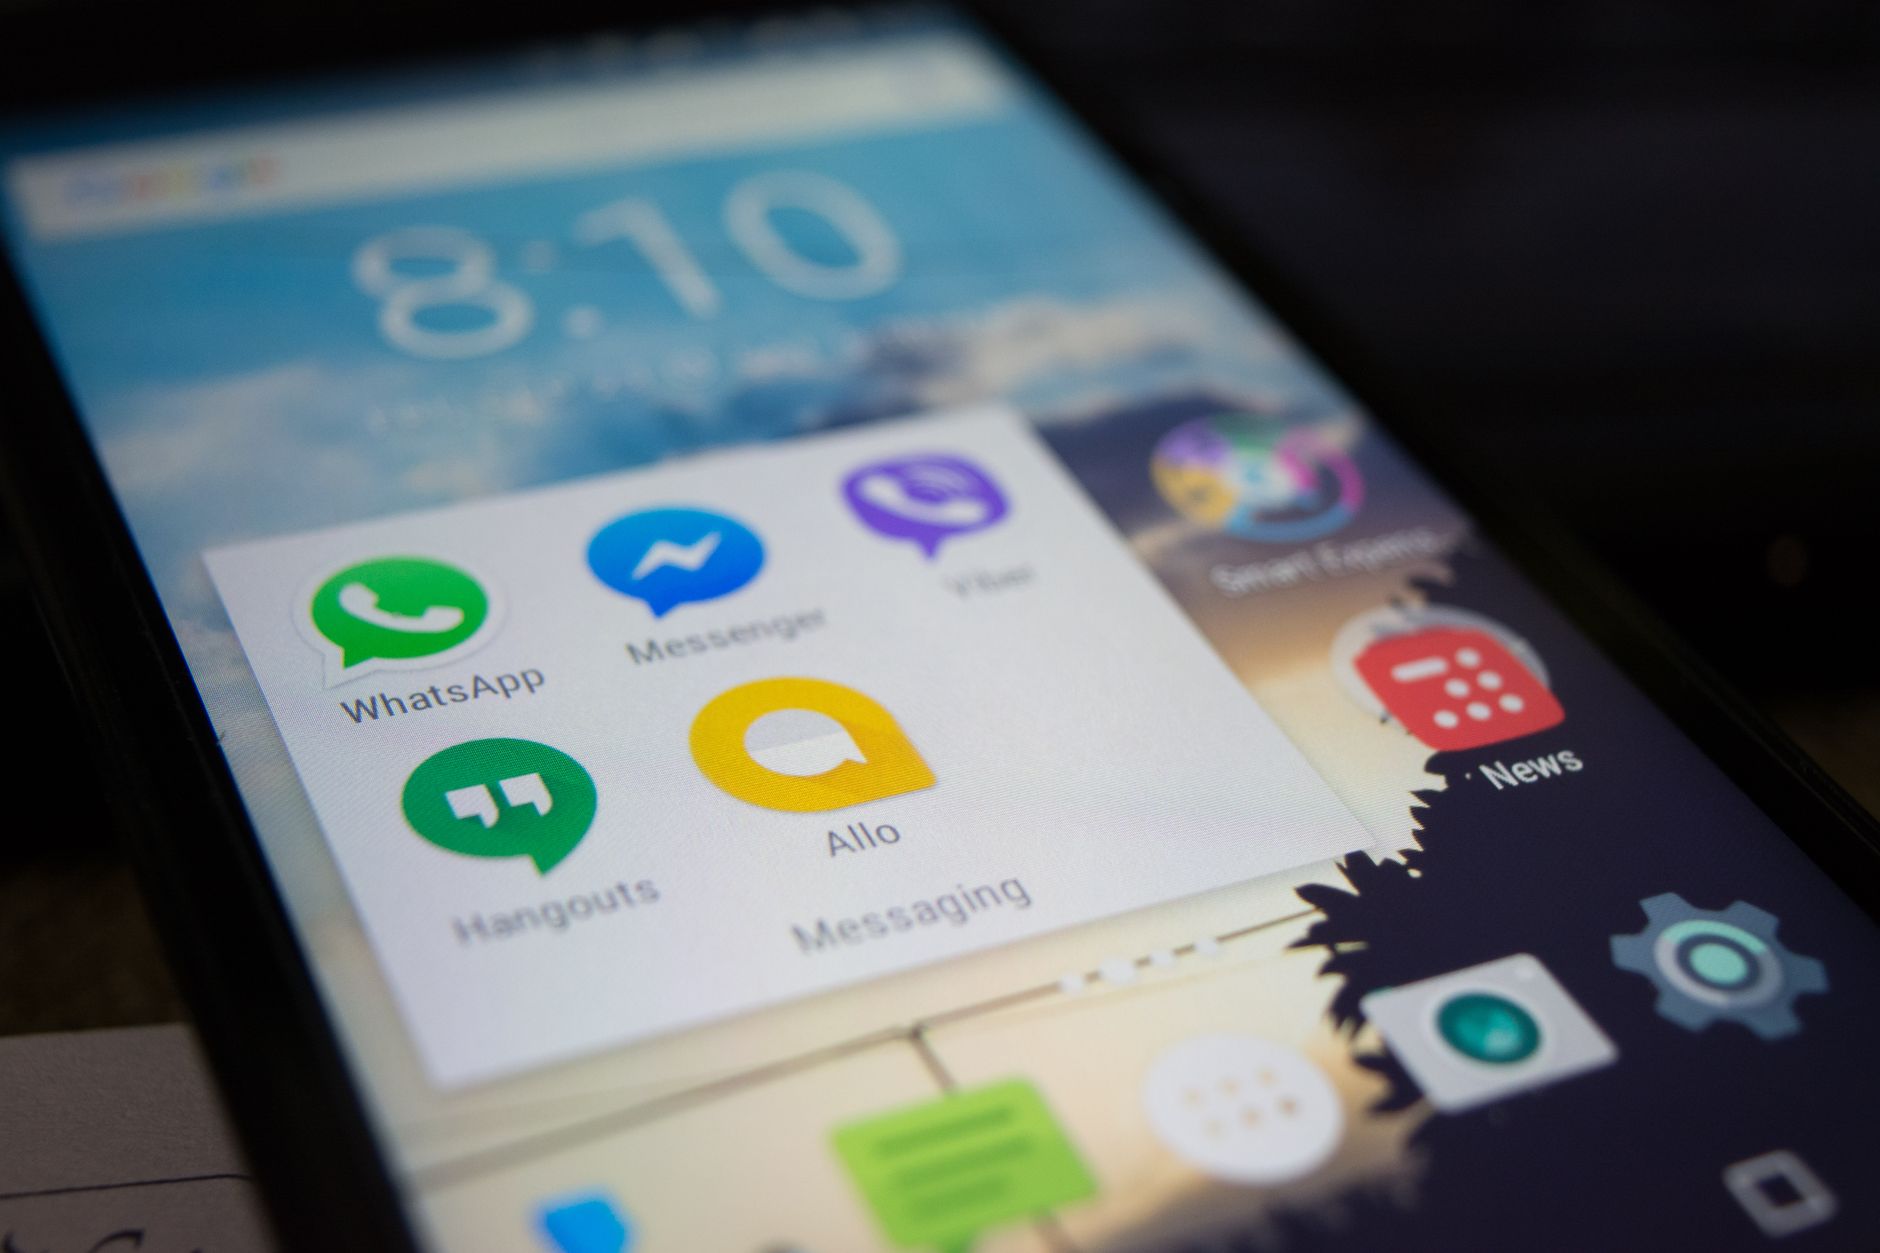
Notifications: More Than Just Annoying
Every notification that pops up wakes the screen, activates the radio, and vibrates the phone. Apps are greedy—they want your attention, but they don’t need it all the time.
The fix:
Go to Settings > Notifications > App Notifications. Scroll through the list and decide which apps really need to ping you. I’m ruthless: social media, shopping apps, and games get either turned off entirely or limited to “Silent notifications” (they show up in the shade but don’t vibrate or pop up on the lock screen).
If you use WhatsApp or Messenger for work, leave those on but turn off “Notification sound” for group chats. You can do this inside each app’s notification settings.
One thing the video didn’t cover: Android’s “Notification history” feature. If you turn it on, you can still see dismissed notifications later, which reduces FOMO if you disable them.
Display Settings That Actually Save Power
The display is usually the biggest battery consumer. Here’s where you can slim it down without making the phone look like a calculator from 1995.
1. Dark Mode
Settings > Display > Dark Mode. On OLED screens, black pixels are literally off. That saves power. I run dark mode 24/7, even in bright sunlight—the phone’s auto brightness compensates.
2. Adaptive Brightness
Keep this on. The biggest mistake people make is maxing out brightness for a minute and forgetting to slide it back down. Adaptive brightness saves you from that. But there’s a catch: the sensor itself uses a tiny amount of power. The trade‑off is massively in favor of leaving it on.
3. Screen Timeout
Set it to 2 or 5 minutes. Longer just means wasted battery when you walk away. You can always tap the screen to wake it.
4. Motion Smoothness (Refresh Rate)
This is where you have to decide. The 120Hz refresh rate makes scrolling feel buttery smooth, but it uses noticeably more power. 60Hz is perfectly usable—it’s what everyone had until a few years ago. I switch to standard when I’m traveling and need all the battery I can get. At home, I leave it on adaptive. Your call.
5. Always‑On Display (AOD)
AOD is convenient, but it’s not free. The amount of battery it uses depends on how you set it up.
- Tap to show uses less than “Show always.”
- Turn off Auto brightness for AOD and manually lower the slider.
- Or just turn AOD off entirely. I personally do—I don’t need to see the time every time I glance at my desk. AOD can cost you 5–10% per day, depending on brightness.
6. Dim Wallpaper in Dark Mode
Settings > Wallpaper and Style > Enable “Dim wallpaper when dark mode is on.” Cuts a bit more power from the lock screen.
A friend of mine kept AOD on “always” with full brightness and wondered why his phone died by 6 PM. Switching to tap to show gave him an extra 2 hours.
Location Tracking: The Silent Battery Killer
Location services are the worst offender for background drain, and most people don’t realize how many apps have “Allow all the time” permission.
Step 1: Audit app location permissions
Go to Settings > Security & Privacy > Privacy > Permission Manager > Location. Look for apps marked “Allow all the time.” For almost every app, change it to “While using the app” or “Ask every time.” Only navigation apps like Google Maps or Waze need precise location—and even then, only when you’re actively using them.
Step 2: Turn off “Precise location” for non‑maps apps
Inside each app’s permission, there’s a toggle for “Use precise location.” Turn it off for weather apps, social media, and games. They don’t need your exact coordinates.
Step 3: Disable Google Location Accuracy
Settings > Location > Location Services > Google Location Accuracy. Turn this off. It uses Wi‑Fi and Bluetooth scanning to refine your position, which drains battery constantly. Without it, your phone falls back to GPS only—which is accurate enough for maps but uses the radio only when an app asks for it.
Step 4: Pause Google Location History
Settings > Location > Google Location History > Pause. This stops Google from tracking everywhere you go. It’s a privacy win and a battery win. If you want to keep it, set auto‑delete to 3 months instead of 18.
Step 5: Turn off Wi‑Fi and Bluetooth scanning
Settings > Location > Location Services (again) > Wi‑Fi scanning and Bluetooth scanning. Turn both off. They allow apps to scan even when Wi‑Fi and Bluetooth are disabled, which is creepy and battery‑hungry.
One thing the video didn’t fully explain: some Samsung phones have a separate “Find My Mobile” network that also scans for other Samsung devices. Go to Settings > Security & Privacy > Find My Mobile > Offline finding and turn it off if you don’t need it. In a dense city, this constant peer‑to‑peer scanning can be a real drain.
The Right Way to Use Power Saving Mode
Power saving mode is a sledgehammer. It disables background activity, lowers performance, and turns off features like 5G and AOD. That’s fine when you’re running low, but don’t live in it.
Instead, use the individual settings we’ve already covered. That way, you keep the features you care about (like fast refresh rate or location for maps) and drop the bloat.
But there’s a middle ground: the Light performance profile. On Samsung phones, go to Settings > Battery and Device Care > Battery > More Battery Settings > Performance Profile. Choose “Light.” It caps CPU speed slightly, but most daily tasks (email, browsing, video) feel identical. The phone runs cooler too, which helps battery longevity. Games still use full power. I keep mine on Light all the time now.
Also under More Battery Settings: Adaptive Battery. Keep this on. It learns your usage patterns and puts apps you don’t use into a deep sleep faster.
Background Apps: What to Throw in “Deep Sleep”
You’ve probably heard the debate: “Should I close apps or not?” The video gave good advice: close apps once a day, not constantly. Apps can crash in the background and keep draining battery. Closing them once a day gives you a fresh slate.
But the real power move is deep sleeping apps.
Go to Settings > Battery and Device Care > Battery > Background Usage Limits. You’ll see three categories:
- Sleeping apps: They can run occasionally, but updates are delayed.
- Deep sleeping apps: They never run in the background.
- Never sleeping apps: Always allowed to run.
Tap Deep sleeping apps, then the + button, and add social media apps you rarely open, games, any app that runs ads, and even system apps like Samsung Pay if you don’t use it. I’ve put Facebook, Instagram, Twitter, and a half‑dozen games in deep sleep. Their notifications are delayed or don’t come at all—which is what I want.
Check your battery usage screen (same section) to see which apps are draining the most. Anything surprising that shows up high on the list should go straight to deep sleep.
One warning: messaging apps like WhatsApp should stay in normal sleep so you get notifications. Don’t set your alarm clock app to deep sleep.
Accessibility Hacks Most People Miss
The Accessibility section has two hidden gems for battery:
- Remove animation: Settings > Accessibility > Visibility Enhancements > Remove Animation. This stops on‑screen effects like app opening animations. It makes the phone feel a bit snappier and saves a sliver of GPU power. You get used to it quickly.
- Reduce transparency and blur: Same section, toggle it on. It lowers the visual effects on the notification shade and app drawer. Again, small savings, but they add up.
Also: Extra Dim. Turn it on if you’re reading in bed or at a dark coffee shop. It makes the screen go below the normal minimum brightness. Great for battery and your eyes.
Frequently Asked Questions
Will turning off 5G make my internet unbearably slow?
For 95% of tasks—streaming music, social media, web browsing—LTE is fast enough. You’ll only notice the difference during huge downloads or if you use your phone as a hotspot. Try it for a week. If you miss 5G, you can easily turn it back on.
If I put an app into deep sleep, will I still get notifications?
No, or they’ll be significantly delayed. Deep sleeping apps are effectively frozen. Only put apps you don’t need real‑time updates from (games, shopping, news) into deep sleep. Keep communication apps like WhatsApp, Telegram, and your email client in normal sleep.
Should I use the Protect Battery feature that stops charging at 85%?
Only if you’re a heavy user who keeps the phone plugged in for long periods. In everyday use, charging to 100% is fine. What matters more is using a quality charger and not letting the battery drop to 0% often. That 85% limit is meant for overnight charging—but most modern phones already handle trickle charging well.
Does closing apps manually actually save battery?
Yes and no. If an app is crash‑looping in the background, closing it helps. If an app is well‑behaved, closing it actually uses more battery because the phone has to reload it from scratch next time. My advice: close apps once a day, but don’t obsess over it. The deep sleep feature is more effective.
I’ve used these exact tweaks on a Galaxy S23 and a Pixel 7, and each gave me at least an extra 30–50% more screen‑on time per charge. Start with the top three from the Quick Start box and work your way down. Your phone will thank you, and so will your afternoon productivity.